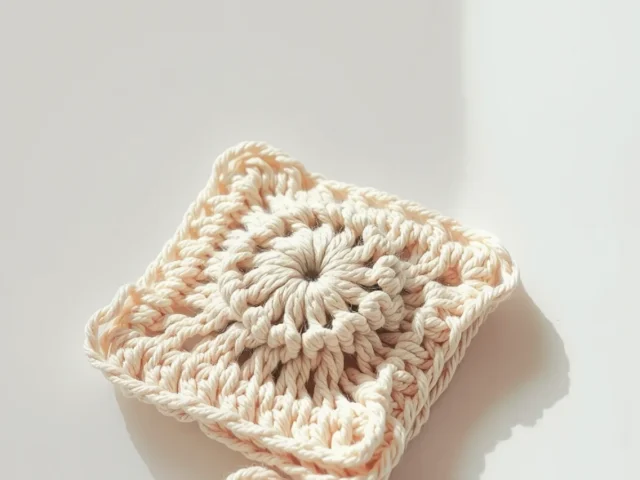
Easy Crochet Border Tutorial: How to Add a Frilly Edge
Learn to crochet a simple frilly border in about 20 minutes, even if you're new to edging.
A frilly crochet border can turn a plain blanket into something special, and it only takes one row of stitches.
Frilly borders are a quick way to dress up any crochet project. They work on baby blankets, scarves, pillow edges, even clothing. The best part? You only need to know a few basic stitches: single crochet and chain.
This border is made with a simple repeat: single crochet, chain three, single crochet all in the same stitch. Skip two stitches, then repeat. The chain loops curl and ruffle as you go, creating that frilly look.
This tutorial shows you how to crochet a simple frilly border that works on blankets, clothing, and more. You'll need yarn, a hook, and basic crochet skills. The pattern is easy to memorize and quick to complete.

What you need
Yarn
Any weight works, but worsted weight is easiest for beginners. You'll need about 10-20 yards for a small project like a scarf edge.
Crochet hook
Match the hook size to your yarn. Check the yarn label for the recommended size.
Yarn needle
For weaving in ends. A blunt-tip needle works best.
Scissors
Any scissors will do, but small embroidery scissors are handy.
What you need to start
You don't need anything fancy. Grab any yarn you already have. If you're adding this border to a finished project, use the same yarn weight so it blends in. Or pick a contrasting color to make the border pop.
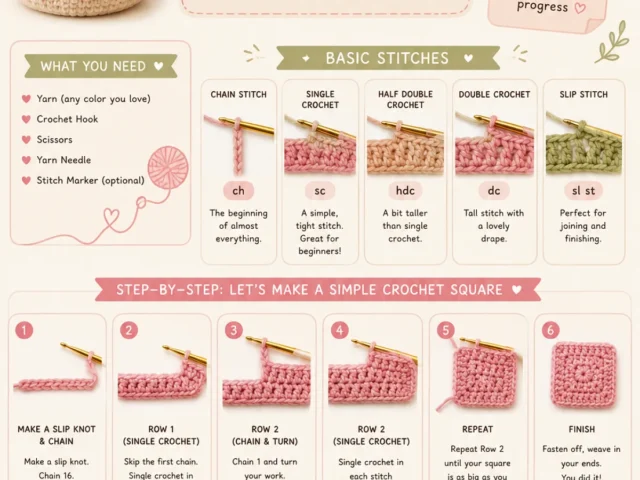
Your hook should match the yarn weight. Check the yarn label for the recommended hook size. For worsted weight yarn, that's usually a 5.5 mm (I-9) hook. You'll also need a yarn needle to weave in the ends.
- Yarn – any weight, but worsted is easiest for beginners
- Crochet hook – size to match your yarn
- Yarn needle – for weaving in ends
- Scissors
If you're practicing on a swatch, use a scrap piece of crochet fabric at least 6 inches wide so you have room to see the border.
Where to start the border
Attach your yarn at any corner or edge with a slip stitch. If you're working on a blanket, start in a corner so the border flows evenly around. For a straight edge, just start at one end.
Make sure your first stitch is secure. Pull the yarn through the fabric and make a slip stitch. Then chain one to act as your first single crochet. This keeps the edge neat.
If you're adding the border to clothing, like a sleeve or neckline, test the edge on a small section first to see how the ruffles lay.
The frilly stitch pattern
The core of this border is a three-stitch repeat. Work a single crochet into the edge, then chain three, then single crochet again in the same stitch. That cluster of three stitches makes one shell.
Skip the next two stitches along the edge. Then repeat the shell in the next stitch. Keep going like that all the way around. When you reach the end, slip stitch into the first single crochet to close the round.
- Shell: (sc, ch 3, sc) in the same stitch
- Skip 2 stitches between shells
- End with a slip stitch to join
Count your stitches as you go. If you have a few left over at the end, just skip one stitch instead of two to make it fit.
How to make a flat border instead
If you want a border that lies flat instead of ruffling, use the same shell but skip three stitches instead of two. That extra space lets the shell stretch out flat.
The flat version looks like a series of little fans along the edge. It's a classic choice for baby blankets and table runners.
Try both versions on a swatch and see which one you like. The flat version is easier to sew into seams if you're joining pieces.
Common mistakes and how to fix them
The most common mistake is skipping the wrong number of stitches. If your border ruffles too much, you're skipping too few. If it puckers, you're skipping too many. Adjust by one stitch at a time.
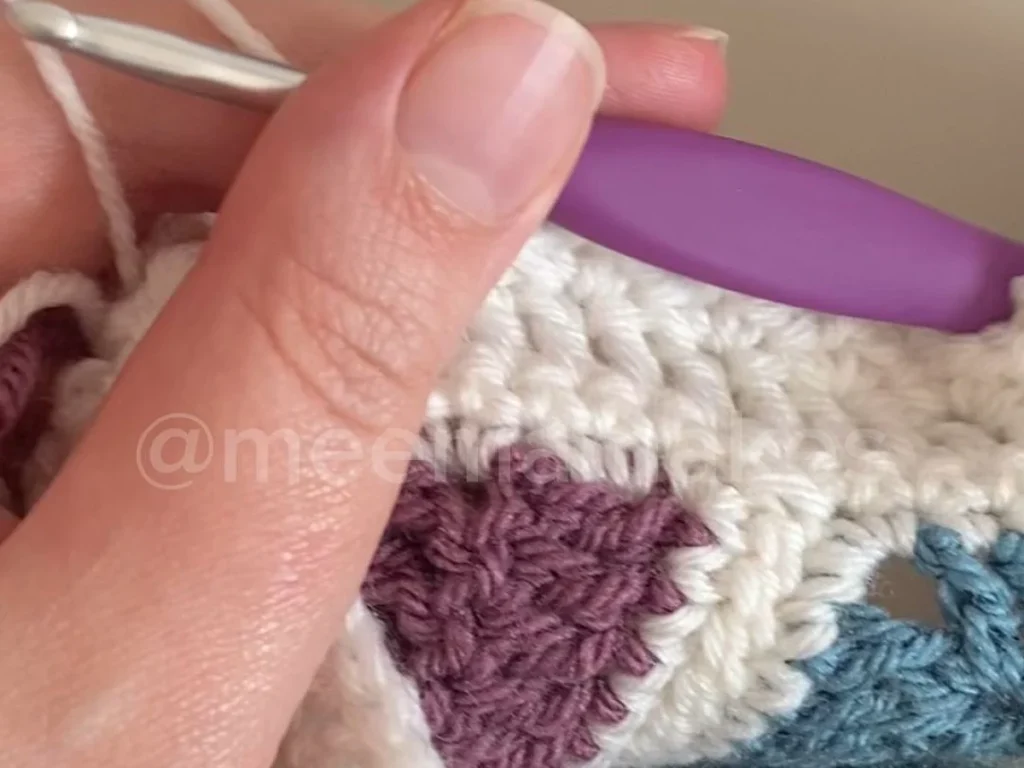
Another issue is loose tension. If your shells are floppy, try pulling the yarn a bit tighter when you make the chain three. If they're too tight, loosen up. The border should lie flat against the fabric.
If you make a mistake, just pull out the stitches back to the problem spot. Crochet is forgiving that way.
Ideas for using this border
This border works on almost anything with an edge. Add it to a plain scarf for a feminine touch. Use it on a baby blanket to make the edge look soft and delicate. It also looks great on pillowcases or tablecloths.
For clothing, try it on the hem of a cardigan or the sleeves of a baby dress. Just remember that ruffles add width, so measure before you start if the fit matters.
If you're making a gift, use the recipient's favorite color for the border. It's a small detail that makes a big difference.
Step
Attach your yarn
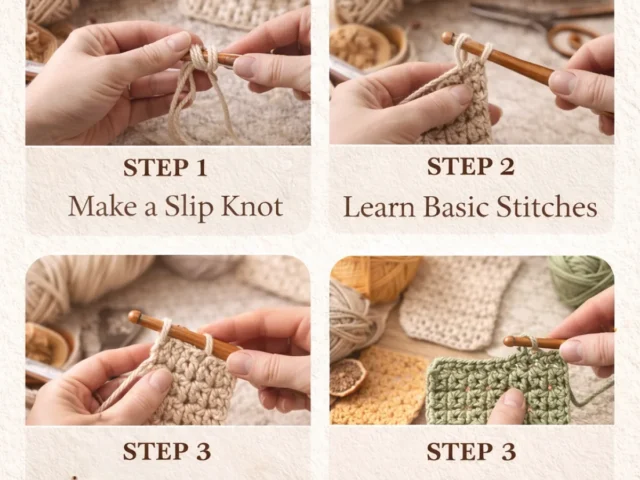
Make a slip knot and pull it through the edge of your fabric with your hook. Chain one to secure it.
Make the first shell
Work a single crochet into the same spot where you attached. Chain three. Then work another single crochet into that same spot.
Skip two stitches
Skip the next two stitches along the edge. Don't count the stitch you just used.
Repeat the shell
In the next stitch, work another shell: single crochet, chain three, single crochet. Continue this pattern all the way around.
Join the round
When you reach the end, slip stitch into the first single crochet you made. Cut the yarn and weave in the ends.
Ways to change it
Flat border
Skip three stitches instead of two to make the border lie flat. Good for table linens.
Deeper ruffle
Chain five instead of three for a fuller ruffle. Works well on baby blankets.
Two-color border
Use a contrasting color for the border to make it stand out. Great for gifts.
Scalloped edge
Skip one stitch instead of two for a tighter scallop. Nice on clothing.
Wider border
Work a second round of shells into the chain spaces for a taller border. Adds more detail.
The short version
- The frilly border uses a simple repeat: (sc, ch 3, sc) in the same stitch.
- Skip two stitches between each shell to create the ruffle effect.
- Skip three stitches instead of two for a flat version.
- Adjust the number of skipped stitches to control the ruffling.
- You can use any yarn and matching hook.
- This border works on blankets, clothing, and home decor.
- It takes about 20 minutes for a small project.
Questions people ask
How do I keep the border from curling?
If your border curls, you're probably skipping too few stitches. Try skipping three stitches instead of two. Also check your tension – looser chains will lie flatter.
Can I use this border on a crochet blanket?
Yes, this border is perfect for blankets. It adds a delicate, frilly edge that softens the look. Just work it evenly around the entire edge, starting at a corner.
What yarn is best for a frilly border?
Any yarn works, but a lighter weight yarn like fingering or sport will create a finer ruffle. For a more dramatic ruffle, use a bulky yarn with a larger hook.
How do I attach the border to a knitted piece?
You can attach it the same way, by working single crochet into the edge stitches. Just make sure you work evenly, maybe one stitch per knit stitch or two, depending on the fabric.
Try this border on your next project
This frilly border is a quick way to add charm to any crochet piece. It's easy to memorize and even easier to customize. Grab some yarn and a hook, and try it on a small swatch today. You'll have a new favorite edge in no time.