How to Crochet a Wallet: A Simple Step-by-Step Guide
Make a sturdy, pretty wallet in an afternoon with basic crochet stitches.
A crochet wallet takes about two hours and uses less than one skein of yarn.
A crochet wallet is one of the most practical things you can make. It is small, quick, and uses very little yarn. You can finish one in an afternoon, even if you have only tried a few projects before.
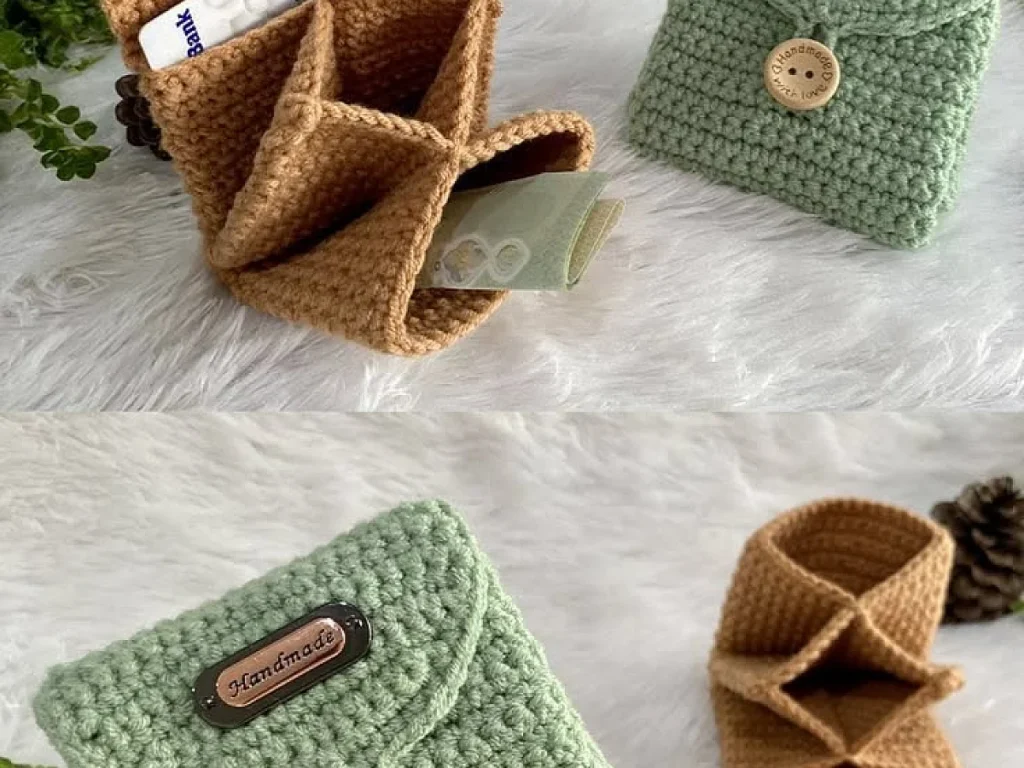
The pattern here makes a flat wallet with two card slots and a button flap. It is about 8 inches wide and 4 inches tall. You can adjust the size easily by changing the starting chain.
You can crochet a simple wallet with just single crochet, a button, and some yarn. The pattern below uses basic stitches and works for beginners.
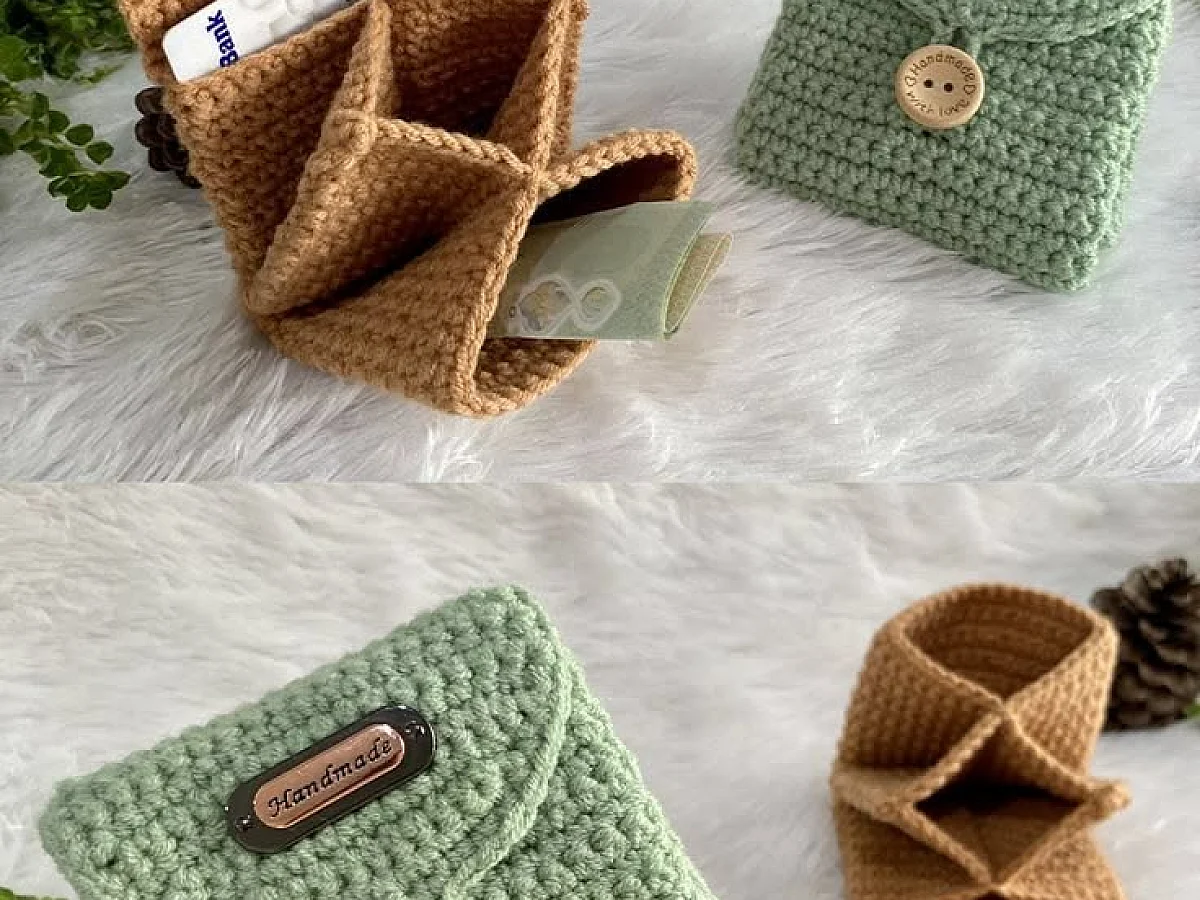
What you need
Worsted weight yarn
About 100 yards, or less than one skein. Cotton or acrylic both work.
Crochet hook size H (5.0 mm)
Or G (4.0 mm) if you crochet loosely. A smaller hook makes tighter fabric.
Yarn needle
For sewing pieces together and weaving in ends. A blunt tip is easier.
Button
About 1 inch wide. Any style works, as long as it fits through your loop.
Scissors
Regular scissors are fine for cutting yarn.
What Yarn and Hook Work Best
Use a worsted weight yarn, the kind you find in most craft stores. It is thick enough to hold its shape but not too bulky. Cotton is a great choice because it is sturdy and washes well. Acrylic also works and is cheaper.
For the hook, go with a size H (5.0 mm). This matches worsted yarn and gives a firm fabric. If you crochet loosely, use a G (4.0 mm) hook to keep the stitches tight. Tight stitches are important so coins do not fall out.
Test your gauge first. Crochet a 2-inch square in single crochet. If it feels floppy, drop down a hook size.
How to Read the Pattern
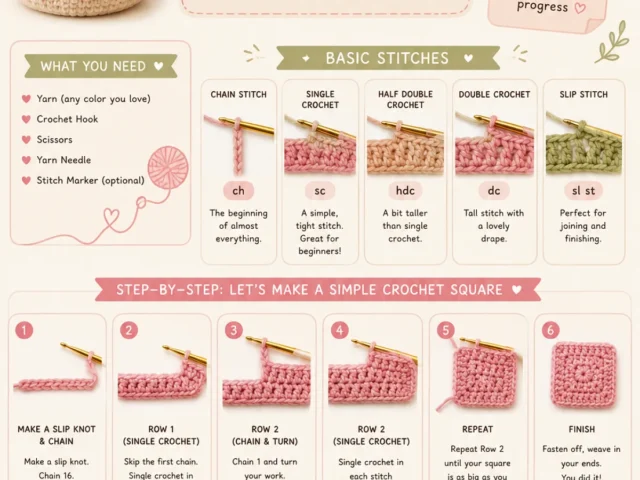
The pattern uses basic abbreviations: ch for chain, sc for single crochet, and sl st for slip stitch. You work in rows, turning at the end of each row.
The finished wallet is made of two rectangles. One is the main body, the other is the flap. You sew them together, then add a button loop.
Place a stitch marker at the end of each row. It is easy to lose count.
Crocheting the Main Body
Chain 26. Single crochet in the second chain from the hook and in each chain across. You will have 25 stitches. Chain 1 and turn.
Repeat this row until the piece measures 8 inches long. That is about 22 rows with worsted yarn. Do not stretch the fabric when you measure; lay it flat.
If you want a wider wallet, start with more chains. Each extra chain adds about a quarter inch.
Making the Flap
Chain 16. Single crochet in the second chain from hook and across. You will have 15 stitches. Chain 1 and turn.
Work even until the flap is 4 inches long. That is about 12 rows. This flap will fold over the top of the wallet to close it.
Use a different color for the flap if you want a contrast. That looks nice and uses up scraps.
Adding the Card Slots
To make card slots, you crochet a small rectangle and sew it onto the inside of the main body. Chain 18, then single crochet rows until it is 3 inches wide. That is about 10 rows.
Fold the rectangle in half to make a pocket. Or leave it flat and sew it along the bottom and sides. Sew it onto the main body, leaving the top open.
For a tighter card grip, use a smaller hook (like G) for the slot piece. It will be slightly smaller than the wallet, which is what you want.
Putting It All Together
Place the flap on the back of the main body, aligning the top edges. Sew the flap in place along the top edge, using a whip stitch. This makes the wallet fold over.
Sew the card slot onto the front inside of the main body. Position it so the top edge is about 1 inch below the top of the wallet.
Add a button to the front of the wallet, about 1 inch from the top. Make a chain loop on the flap that reaches the button. Chain about 8 stitches and slip stitch to the flap. Test the fit.
Use a yarn needle and the same yarn to sew. It blends in better than thread.
Step
Chain 26
Make a slip knot and chain 26. This gives you 25 stitches across.
Single crochet rows
Single crochet in the second chain from hook and across. Chain 1 and turn. Repeat until the piece is 8 inches long.
Make the flap
Chain 16. Single crochet in second chain and across. Work rows until the flap is 4 inches long.
Make the card slot
Chain 18. Single crochet rows until the piece is 3 inches wide. Fold in half to form a pocket.
Sew the flap
Align the flap with the back of the main body. Sew along the top edge using a whip stitch.
Attach the card slot
Sew the card slot onto the front inside of the main body, leaving the top open.
Add the button and loop
Sew a button on the front. Chain a loop on the flap that reaches the button, and attach it.
Ways to change it
Smaller coin purse
Use a smaller starting chain, like 18, and skip the card slot. Good for kids or a change pocket.
Zipper closure
Instead of a button, sew in a zipper at the top. More secure but requires a sewing machine or careful hand sewing.
Striped pattern
Change yarn color every few rows. Use scrap yarn to make a rainbow effect.
Felted wool
Use 100% wool and wash it in hot water to shrink and thicken. This makes a very sturdy wallet.
Lining
Add a fabric lining to the inside for extra durability. Cut a piece of cotton fabric and sew it in before assembling.
The short version
- Worsted weight cotton yarn gives the best structure for a wallet.
- Tight stitches are key to keep coins from slipping out.
- The main body is about 8 by 4 inches, and the flap is 4 by 4 inches.
- You can use any button that fits your loop, but a flat one is easier.
- A card slot is just a small rectangle sewn on three sides.
- Whip stitching with yarn is strong and invisible.
- Test the button loop before securing it fully.
Questions people ask
How long does it take to crochet a wallet?
About two hours for a beginner. If you are experienced, it can take under an hour.
What yarn is best for crochet wallets?
Worsted weight cotton is the best because it is sturdy and holds shape. Acrylic works too, but it may stretch more.
Can I make a wallet without a button?
Yes, you can use a snap closure or a zipper instead. Or make a flap that tucks in, but it may not stay closed well.
How do I make the card slots tighter?
Use a smaller hook for the slot piece, like a G hook. That makes the fabric denser and grips the cards.
Try this pattern with your favorite yarn
Now you have a wallet that is exactly the size and color you want. It makes a great gift, too. Happy hooking!