Granny Square Tutorial for Beginners
Learn to crochet a classic granny square from the very first slip knot to a finished square you can join into blankets, bags, and more.
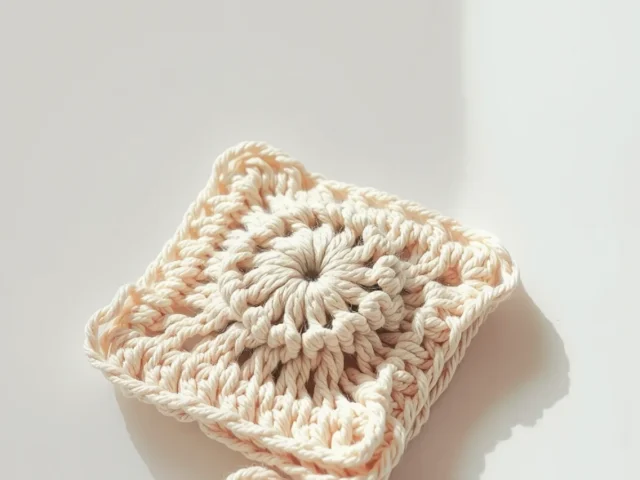
The granny square is the first thing many crocheters ever make, and for good reason: it is just chains and double crochets repeated in a circle, and once you see the pattern you will never forget it.
The granny square is the first thing many crocheters ever make, and for good reason: it is just chains and double crochets repeated in a circle, and once you see the pattern you will never forget it.
You can use granny squares for blankets, pillows, bags, cardigans, and even coasters. The best part is that you only need to know one stitch, the double crochet, and how to chain. If you can do those two things, you can make a granny square today.
A granny square is crocheted in the round, starting with a magic ring or a chain loop. You work groups of three double crochets, called clusters, separated by chains, and you turn the corner with two chains. This tutorial walks you through each round slowly, with tips for keeping your square flat and your corners sharp.
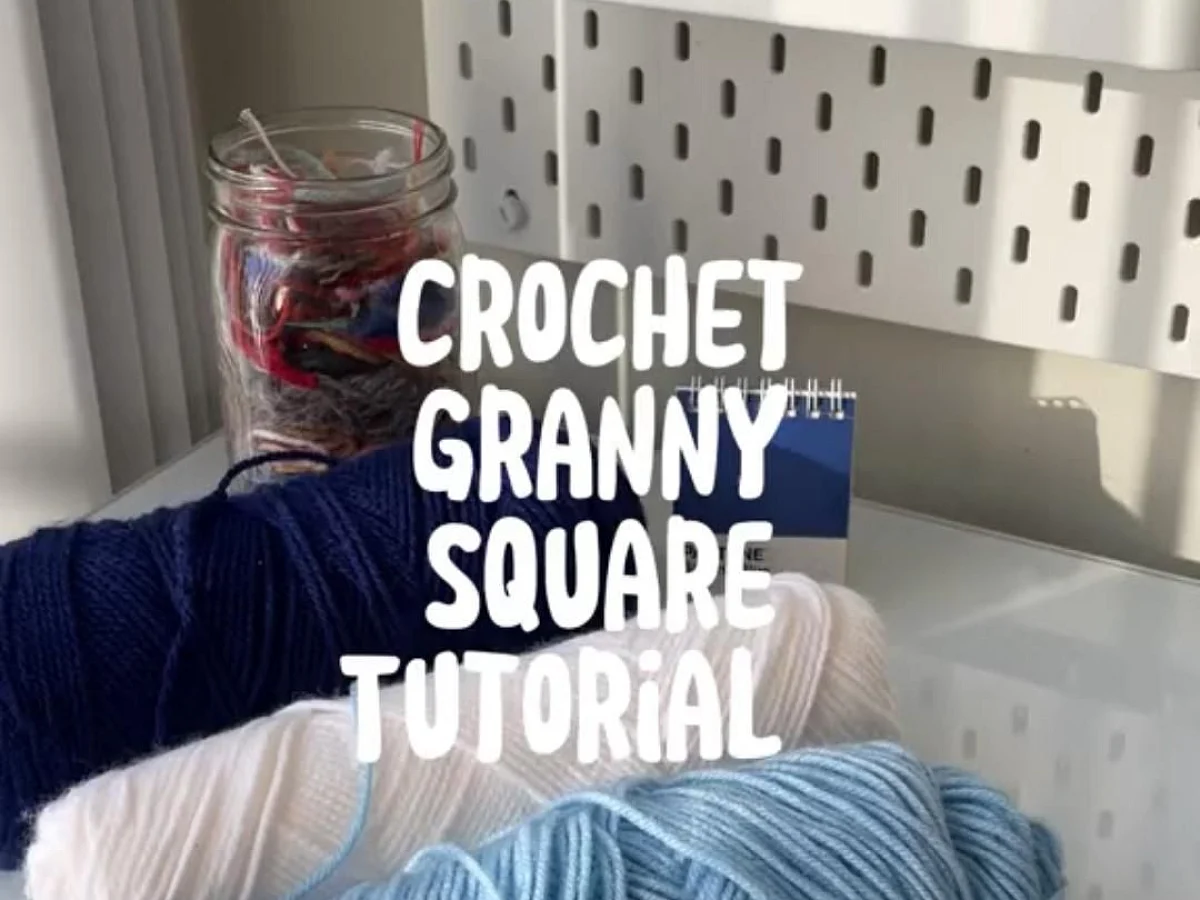
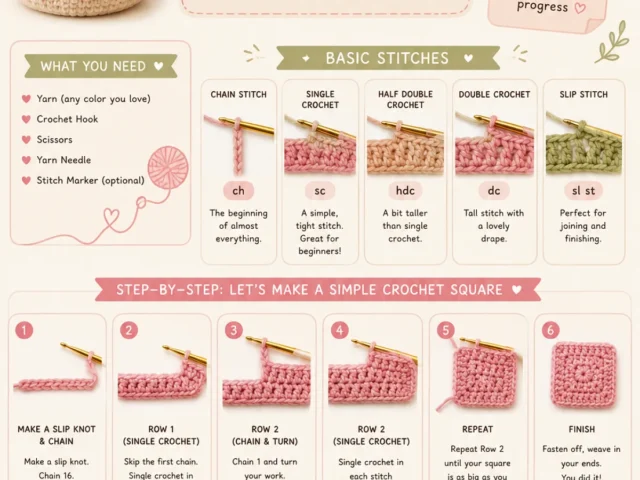
What you need
Worsted weight yarn
A smooth, light-colored yarn in a solid color is easiest for learning. One 100g skein makes several squares.
Crochet hook size H (5 mm)
Matches worsted weight yarn. If your square is too tight or too loose, try a G or I hook.
Scissors
Any small scissors work for cutting yarn.
Yarn needle
For weaving in ends. A blunt-tip needle is best.
What You Need to Start
You only need three things: yarn, a hook, and scissors. A yarn needle helps for weaving in ends, but you can use your hook to pull the tails through if you do not have one.
For your first square, pick a smooth, light-colored worsted weight yarn. Light colors make it easier to see your stitches. A size H (5 mm) hook works well with worsted weight yarn. If you use a different weight, check the yarn band for the recommended hook size.
If your square curls or ruffles, your tension might be off. Try a bigger hook if it curls, a smaller hook if it ruffles.
How to Read the Pattern
This pattern uses US terms. In UK terms, a double crochet is called a treble. The abbreviations are: ch for chain, dc for double crochet, sl st for slip stitch, and sp for space.
You will see instructions like '3 dc in next ch-2 sp'. That means you make three double crochets into the hole formed by the two chains from the previous round. You are not crocheting into the chains themselves, but into the space under them.
Write out the pattern on a small card and keep it next to you. Cross off each round as you finish it.
Round 1: The Center
Start with a magic ring. If you do not know the magic ring, you can chain 4 and join with a slip stitch to make a loop. The magic ring is nicer because you can pull it tight to close the center hole completely.
Chain 3. This counts as your first double crochet. Then make 2 dc into the ring. That makes your first cluster. Chain 2. Make 3 dc into the ring. Chain 2. Repeat two more times so you have four clusters total. End with a chain 2, then slip stitch into the top of the starting chain 3 to close the round.
Count your clusters: you should have four groups of three double crochets, with chain-2 spaces between them.
Round 2: Making the Corners
Slip stitch into the next two double crochets so you are sitting in the corner space. Chain 3, then make 2 dc in the same space. That is half a corner cluster.
Chain 1. In the next corner space, make 3 dc, chain 2, 3 dc. That is a full corner. Chain 1. Repeat this in the next two corners. In the last corner, you already have the first half, so make 3 dc, chain 2, then slip stitch into the top of the starting chain 3 to join.
The chain 1 between corners makes the sides straight. Do not skip it, or your square will pull in.
Round 3 and Beyond
For round 3, slip stitch to the corner space again. Chain 3, 2 dc in the same corner. Chain 1. In the chain-1 space along the side, make 3 dc. Chain 1. At the next corner, make 3 dc, chain 2, 3 dc. Continue this pattern: a side cluster in each chain-1 space, and a full corner in each corner space.
Each round adds one more cluster on each side. So round 3 has two side clusters between corners, round 4 has three, and so on. You can keep going as large as you like.
Lay your square flat every few rounds. It should lie flat without curling. If it ruffles, your hook is too small; if it cups, your hook is too big.
Finishing and Weaving in Ends
When your square is the size you want, cut your yarn leaving a 6-inch tail. Pull the tail through the loop on your hook and tighten. That is your final knot.
Thread the tail onto a yarn needle and weave it through the back of the stitches for about 2 inches. Snip the extra. Do this for every tail, and your square is done.
Weave in ends as you finish each square, not after you join them all. It is much easier to do it while the square is still flat.
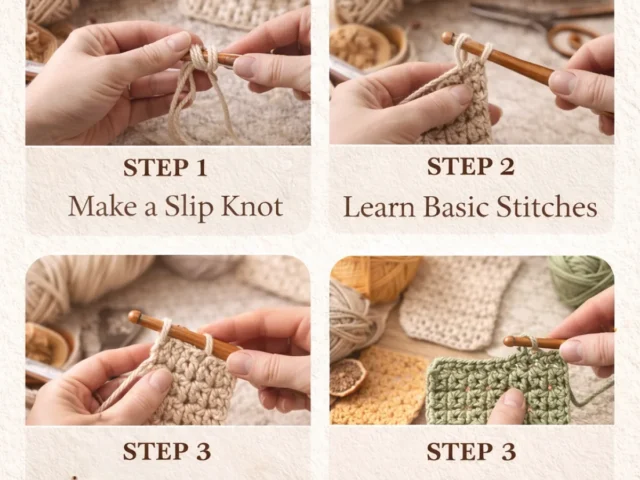
Step
Make a magic ring
Wrap the yarn around your fingers twice, pull a loop through, and chain 3. This counts as your first double crochet.
Work round 1
Make 2 dc into the ring, chain 2, then 3 dc, chain 2, three more times. Join with a slip stitch to the top of the starting chain.
Start round 2
Slip stitch to the next corner space. Chain 3, then 2 dc in the same space. That is half a corner.
Finish round 2
Chain 1, then in the next corner make 3 dc, chain 2, 3 dc. Repeat in the next two corners. In the last corner, make 3 dc, chain 2, and join.
Continue adding rounds
Slip stitch to the corner, chain 3, 2 dc, chain 1. Work a side cluster in each chain-1 space, and a full corner in each corner. Join at the end of every round.
Finish and weave in ends
Cut the yarn, pull through the loop, and weave in the tail with a yarn needle. Repeat for all tails.
Ways to change it
Solid color
Use one color for a classic, uniform look. Great for beginners because you can see the stitches clearly.
Multi-color
Change yarn color at the start of each round. Join the new color in a corner space and cut the old color.
Larger square
Keep adding rounds until you reach the size you want. Each round adds about 1 inch to the width.
Baby blanket
Make 64 squares and join them in an 8 by 8 grid for a 32-inch blanket. Use a soft baby yarn.
Coasters
Stop after round 2 for a 4-inch coaster. Use cotton yarn so it absorbs moisture.
The short version
- The granny square is made of clusters of three double crochets separated by chains.
- Corners are formed by working two clusters with two chains between them in the same space.
- Each new round adds one cluster to each side.
- The magic ring gives a tight, adjustable center.
- Use a light-colored worsted weight yarn and an H hook for your first square.
- Check your square lies flat every few rounds; adjust hook size if it curls or ruffles.
- Weave in ends as you go to save time later.
Questions people ask
Why is my granny square curling?
Curling usually means your tension is too tight or your hook is too small. Try a larger hook, and make sure your chains are not too tight.
Why is my granny square ruffling?
Ruffling means you have too many stitches or your hook is too big. Check that you are working into the spaces, not the stitches, and try a smaller hook.
How do I change colors in a granny square?
Join the new color in a corner space with a slip stitch, then chain 3 and continue the pattern. Cut the old yarn, leaving a tail to weave in.
Can I make a granny square with any yarn?
Yes, but the hook size should match the yarn weight. Check the yarn band for the recommended hook size.
Try your first granny square today
Now you know the basic granny square. Make a few in different colors and you will see how easy it is to join them into anything you like. The more you make, the faster you get, and soon you will be hooking squares without looking at the pattern. Happy hooking!