
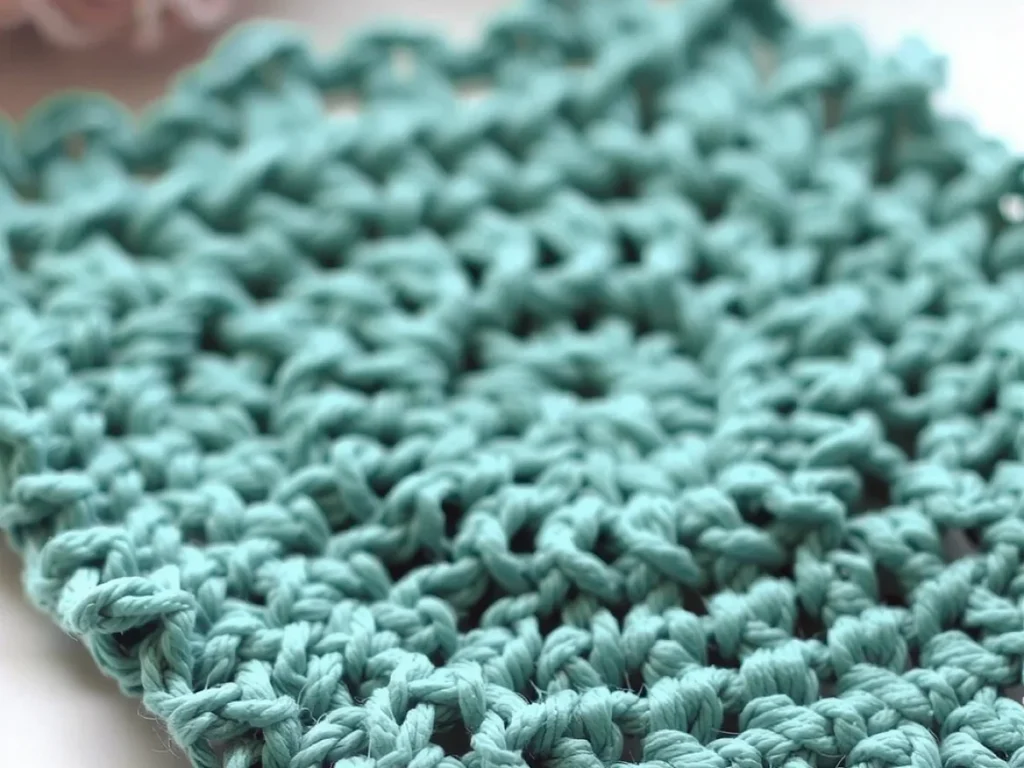
Perfect Crochet Edges: Straight Double Crochet Every Time
Learn the simple trick that keeps your double crochet edges straight and even, without any gaps or slanting.
You finish a row of double crochet, and the edge looks like a staircase.
You finish a row of double crochet, and the edge looks like a staircase. The first stitch is too tall, or the last stitch is missing, or there's a gap that shouldn't be there. It's one of the most common frustrations in crochet, and the fix is simpler than you think.
The trick is to treat the turning chain as a real stitch. Count it, work into it, and your edges will line up row after row. Here's how to do it, why it works, and what to do when things still go wrong.
The secret is to count your turning chain as a stitch and work the last stitch into the top of that chain on the next row. This one habit keeps every edge straight, whether you're making a scarf, a blanket, or a sweater.
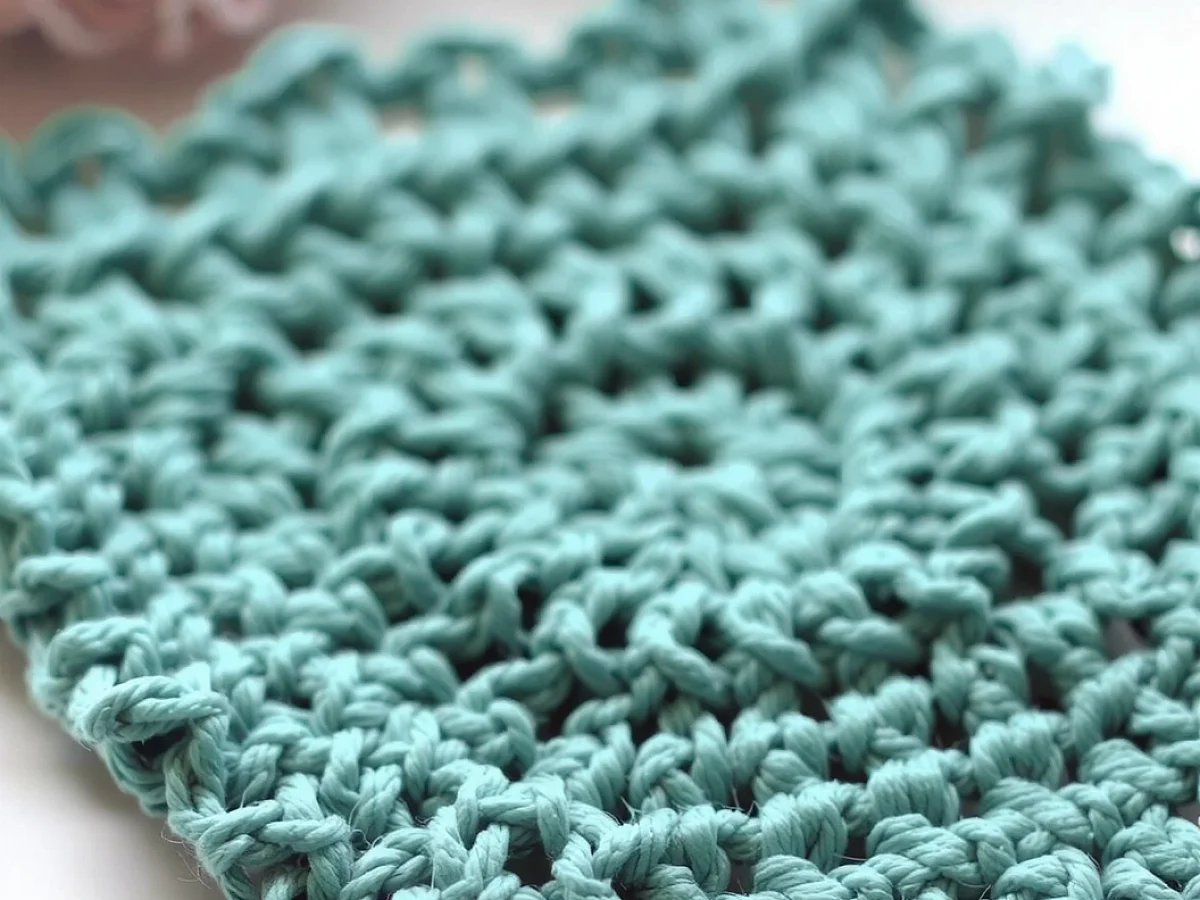
What you need
Yarn
Any yarn works. For practice, use a smooth worsted weight in a light color, so you can see the stitches clearly.
Crochet hook
Use the size recommended on the yarn label. A 5.0 mm hook is a common match for worsted weight yarn.
Stitch markers
Optional, but helpful. You can use safety pins or scrap yarn in a contrasting color.
Why edges go wobbly
When you work double crochet, you start each row with a turning chain of three. That chain stands in for the first double crochet of the row. If you don't count it, you end up with an extra stitch at the start, and the edge bulges outward.
At the end of the row, you're supposed to work the last stitch into the top of that starting chain from the previous row. Miss it, and you lose a stitch. The edge slants inward, and your work gets narrower with every row.
The solution is to always count the turning chain as a stitch. That means you make three chains, skip the first stitch of the row below, and work your first real double crochet into the second stitch. At the end, you work the last double crochet into the top of the previous row's turning chain.
Place a stitch marker in the top of the turning chain on the first row. It will help you find it at the end of the next row, especially when you're using fluffy yarn.
The chain-2 alternative
Some crocheters prefer a chain of two instead of three for double crochet. It makes the edge slightly less tall, which can look neater if your tension is tight. But the same rule applies: count that chain as a stitch.
Try both and see which you like. Chain-2 edges are a bit tighter, chain-3 edges are more standard. There's no wrong choice, just what looks right to you.
What to do when the edge still looks off
If your edge is still wobbly, check your stitch count. Every row should have the same number of stitches, counting the turning chain as one. If it changes, you're either adding or dropping a stitch.
Count after every row for the first few rows. It takes less than a minute and saves you from ripping out an hour of work later.
Another culprit is the last stitch. It's easy to miss because it sits sideways. Look for the V shape on top of the turning chain and work into that.
If you're using a yarn that's hard to see, like black or a fluffy texture, use a light-colored yarn for practice until you get the hang of it.
How to check your work
Lay your piece flat. The side edges should be straight, not curving in or out. If they curve, count your stitches again.
You can also measure the width of your work at the bottom and at the top. They should match. If the top is wider, you're adding stitches. If it's narrower, you're losing them.
Step
Chain a foundation
Chain 12 stitches. This is your foundation chain. It doesn't count as a row.
Work the first row
Double crochet in the fourth chain from the hook. This chain of three counts as your first double crochet. Work one double crochet in each chain across. You should have 10 stitches total, including the chain.
Mark the turning chain
Place a stitch marker in the top of the chain-3 at the start of the row. This is your last stitch of the next row.
Start the next row
Chain 3. Turn your work. Skip the first stitch (the one right next to the hook) and work a double crochet in the next stitch. This keeps the edge straight.
Finish the row
Work double crochet in each stitch across. When you reach the end, work your last double crochet into the marked chain from the previous row. That's the turning chain.
Repeat
Repeat steps 4 and 5 for each new row. Count your stitches after each row to be sure you still have 10.
Ways to change it
Chain-2 turning chain
Use a chain of 2 instead of 3 for a tighter edge. Count it as a stitch just the same.
Single crochet edges
For single crochet, use a chain-1 turning chain and do not count it as a stitch. Work the first single crochet into the same stitch as the chain.
Half double crochet
Use a chain-2 turning chain and count it as a stitch, just like double crochet.
Working in the round
When working in the round, the same principle applies: count the turning chain as a stitch and work the last stitch into the top of it.
The short version
- Count the turning chain as a stitch to keep edges straight.
- Skip the first stitch of the row after the turning chain.
- Work the last stitch of the row into the top of the previous turning chain.
- Use a stitch marker to find the turning chain easily.
- Check your stitch count every row for the first few rows.
- Chain-2 is a good alternative for a tighter edge.
- Practice with a smooth, light-colored yarn to see your stitches clearly.
Questions people ask
Why is my crochet edge curving?
You're probably adding or dropping stitches. Count your stitches each row to make sure the number stays the same.
Do I count the turning chain as a stitch?
For double crochet and half double crochet, yes. For single crochet, no. This is the key to straight edges.
How do I avoid gaps at the beginning of a row?
Skip the first stitch after the turning chain. Working into it creates a gap and adds an extra stitch.
Try this on your next project
Now you know the simple habit that makes all the difference. Count that turning chain, mark it if you need to, and your edges will stay straight from the first row to the last. Grab some yarn and a hook, and give it a try on a small swatch. You'll see the improvement right away.



