
Craft Hacks: 15 Clever Tricks Every DIYer Should Know
Learn 15 practical craft hacks that save time, money, and frustration on your next DIY project.
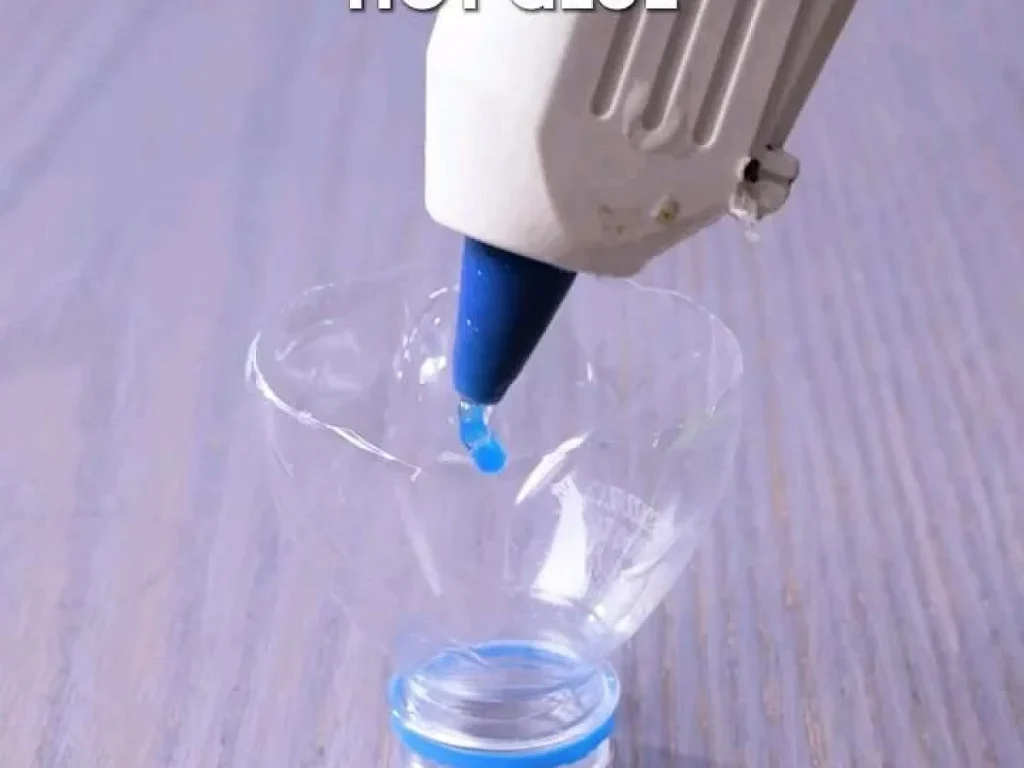
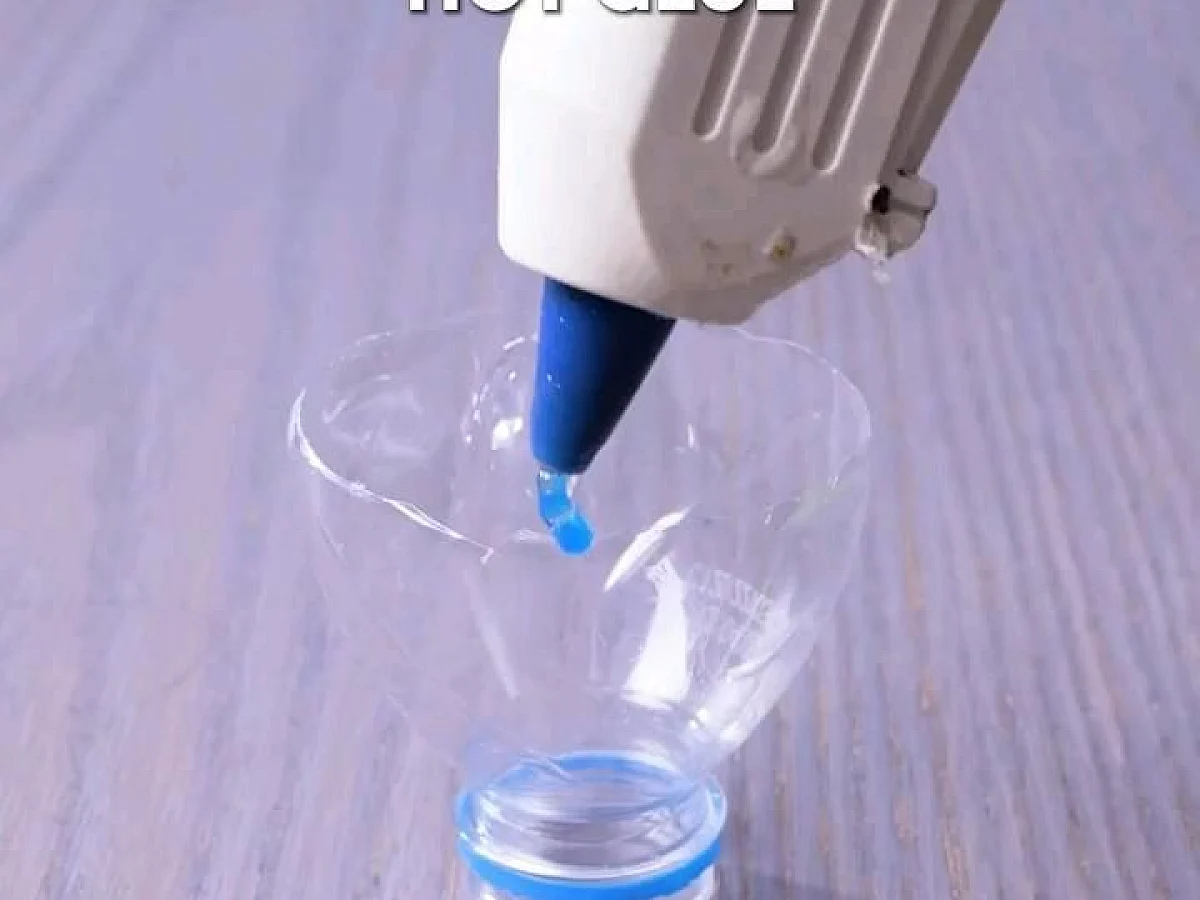
Hot glue gun strings are the worst part of any craft project, but a simple dab of cooking oil on the nozzle stops them for good.
Crafting is fun, but it can also be messy and frustrating. You spend more time cleaning up than creating, and you always seem to be missing the one tool you need.
These 15 craft hacks solve the most common problems. They are simple, tested, and use things you probably already have. No fancy equipment, no special skills, just practical fixes that work.
Craft hacks are small tricks that make DIY projects easier, cheaper, or faster. This guide covers 15 of the most useful ones, from cleaning up glue to making perfect stencils, with clear steps and honest alternatives.
What you need
Hot glue gun
Any standard craft glue gun. You will also need cooking oil and a paper towel.
Freezer paper
Found in the grocery aisle near aluminum foil. One roll lasts for many stencils.
White glue
For making DIY Mod Podge. Use a cheap brand, like Elmer's.
Aluminum foil
For sharpening scissors. Use heavy-duty foil for best results.
Painter's tape
Blue or green tape works well. You will also need clear nail polish or white glue.
Lint roller
Any sticky roller. Keep one in your craft drawer.
1. Stop Hot Glue Strings
Hot glue guns are great, but they leave those annoying strings everywhere. The fix is easy.
Before you start, wipe the nozzle with a little cooking oil on a paper towel. The glue slides off instead of sticking. You will see fewer strings right away. Reapply the oil every few uses.
Keep a small jar of oil near your glue gun. A cotton swab works for a quick touch-up.
2. Make Perfect Stencils with Freezer Paper
Stencils are expensive, but you can make your own with freezer paper. It has a shiny side that sticks to fabric when you iron it.
Draw your design on the paper, cut it out with a craft knife, then iron the shiny side onto your fabric. Paint or stencil over it. When you are done, peel it off. No adhesive residue, and it works on most fabrics.
Use a cutting mat and a new blade for clean edges.
3. Keep Paint from Drying Out
Opened paint cans dry out fast. To keep them fresh, put a piece of plastic wrap over the opening before you press the lid on. The wrap creates a seal that stops air from getting in.
For smaller amounts, store leftover paint in a glass jar. Write the color and date on the lid. It will last for months.
If paint has a skin on top, cut around it and lift it off. The paint underneath is usually fine.
4. Use a Toothpick for Small Glue Drops
When you need a tiny dot of glue, a toothpick is your best friend. Dip it in the glue, then touch it to the surface. You get just the right amount, no mess.
This works for wood glue, super glue, and even craft glue. It is perfect for small embellishments like beads or buttons.
For super glue, use a toothpick and throw it away after. It hardens fast.
5. Clean Up with a Lint Roller
After a crafting session, your table is covered in tiny bits of paper, thread, and glitter. A lint roller picks them all up in seconds.
Keep one in your craft drawer. It is also great for cleaning up glitter from your clothes or carpet.
Use a sticky roller with a long handle for floor spills.
6. Make Your Own Mod Podge
Mod Podge is handy, but you can make a cheaper version at home. Mix equal parts white glue and water in a jar. Shake well.
Use it for decoupage or sealing paper crafts. It dries clear and works just like the store-bought kind. Store it in an airtight container for up to a week.
Add a drop of dish soap to help it spread smoothly.
7. Use a Hole Punch for Clean Corners
When you fold paper or cardstock, the corners often get dog-eared. Punch a small hole in the corner before folding to prevent that.
This works especially well for handmade cards and bookmarks. The hole lets the paper fold without stress.
Use a 1/8-inch hole punch for a subtle effect.
8. Keep Scissors Sharp with Foil
Scissors get dull with use. To sharpen them, cut through a piece of aluminum foil a few times. The foil gently hones the blade.
Fold the foil into a few layers for a stronger effect. Do this every few weeks to keep your scissors cutting cleanly.
Use heavy-duty foil for best results.
9. Prevent Paint Bleed with Painter's Tape
When painting stripes or patterns, paint can bleed under the tape. To stop that, paint a thin layer of clear nail polish or white glue along the tape edge. Let it dry, then paint your color.
The sealant blocks the paint from seeping through. Peel the tape off while the paint is still wet for a crisp line.
Use a credit card to press the tape down tightly.
10. Dry Flowers Faster with a Microwave
Pressing flowers takes weeks, but you can dry them in minutes. Place flowers between two paper towels and microwave for 30 seconds at a time.
Check after each 30-second burst. The flowers should feel dry but not brittle. Let them cool before using. This works best for small, flat flowers like daisies.
Use a microwave-safe plate underneath to catch moisture.
11. Use a Straw to Make Perfect Circles
Need a perfect circle for a craft? Use a drinking straw as a stamp. Dip the end in paint and press it onto your paper.
You can vary the size by using different straws. For a donut shape, use a straw with a hole in the middle. This is great for making patterns or decorations.
Wash and reuse straws for different colors.
12. Keep Thread from Tangling
Thread tangles are frustrating. To prevent them, run the thread through a piece of beeswax or a dry bar of soap before you start.
The wax coats the thread, making it smoother and less likely to knot. This works for hand sewing and embroidery.
For a quick fix, run the thread through your hair to add a little oil.
13. Use a Clothespin as a Clamp
When you need to hold two pieces together while glue dries, a clothespin works as a mini clamp. It is perfect for small projects.
Wooden clothespins are stronger than plastic ones. You can also use binder clips for larger pieces.
Place a piece of cardboard between the clip and your project to avoid marks.
14. Make a DIY Cutting Mat
Cutting mats protect your table, but you can make a cheap one. Use a piece of thick cardboard or a plastic folder.
For a self-healing mat, use a piece of vinyl floor tile. It is thick and can handle repeated cuts. Place it under your work when you cut.
A cheap cutting board from a dollar store works too.
15. Remove Glue Residue with Vinegar
Sticky residue from labels or tape is hard to remove. Soak a cotton ball in white vinegar and rub it over the area.
The vinegar breaks down the adhesive. Let it sit for a minute, then wipe clean. This works on glass, plastic, and most surfaces.
Test on a small spot first to make sure the surface is safe.
Step
Gather your supplies
Read through the list of hacks and pick the ones you want to try. Collect the materials you need, like a glue gun, oil, or freezer paper. Most are things you already have.
Start with the easiest hack
Begin with the lint roller trick or the toothpick glue method. They are simple and give quick results. This builds confidence before you try something like the stencil hack.
Test each hack on a scrap piece
Before you use a hack on your real project, try it on a piece of scrap paper or fabric. This way you can see how it works and adjust if needed.
Clean up as you go
Keep a lint roller and a damp cloth nearby. Wipe up spills right away. This keeps your workspace tidy and makes the next steps easier.
Check your results
After each hack, look at the outcome. Did the glue string stop? Did the paint bleed? If not, re-read the instructions and try again. Most hacks have a simple fix.
Ways to change it
Budget version
Use DIY Mod Podge instead of store-bought. Use cardboard instead of a cutting mat.
Time-saver version
Skip the freezer paper stencil and use painter's tape for simple shapes. Use the microwave flower drying method.
Kid-friendly version
Use the straw circle stamp and the clothespin clamp. Avoid the hot glue gun and sharp tools.
Eco-friendly version
Use a cloth lint roller instead of a disposable one. Use beeswax instead of petroleum-based products.
The short version
- Hot glue strings stop when you oil the nozzle.
- Freezer paper makes cheap, reusable stencils.
- Plastic wrap keeps paint cans fresh for months.
- A toothpick gives you precise glue dots.
- A lint roller cleans up tiny craft debris fast.
- DIY Mod Podge is just glue and water.
- Aluminum foil sharpens scissors in seconds.
Questions people ask
How do I remove hot glue from fabric?
Let the glue dry completely, then peel it off. If it leaves a residue, place a paper towel over it and iron on low heat. The glue melts and transfers to the paper.
Can I use regular paper for stencils?
Yes, but it may tear or bleed. Freezer paper is better because it sticks to fabric and is easy to remove. You can also use cardstock for one-time stencils.
How long does DIY Mod Podge last?
Stored in an airtight container, it lasts about a week. After that, it may get moldy. Make only what you need for your project.
What is the best way to clean a glue gun?
Unplug it and let it cool. Wipe the nozzle with a paper towel while it is still warm. For stubborn residue, heat it again and scrape gently with a wooden stick.
Try one hack today and see how much easier crafting can be.
These 15 craft hacks are simple, cheap, and solve real problems. Pick one to try on your next project. You will wonder how you ever crafted without them. Happy hooking!



