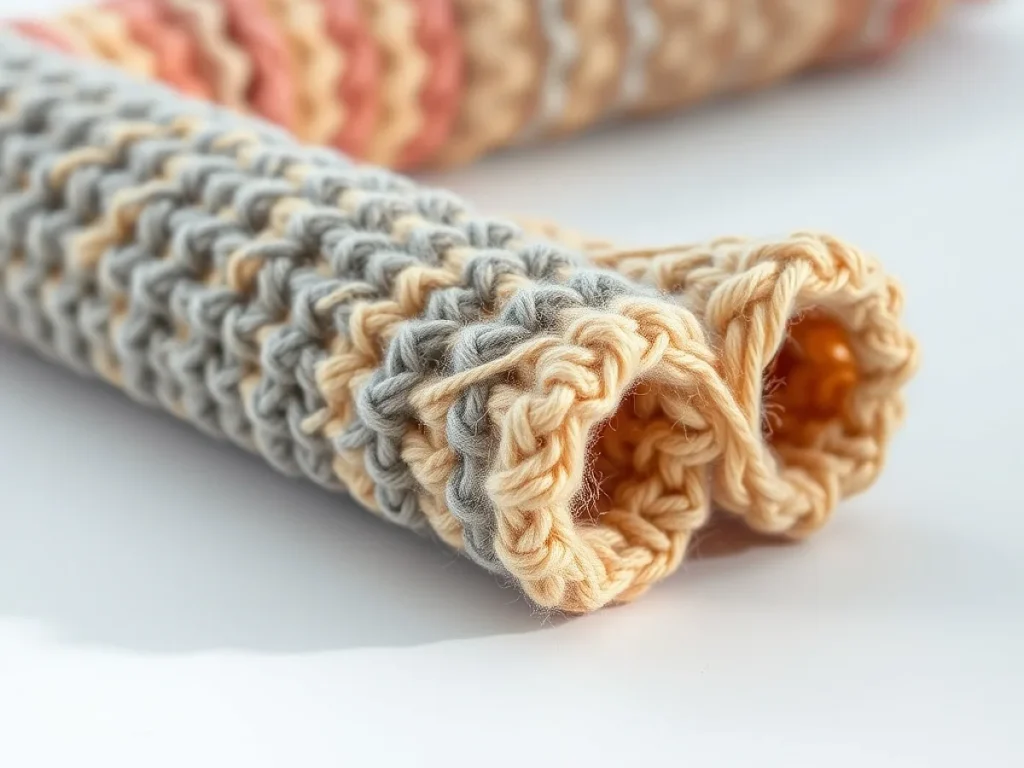
Crocheted Ergonomic Tubes: A Cozy Grip for Your Hooks
Wrap your favorite crochet hooks in soft, squishy tubes that make long stitching sessions easier on your hands.
Your hands ache after an hour of crocheting? A simple crocheted tube over the hook handle can fix that.
Crocheting for long stretches can leave your fingers sore and your grip tired. You could buy a fancy ergonomic hook, but you already have the skills to make your own comfy cover.
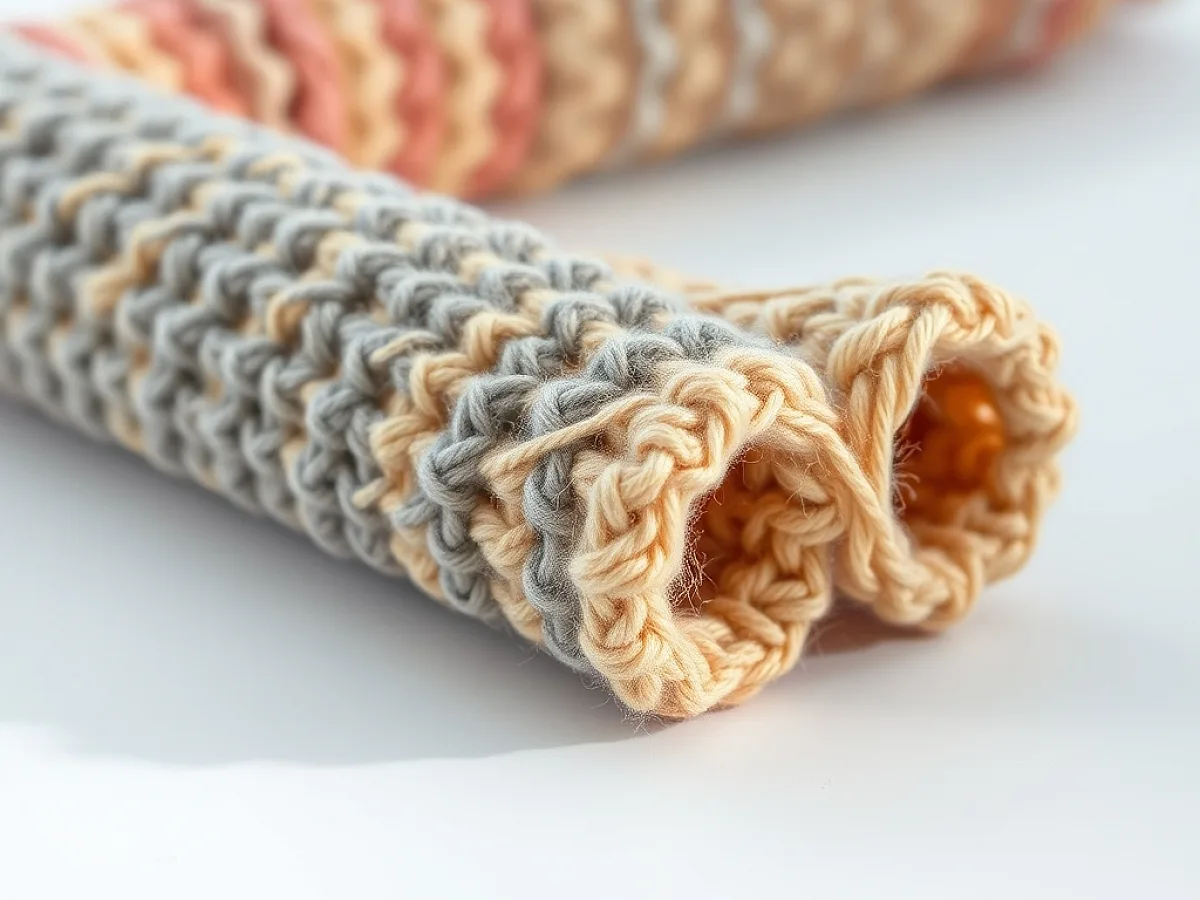
These tubes are exactly what they sound like: a small crocheted cylinder that fits snugly over the handle of your hook. They add a squishy layer that helps you hold the hook more loosely, which eases strain on your joints.
The best part? They are quick, cheap, and totally customizable. You can match them to your yarn stash or make them for friends.
This guide walks you through the whole process, from choosing yarn to sewing the ends. You will end up with a hook that feels like a custom grip.
Crocheted ergonomic tubes are soft, padded sleeves that slip over your hook's handle to give you a better grip and cushion your fingers. You can make one in about 20 minutes with a bit of worsted-weight yarn and a hook one size smaller than your usual.
What you need
Worsted-weight cotton yarn
Soft and grippy; about 10-15 yards per tube. Cotton holds its shape better than acrylic.
Crochet hook (smaller than your target hook)
Use one size smaller than the hook you are covering for a denser fabric.
Yarn needle
For weaving in ends and closing the tube neatly.
Scissors
For cutting yarn.
What exactly is an ergonomic crochet tube?
An ergonomic crochet tube is a small, hollow cylinder you crochet and then slide over the handle of a standard crochet hook. It adds thickness and a soft, grippy surface, so you do not have to clench the hook as tightly.
The tube is closed at one end and open at the other. You slip it over the hook's handle, and the closed end sits near the hook head. The open end covers the back of the handle.
Some people make them to fit a specific hook, but you can also make a slightly stretchy tube that fits several sizes. The yarn and stitch pattern decide the stretch.
For a snug fit, measure the handle's circumference and compare it to your tube's unstretched size. You want the tube to be a little smaller so it stays put.
What yarn and hook should you use?
The best yarn for these tubes is a soft, worsted-weight (medium, #4) cotton or a cotton blend. Cotton does not stretch out too much and feels nice against your skin. Acrylic works too, but it can be slicker.
For the tube itself, use a hook that is one or two sizes smaller than the hook you are covering. That makes the fabric denser and sturdier. For example, if you are covering a 5.0 mm hook, use a 4.0 mm hook for the tube.
You will also need a yarn needle to weave in ends and a pair of scissors. That is it.
- Worsted-weight cotton yarn (about 10-15 yards per tube)
- Crochet hook one size smaller than the hook you are covering
- Yarn needle
- Scissors
If you are using a slippery yarn like bamboo or a shiny acrylic, go down two hook sizes to keep the tube from sliding around.
How to crochet the tube: step by step
These tubes are worked in continuous rounds, starting from a magic ring. The key is to keep the tension even so the tube is smooth and fits well.
Here is the basic recipe. Adjust the starting chain count based on your hook's handle thickness.
Work the first few rounds tightly so the closed end does not have a hole. You can pull the magic ring tail to close it completely.
Common mistakes and how to fix them
The most common issue is a tube that is too loose or too tight. If it is too tight, you will struggle to get it on the hook. If it is too loose, it will slide around while you crochet.
Another mistake is using a yarn that is too thick, which makes the tube bulky and hard to control. Stick with worsted weight or lighter.
If you lose count of your rounds, that is okay. The tube just needs to be long enough to cover the handle, usually 3 to 4 inches. You can eyeball it.
To test the fit as you go, slide the tube onto the hook handle before you close the end. It is easier to adjust then.
How to make the tube stay put
A tube that spins or slips is annoying. The simplest fix is to make the tube a bit snug by using a smaller hook or fewer stitches.
You can also add a few rows of single crochet in the back loop only at the open end. That creates a tighter rim that grips the handle.
If you are still having trouble, a tiny drop of fabric glue or a few stitches through the handle (if it has a hole) can anchor it, but most people do not need that.
Try wetting the tube slightly and then sliding it on. As it dries, it will shrink a little and hug the hook better.
Step
Make a magic ring
Start with a magic ring and work 6 single crochet stitches into it. Pull the tail to close the ring tightly.
Increase to the right width
Work 2 single crochet in each stitch around (12 stitches). Then work one round of single crochet in each stitch. Repeat this pattern until the tube is as wide as your hook handle.
Work even for the length
Once the width fits, single crochet in each stitch around without increasing. Continue until the tube is about 3 to 4 inches long, or covers the handle.
Close the open end
Cut the yarn, leaving a long tail. Thread the tail through the front loops of the last round and pull tight to close the hole. Weave in the end.
Slip it onto your hook
Slide the tube over the handle of your hook. The closed end should sit near the hook head. Give it a little twist to adjust.
Ways to change it
Different yarn
Use a plush chenille or velvet yarn for a super soft feel, but note it may stretch more.
Different stitch
Try half double crochet or double crochet for a faster tube with a different texture.
Thicker grip
Add more increase rounds to make a wider tube for those who prefer a chunkier handle.
Color blocking
Change colors every few rounds for a striped or rainbow effect.
For knitting needles
Make a longer tube to cover the grip area of straight knitting needles.
The short version
- Crocheted ergonomic tubes add a soft, grippy layer to standard hooks.
- Use worsted-weight cotton and a hook one size smaller for best results.
- Work in continuous rounds, starting with a magic ring.
- Measure the handle to ensure a snug fit.
- A few back-loop-only rows at the open end help the tube stay put.
- Each tube takes about 20 minutes to make.
- You can customize with different yarns, colors, and stitches.
Questions people ask
How do I know what size to make the tube?
Measure the circumference of your hook handle and compare it to the tube. The tube should be slightly smaller so it stretches to fit snugly.
Will this work on any hook?
Yes, as long as the handle is smooth and not too thick. You can adjust the starting stitch count to fit any size.
Can I use acrylic yarn?
You can, but acrylic can be slicker and may not grip as well. Cotton or a cotton blend is better.
How do I keep the tube from sliding?
Make the tube snug, add a few back-loop-only rows at the open end, or lightly wet it and let it dry on the hook.
Ready to give your hooks a cozy upgrade?
Now you have a simple way to make any hook feel custom-made. Grab some cotton yarn and your smallest hook, and you will have a comfy grip in no time. Keep it quick and cute!