Crochet Techniques: A Gentle Guide to Clean Stitches
Learn the small habits that make your crochet stitches even, relaxed, and a pleasure to look at.
A loose tension is the most common reason a first scarf twists into a curve.
Crochet feels awkward for the first few hours. Your hands move like they belong to someone else, and the yarn keeps slipping. That passes. What does not pass on its own is tension.
Tension is the evenness of your stitches. It is not about pulling tight. It is about letting the yarn flow at a steady speed while your hook does the work. Once you understand that, most other techniques fall into place.
This guide walks you through the core crochet techniques that keep your work flat and even: holding the yarn, making a foundation chain, working into the back loop, and reading your stitches. You'll learn what goes wrong, how to spot it, and how to fix it gently.
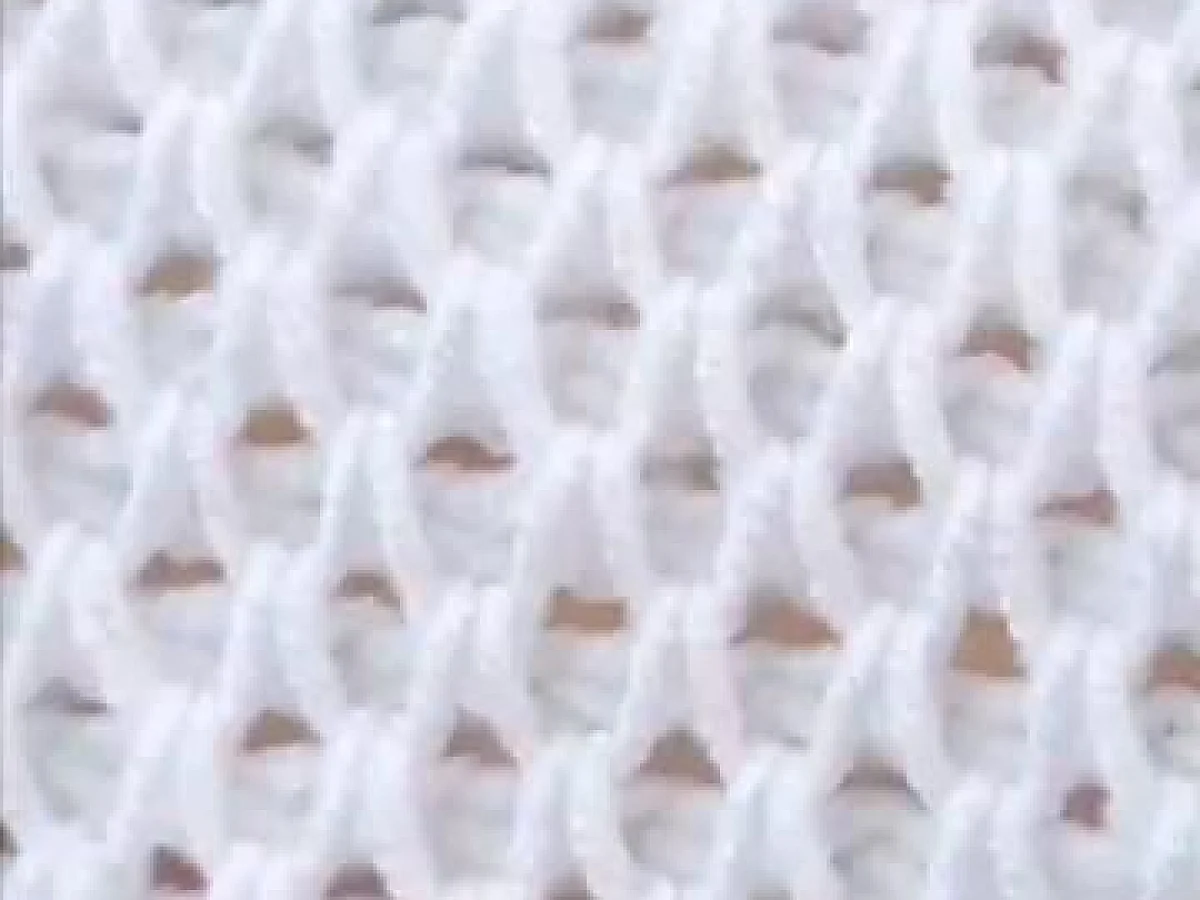
What you need
Yarn
Choose a smooth, light-colored worsted weight yarn for learning. Cotton or a cotton blend is ideal because it does not split as much as fuzzy yarns. You will need about 100 grams for a practice square.
Crochet hook
A 5.0 mm (US H-8) hook works well with worsted weight yarn. If your yarn label suggests a different size, follow that. Metal hooks are smoother than plastic for beginners.
Scissors
Any small scissors will do. You just need to cut the yarn when you finish.
Stitch markers
You can use safety pins or small pieces of contrasting yarn. Markers help you keep track of the first and last stitch in a row.
Why tension is the whole game
Tension decides whether your fabric lies flat, curls, or waves. Tight stitches make the edges pull in. Loose stitches make the fabric stretchy and holey. Neither is wrong, but both are usually accidents.
The fix is not to grip harder. It is to hold the yarn so it slides without catching, and to let the hook find the loop instead of forcing it.
If your rows keep getting narrower, you are probably dropping the last stitch. Count your stitches every row for the first ten rows. It takes seconds and saves a lot of frogging.
Holding the yarn: the relaxed way
Most beginners wrap the yarn around the index finger twice and squeeze. That creates a death grip. You want the yarn to flow like a ribbon through your fingers, not like a rope tied to a post.
Try this: run the yarn over your index finger, under your middle finger, and let it rest against your palm. Your index finger controls the speed. Your other fingers just guide. The yarn should feel loose enough that you can pull it with your hook without moving your hand.
This takes practice. Your hands will cramp for a week. That is normal. Keep the grip light and shake your hands out often.
If the yarn feels sticky, switch to a smooth cotton or a mercerized yarn. Some fibers grab more than others, and that can make tension harder to control.
Foundation chain: the start that sets the tone
The foundation chain is the row you build everything on. If it is too tight, the whole piece puckers. If it is too loose, the bottom edge flares.
Work the chain with a hook one size larger than the one you will use for the body. That single trick fixes most curling edges. For a scarf, use a 5.5 mm hook for the chain and a 5.0 mm hook for the rest.
When you count your chain, do not count the loop on the hook. And when you work into the chain, insert the hook under the top loop only, not under the whole V. That gives a cleaner edge.
If your chain twists, lay it flat and work into the back bumps instead of the top loops. That makes the edge look like a braid and helps it lie straight.
The single crochet: your first real stitch
Single crochet is the shortest stitch and the one beginners learn first. You insert the hook, yarn over, pull up a loop, yarn over, and pull through two loops. That is it.
The trick is to keep your tension loose enough that the hook slides through the loops easily. If you have to yank, you are pulling too tight. Relax your hand and let the hook do the work.
When you finish a row, chain one and turn. That chain one does not count as a stitch. It is just the turning chain that brings the yarn up to the right height.
If your edges look bumpy, you are probably working into the turning chain by mistake. Skip it and work into the first real stitch.
Working into the back loop: a simple texture change
Every stitch has a V shape on top. The front loop is the one closest to you. The back loop is the one farther away.
If you insert your hook only under the back loop, you get a ribbed effect. That is how you make the brim of a hat or the cuff of a sleeve. It also makes the fabric more stretchy.
This technique is easy to spot: you will see a horizontal line running across the row. That is the front loop you skipped.
For a neat ribbing, work into the back loop on every row. Do not alternate. That keeps the lines straight.
Reading your stitches: the skill that saves hours
The most useful crochet skill is not a stitch. It is being able to look at your work and tell a single crochet from a double crochet at a glance.
A single crochet looks like a small V. A double crochet looks like a taller V with a horizontal bar across the top. The bar is the yarn over you did at the start.
When you make a mistake, you can see it. A missed stitch leaves a gap. An extra stitch makes a bump. Count your stitches and compare to the row before. That is the fastest way to find where you went wrong.
Put a stitch marker in the first and last stitch of every row. That way you always know where to turn.
Fixing mistakes without pulling your hair out
You will drop a stitch, add an extra one, or twist your work. Everyone does. The fix is simple: pull out the yarn until you reach the mistake, then redo it. This is called frogging, and it is not a failure. It is part of the process.
If you only need to go back a few stitches, you can use a crochet hook to undo one stitch at a time. Insert the hook into the loop, pull the yarn out, and move to the next stitch. This is called tinking (it is 'knit' spelled backwards, but it works for crochet too).
The important thing is to fix mistakes as soon as you see them. If you wait, you will have to undo more rows, and that is more work.
If you are frogging a row, put a stitch marker in the last good loop before you pull. That way you do not lose your place.
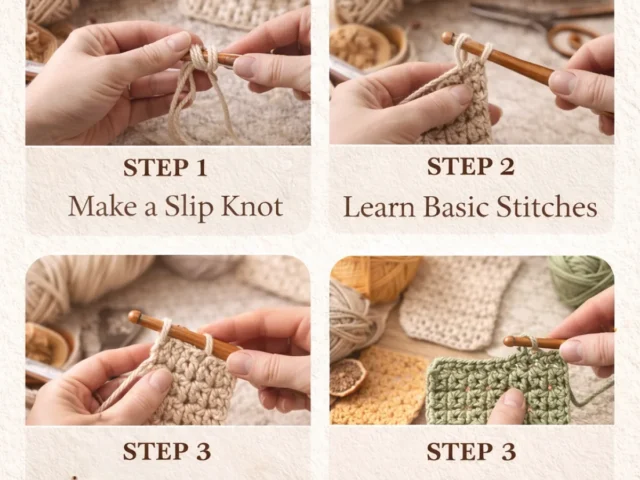
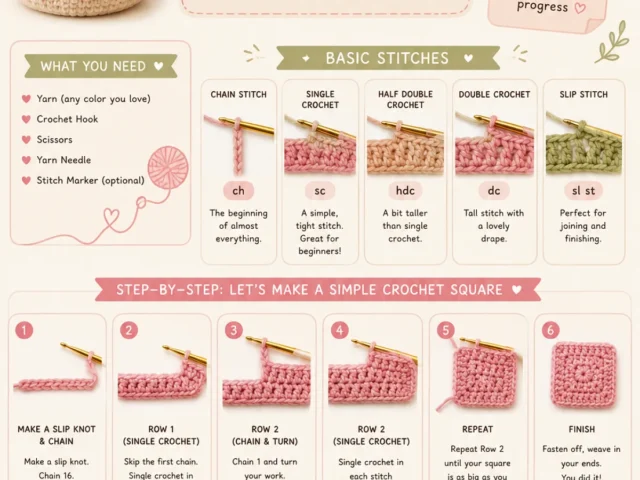
Step
Make a slip knot
Loop the yarn around your fingers, pull a loop through, and place it on the hook. Pull the tail to tighten. The knot should slide easily on the hook.
Chain 10 stitches
Yarn over and pull through the loop on the hook. Repeat nine more times. Count each V on the chain, not the loop on the hook. You should have 10 chains.
Work single crochet into the second chain from the hook
Insert your hook into the top loop of the second chain from the hook. Yarn over, pull up a loop, yarn over, pull through two loops. You have made one single crochet. Work into each chain across. You should have 9 single crochets.
Chain one and turn
Chain one. This does not count as a stitch. Turn your work so the other side faces you.
Work single crochet into each stitch across
Insert your hook under both loops of the first stitch (skip the turning chain). Work one single crochet in each stitch. You should have 9 stitches. Repeat this row until your square is about 10 cm tall.
Finish off
Cut the yarn leaving a 15 cm tail. Pull the tail through the last loop on the hook and tighten. Weave in the ends with a yarn needle.
Ways to change it
Double crochet
A taller stitch that works up faster. Yarn over before inserting the hook, then pull through two loops twice. Good for blankets and shawls.
Half double crochet
A middle ground between single and double. Yarn over, insert, pull up a loop, then pull through all three loops at once. Gives a dense but stretchy fabric.
Working in the round
Instead of turning, you work in a spiral. Use a stitch marker to mark the start of each round. Great for hats and amigurumi.
Using a larger hook
A looser tension creates a lacy, drapey fabric. Use a hook one or two sizes larger than the yarn suggests. Good for scarves and wraps.
Using a smaller hook
A tighter tension makes a firm, structured fabric. Use a hook one size smaller for bags or baskets. It will be harder to insert the hook, so go slowly.
The short version
- Tension is about letting the yarn flow, not pulling tight.
- A larger hook for the foundation chain prevents curling edges.
- Count your stitches every row to catch mistakes early.
- Working into the back loop creates a ribbed texture.
- Reading your stitches helps you find errors faster.
- Frogging is normal and part of learning.
- Stitch markers save time and frustration.
Questions people ask
Why are my edges curling?
Curling usually comes from a foundation chain that is too tight. Try using a larger hook for the chain, or work into the back bumps of the chain instead of the top loops.
How do I keep my tension even?
Practice holding the yarn loosely and let the hook do the work. Count your stitches and check that each row has the same number. Over time, your hands will find a rhythm.
What does 'working into the back loop' mean?
Each stitch has a V shape on top. The back loop is the one farthest from you. Insert your hook under only that loop to create a ribbed effect.
How do I fix a mistake without starting over?
If it is a few stitches back, you can tink: undo one stitch at a time. If it is further back, frog: pull out the yarn until you reach the mistake, then redo. Always put a marker in the last good loop.
Pick up your hook and try one of these techniques today
Crochet is a skill of small adjustments. You will make a wobbly square first, and that is fine. Each row teaches your hands something. Keep your grip light, count your stitches, and do not be afraid to pull out a row. Stitch with ease.