Crochet Chart Archive: Find Your Next Pattern Fast
Browse a hand-picked gallery of crochet charts, from simple motifs to intricate lace, and learn how to read them in minutes.
You've seen those little grid diagrams with symbols, and they look like a secret code.
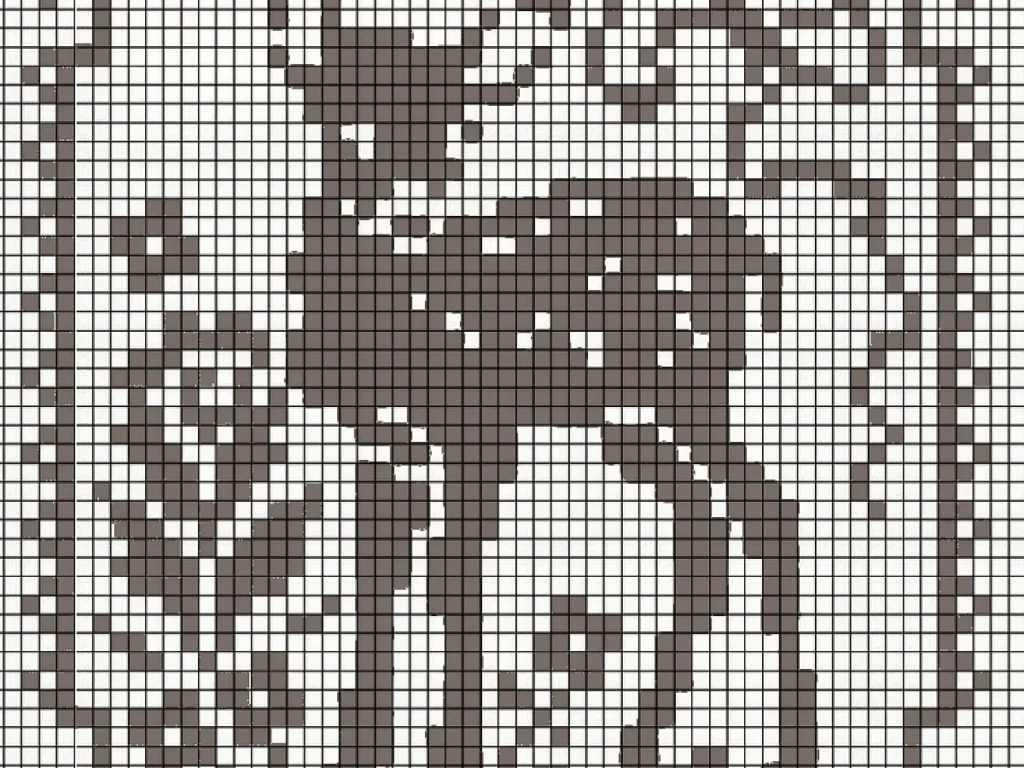
Crochet charts are like maps for your hook. Instead of reading long written instructions, you see the whole pattern at a glance. Each symbol stands for a stitch, and the grid shows where to put your hook.
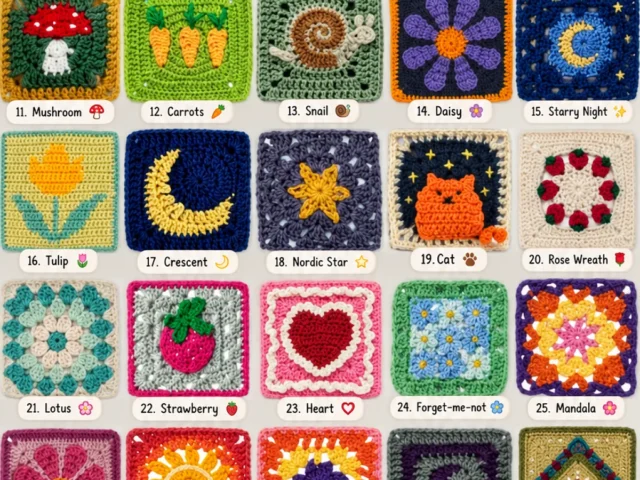
This archive pulls together charts I've found and organized, from simple squares to fancy lace. You'll also get quick tips on reading them, plus ways to change any pattern to make it your own.
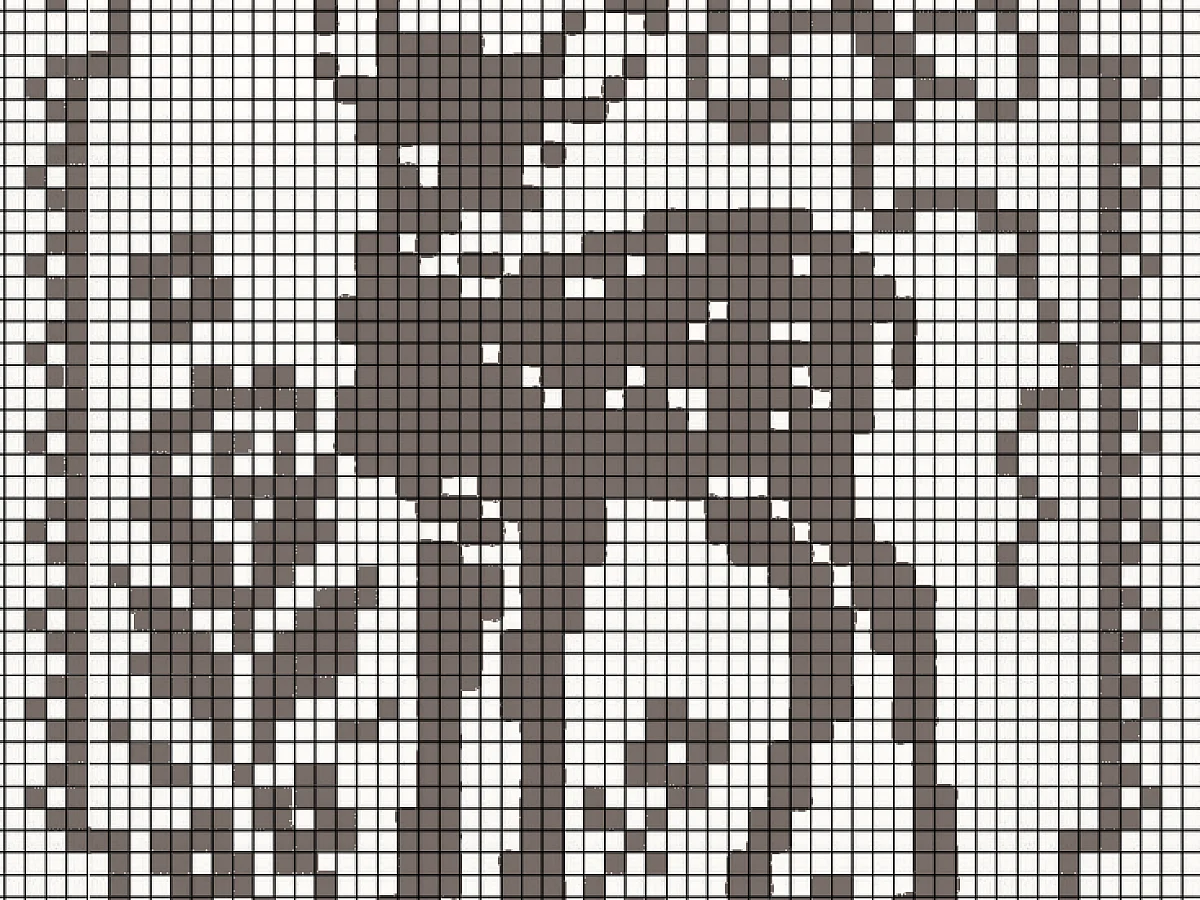
This archive collects crochet charts in one place so you can find inspiration and learn to read them. Each chart shows the stitch pattern row by row, and once you know the basic symbols, you can follow any of them.
What you need
Crochet hook
Use the hook size recommended for your yarn. A smaller hook makes a tighter fabric, a larger hook makes a looser one.
Yarn
Choose a yarn weight that matches the chart's recommendation. Worsted weight is a good all-purpose choice for practice.
Stitch markers
Use them to mark the beginning of rounds or specific stitches. They help you keep track of your place.
Chart key
Print or keep the key handy. You'll need it to know what each symbol means.
What exactly is a crochet chart?
A crochet chart is a diagram that shows the pattern using symbols. Each symbol represents a stitch, like a chain, single crochet, or double crochet. The chart is read from the bottom up, usually in rows or rounds.
Charts are great because they show the shape of the work. You can see where increases and decreases happen, and how the pattern is built. Once you learn the basic symbols, you can read any chart.
- Symbols are universal, so you can use charts from any country.
- Charts are easier to follow for visual learners.
- They save space compared to written instructions.
Print the chart and use a highlighter to mark the row you're working on. It's easy to lose your place in a grid.
How to read a crochet chart
Start at the bottom right corner. For rows, read from right to left on the first row, then left to right on the second, and so on. For rounds, read counterclockwise.
Each symbol is one stitch. The key tells you which symbol means which stitch. Common ones: an oval is a chain, a plus sign is a slip stitch, a small vertical line is a single crochet, and a T shape is a double crochet.
Pay attention to the turning chain. It often counts as the first stitch of the next row. If the chart shows a chain at the beginning, that's your turning chain.
- Check the key before you start.
- Count your stitches after each row to catch mistakes early.
- Use a ruler or a piece of paper to keep your place.
If you're new to charts, start with a small motif like a granny square. It's simple and you'll learn the symbols quickly.
Where to find crochet charts online
You can find charts on Pinterest, Ravelry, and many crochet blogs. Search for 'crochet chart' or 'crochet diagram' and you'll get thousands of results.
Pinterest is great for visual inspiration. You can save charts to boards and build your own archive. Ravelry has a huge database of patterns, many with charts included.
Free charts are everywhere, but check the designer's terms. Some allow you to sell finished items, others don't.
- Pinterest: search 'crochet chart' for endless ideas.
- Ravelry: filter patterns by 'chart' in the pattern details.
- Blogs: many designers offer free charts with written instructions.
Save charts to a dedicated Pinterest board so you can find them later. Add notes like 'easy' or 'lace' to each pin.
How to use this archive
This archive is a curated collection of crochet charts I've gathered. Each entry includes the chart image, a difficulty rating, and the type of project it's good for.
You can browse by category, like 'motifs', 'edgings', or 'afghans'. Or you can search for a specific stitch name.
Use the charts as they are, or mix and match. Combine a motif with a different border, or change the yarn weight to make a project bigger or smaller.
- Find a chart that matches your skill level.
- Look at the finished item photo to see how the pattern looks in real life.
- Check the yarn weight and hook size recommended, but feel free to substitute.
Don't be afraid to try a chart that looks complicated. Start with the first few rows and see if it clicks.
Common mistakes when reading charts
One big mistake is misreading the turning chain. If the chart shows a chain at the start of a row, it usually counts as the first stitch. If you skip it, your stitch count will be off.
Another is reading the chart in the wrong direction. Remember, you work back and forth, so the direction alternates each row.
Also, some charts show the right side only. You might need to repeat the pattern or work the wrong side differently. Check the key or the written instructions if available.
- Always count your stitches after each row.
- Use stitch markers to mark the beginning of rounds.
- If something doesn't look right, frog it and start again – it's faster than trying to fix it.
If you're stuck, take a photo of your work and compare it to the chart. Sometimes a fresh eye helps.
How to make a chart pattern your own
Once you can read a chart, you can change it to fit your needs. Change the yarn weight to make a smaller or larger item. Use a different color palette to match your decor.
You can also combine charts. Use a motif as a centerpiece and add a border chart around it. Or repeat a chart to make a larger piece like an afghan.
If a chart has a mistake or you don't like a part, you can edit it. Draw your own chart on graph paper or use chart-making software.
- Substitute yarn: a thicker yarn makes a bigger, warmer project; a thinner yarn makes a delicate one.
- Change colors: use variegated yarn for a different look.
- Add a border: a simple single crochet edge can finish a project neatly.
Before you start, make a small swatch to test the chart. It saves time and yarn if you need to adjust.
Step
Choose a chart
Pick a chart from the archive or online that matches your skill level. Start with a small motif if you're new to charts.
Gather your supplies
Get the yarn and hook size recommended on the chart. If you're substituting, make a small swatch first to check gauge.
Read the chart key
Look at the key to understand each symbol. Keep it next to you while you work.
Start crocheting
Begin with the foundation chain or magic ring as shown. Work the first row or round, reading the chart in the correct direction.
Continue row by row
Follow the chart, turning at the end of each row. Count your stitches regularly to catch mistakes.
Finish off
When the chart is complete, fasten off and weave in ends. Block your work if needed to even out the stitches.
Ways to change it
Different yarn weight
Use DK or sport weight for a finer fabric, or bulky weight for a quick, cozy project.
Color changes
Use multiple colors to create stripes or colorwork. You can also use variegated yarn for a self-striping effect.
Add a border
Finish the edges with a simple single crochet or scalloped border to give it a polished look.
Combine charts
Use a motif as a center and add a different edging chart around it to create a unique piece.
Scale up or down
Repeat the chart more times to make a larger item, or stop early for a smaller one.
The short version
- Crochet charts use symbols to represent stitches, making patterns easy to visualize.
- Read charts from the bottom up, alternating direction each row.
- Always check the key to know what each symbol means.
- Start with a simple chart to learn the basics before tackling complex lace.
- Use stitch markers and count stitches to avoid mistakes.
- You can easily change a chart by swapping yarn or adding a border.
- Free charts are available on Pinterest, Ravelry, and many blogs.
Questions people ask
What is a crochet chart?
A crochet chart is a diagram that shows the pattern using symbols. Each symbol represents a stitch, and the chart is read like a map.
How do I read a crochet chart?
Start at the bottom right corner. Read the first row from right to left, then the second row from left to right. Continue alternating. For rounds, read counterclockwise.
Are crochet charts easier than written instructions?
Many people find them easier because they show the shape of the work. You can see where increases and decreases happen. But it depends on your learning style.
Where can I find free crochet charts?
Pinterest, Ravelry, and many crochet blogs offer free charts. Search for 'crochet chart' or 'crochet diagram'.
Can I sell items made from a crochet chart?
It depends on the designer. Some allow it, others don't. Always check the pattern's terms of use.
Start your crochet chart collection today
Crochet charts open up a whole new way to work. They're clear, compact, and easy to follow once you know the basics. Start with a simple chart, keep this guide handy, and soon you'll be reading charts like a pro. Keep it quick and cute!