
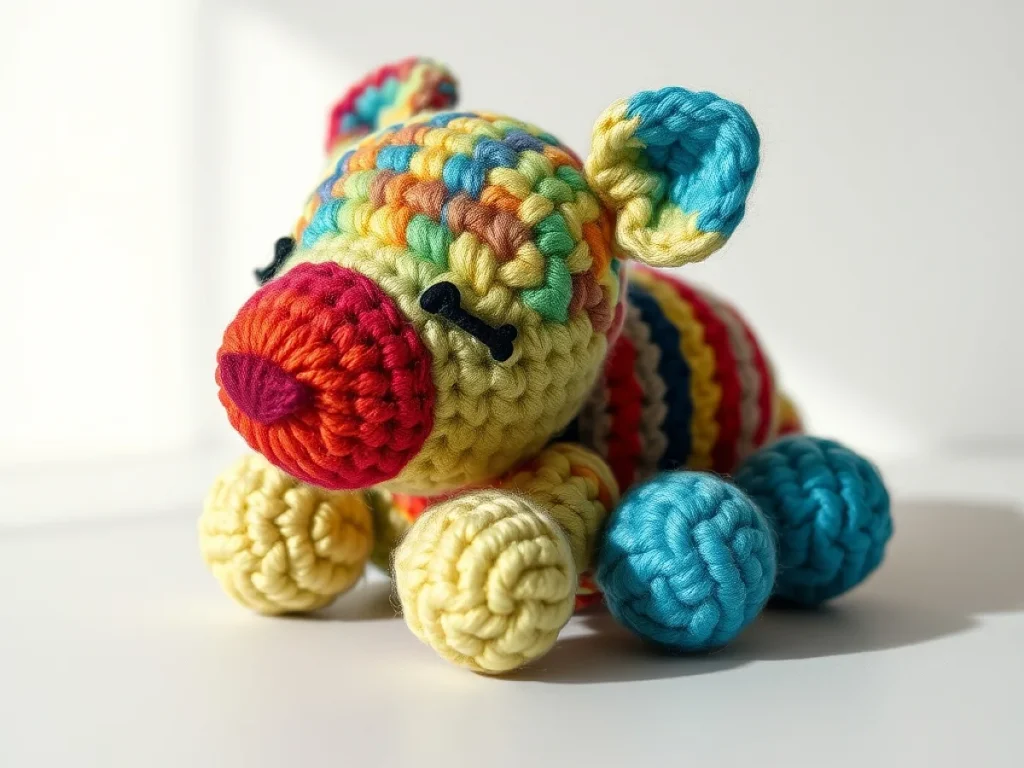
How to Crochet a Colorful Animal Figurine
Make a small, bright animal toy with basic crochet stitches and your own color choices.
A crocheted animal figurine is just a ball with ears, a snout, and a few colors.
Think of a tiny owl, a striped bee, or a fox with a cream muzzle. That is what you can make with one ball of yarn and a few hours.
This guide shows you how to build a basic animal shape, then change the colors and details to make it your own. You do not need to follow a specific pattern for a certain animal; you learn the method, then you decide what it becomes.
You can crochet a small, colorful animal figurine in an evening using worsted weight yarn and a 3.5 mm hook. The whole body is worked in continuous rounds, and you add the face and details with simple embroidery.
What you need
Worsted weight yarn
Smooth, light color for the body. You need about 50 grams for a small figure.
3.5 mm crochet hook
Or a size that gives a tight fabric. Adjust if needed.
Stuffing
Polyester fiberfill works well. You need a handful for a small toy.
Yarn needle
Blunt tip for sewing parts and weaving ends.
Scissors
For cutting yarn.
Stitch marker
A small ring or a piece of contrasting yarn to mark the start of each round.
Embroidery floss or yarn
For the face details. Use a contrasting color.
What yarn and hook should you use?
Use worsted weight yarn, which is medium weight. A 3.5 mm hook works well for a tight fabric that keeps stuffing inside.
The gauge is not critical for a toy, but aim for a firm fabric. If you can see the stuffing through the stitches, your hook is too big.
For a first figurine, choose a smooth, light-colored yarn for the body. It is easier to see your stitches and count rounds.
If you only have bulky yarn, use a 4.5 mm hook and make a larger toy. Adjust the number of stitches if needed.
How do you start the body?
Start with a magic ring. Work 6 single crochets into the ring. Pull the tail to close it tightly.
Then increase evenly: 2 single crochets in each stitch around makes 12. Next round, work 1 single crochet, then 2 in the next, repeat around for 18.
Keep increasing until you have 30 stitches. That is about 5 rounds of increases.
Then work even rounds without increases until the body is as tall as you want. For a 3-inch figure, that is about 8 even rounds.
Stuff the body firmly as you go, especially before you close it.
Use a stitch marker to mark the first stitch of each round. It is easy to lose count in continuous rounds.
How do you close the top?
When the body is the right height, start decreasing. Work 3 single crochets, then single crochet 2 together, repeat around. That reduces the stitch count by 6.
Next round, work 2 single crochets, then decrease, repeat. Keep decreasing until you have a small opening.
Add more stuffing before the hole gets too small.
When you have about 6 stitches left, cut the yarn leaving a long tail. Thread the tail through the front loop of each stitch and pull tight to close. Weave in the end.
If the fabric puckers, you decreased too fast. Rip back one round and try again.
How do you add ears, arms, and a face?
For ears, make small circles or ovals separately. For a cat, make two triangles: chain 3, then single crochet in the second chain from hook and in the next chain. Fasten off, leaving a tail for sewing.
Sew the ears onto the head at the top, about 3 stitches apart. Position them before you sew so they look even.
For arms, make small tubes or simple chains with a few single crochets. Sew them to the sides of the body.
For the face, use embroidery floss or yarn. Embroider eyes with French knots or satin stitches. For a snout, sew a small oval of felt or crochet a tiny circle in a contrasting color.
Add a smile with a simple backstitch. Place the face features before sewing them so you can adjust.
Use a yarn needle with a blunt tip. It is easier to sew through the fabric without splitting the yarn.
How do you choose colors that look good together?
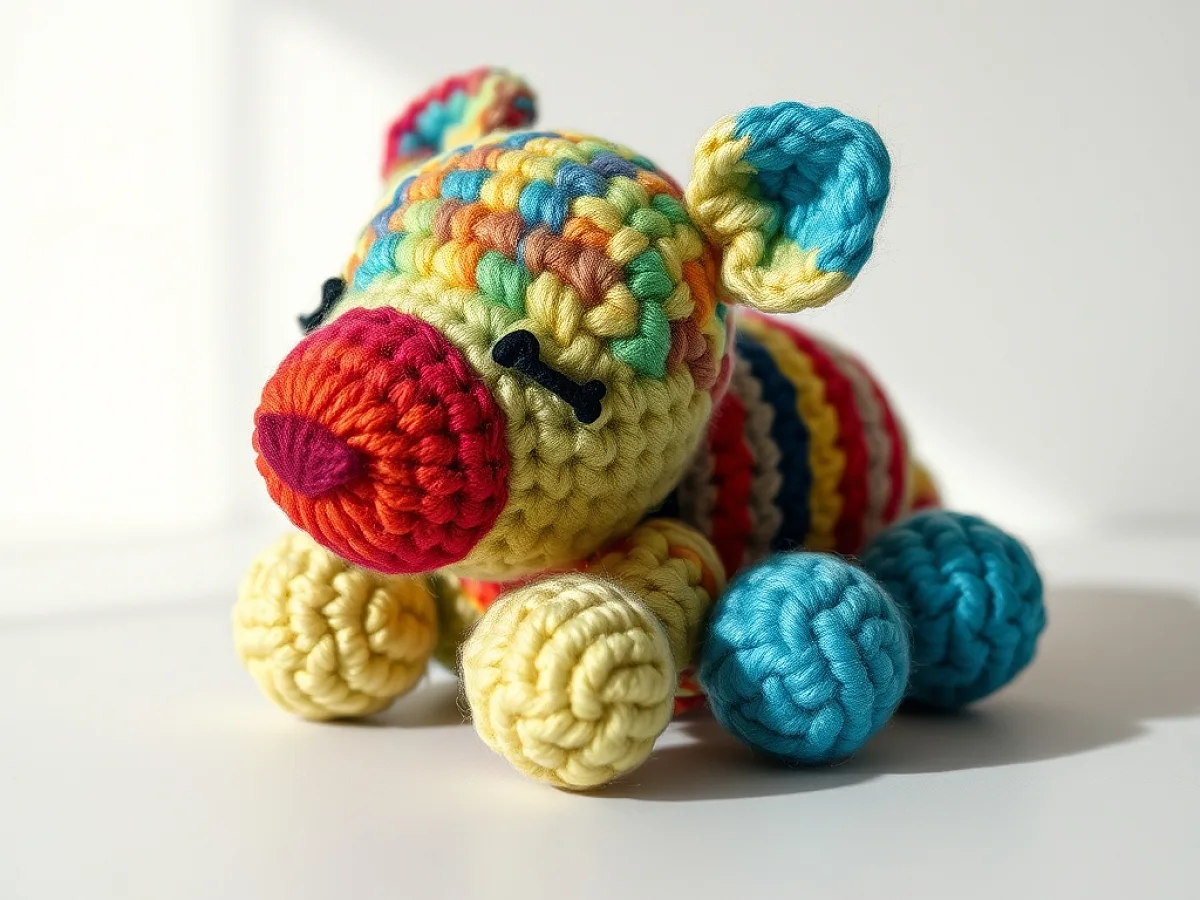
Pick a main color for the body, a secondary color for the ears and limbs, and a contrasting color for the belly or snout.
Look at a color wheel. Colors next to each other, like blue and green, look calm. Colors opposite each other, like purple and yellow, look bold.
For a rainbow animal, change colors every few rounds. Carry the unused yarn up the inside, or cut and weave in ends.
If you are unsure, use a neutral body like cream or gray, then add bright accents.
Test your color combo by holding the yarns together. If they clash, swap one.
How do you fix common mistakes?
Holes appear when you crochet too loosely. Use a smaller hook or pull the yarn tighter.
If the body is lopsided, your increases are not in the same place each round. Place them evenly, or it will lean.
Stuffing pokes out if the fabric is loose. Use a smaller hook or double the yarn.
If the head is too big, you increased too many rounds. Start over with fewer increase rounds.
If the ears flop, make them thicker by working a slip stitch around the edge, or sew them on more securely.
When in doubt, rip it out. Frogging is faster than trying to fix a wobbly toy.
Step
Make a magic ring
Wrap the yarn around your finger, insert the hook, and pull up a loop. Chain 1, then work 6 single crochets into the ring. Pull the tail to close.
Increase to 30 stitches
Round 2: 2 single crochets in each stitch (12). Round 3: 1 single crochet, then 2 in the next, repeat (18). Continue increasing evenly until you have 30 stitches. That is about 5 rounds.
Work even rounds
Single crochet in each stitch around for about 8 rounds. This makes the body. Stuff it firmly before you close.
Decrease to close
Work 3 single crochets, then single crochet 2 together, repeat around. Next round, 2 single crochets, then decrease. Keep decreasing until 6 stitches remain. Cut yarn and pull through to close.
Make and attach features
Crochet small ears, arms, and a snout. Sew them onto the body. Embroider the eyes and mouth with contrasting yarn.
Ways to change it
Make it a bear
Add round ears and a brown nose. Use a darker shade for the muzzle.
Make it a bunny
Add long ears and a fluffy tail. Use white or pink accents.
Make it a bee
Use yellow and black stripes. Add small wings from white felt or crochet.
Make it a monster
Use bright colors and add horns or spikes. Make the eyes different sizes.
Make it bigger
Use bulky yarn and a 5 mm hook. Increase to 36 or 42 stitches for a larger body.
Make it a keychain
Use thinner yarn and a 2.5 mm hook. Attach a keyring to the top.
The short version
- Use worsted weight yarn and a 3.5 mm hook for a tight fabric.
- Start with a magic ring and increase evenly to 30 stitches.
- Work even rounds to shape the body, then decrease to close.
- Make ears and other features separately and sew them on.
- Embroider the face last, after positioning.
- Choose colors that contrast for a bold look.
- If you see stuffing, your hook is too big.
Questions people ask
How long does it take to crochet a small animal figurine?
It takes about 2 to 3 hours for a beginner. Once you know the basic shape, you can make one in an evening.
What stitches do I need to know?
You need to know how to make a magic ring, single crochet, increase, and decrease. If you can do those, you can make this figurine.
Can I use any yarn?
Yes, but worsted weight is easiest to work with. If you use a different weight, adjust your hook size and the number of stitches.
How do I change colors without leaving a bump?
When you are about to complete the last stitch in the old color, yarn over with the new color and pull through. Then continue with the new color.
My toy is lopsided. What did I do wrong?
Your increases were probably not placed evenly. Make sure you work them in the same spot each round, or spread them out evenly around the circle.
Grab your yarn and make your own little animal
Now you have a simple animal shape that you can turn into any creature you like. Pick your colors, make the features, and you have a gift or decoration that looks handmade and bright. Start with one color for the body, then add details. You will get better with each one you make. Happy hooking!



