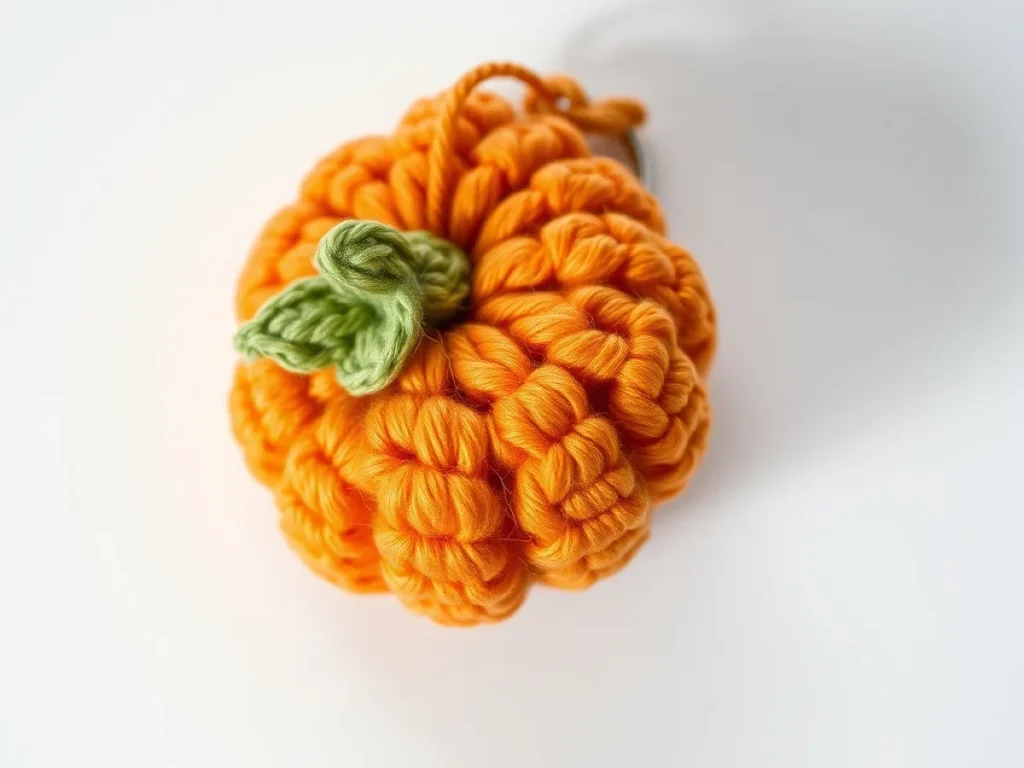
Make an adorable crochet pumpkin keychain
You’ll finish a tiny orange pumpkin that fits a keyring in under 30 minutes.
A single skein of worsted yarn can become a tiny pumpkin in about 20 minutes.
Autumn brings tiny orange accents that brighten bags and keys. A crochet pumpkin fits that mood perfectly, and it only needs a few simple steps.
This project is gentle on beginners yet satisfying for anyone who likes a quick, useful amigurumi.
Yes, you can crochet a pumpkin keychain with basic stitches. Follow the guide and you’ll have a charming autumn charm ready for your keys.
What you need
Yarn
Worst ed acrylic in orange; about 50 g is enough and costs under $5.
Hook
3.5 mm (E) hook works well with worsted weight; a steel hook gives a tighter stitch.
Keyring
Standard 1 inch metal keyring; any size that fits your pocket.
Yarn needle
Blunt‑tipped, size 6‑7 for weaving ends.
Scissors
Sharp enough to cut yarn cleanly.
Supplies you’ll need
Gather a skein of worsted acrylic yarn in orange, a small amount of green yarn for the stem, a 3.5 mm (E) hook, a yarn needle, a keyring, and a pair of scissors.
- Orange worsted yarn (≈50 g)
- Green yarn for stem (≈10 g)
- 3.5 mm (E) crochet hook
- Yarn needle
- Metal keyring
- Scissors
A cotton blend works too and can be machine‑washed later.
Understanding the pumpkin shape
The pumpkin forms from a magic ring that expands, then tightens as you decrease. This creates a rounded belly that tapers naturally.
Counting stitches each round lets you see the shape change, so you know when to start decreasing.
If a round feels too loose, add one extra increase before you begin decreasing.
Crocheting the body
Start with a magic ring, 6 single crochets (sc) inside, then pull tight. Work 2 sc in each stitch for round 2 (12 sc). Continue increasing every other round until you have 24 sc, which gives the widest part.
Once you reach 24 sc, begin decreasing: sc two together (sc2tog) every few stitches to narrow the bottom. Stop when the opening is small enough to close with a few hidden stitches.
The body is done when the opening is about 1 cm wide; you’ll close it later with a few invisible stitches.
Adding the stem and finishing
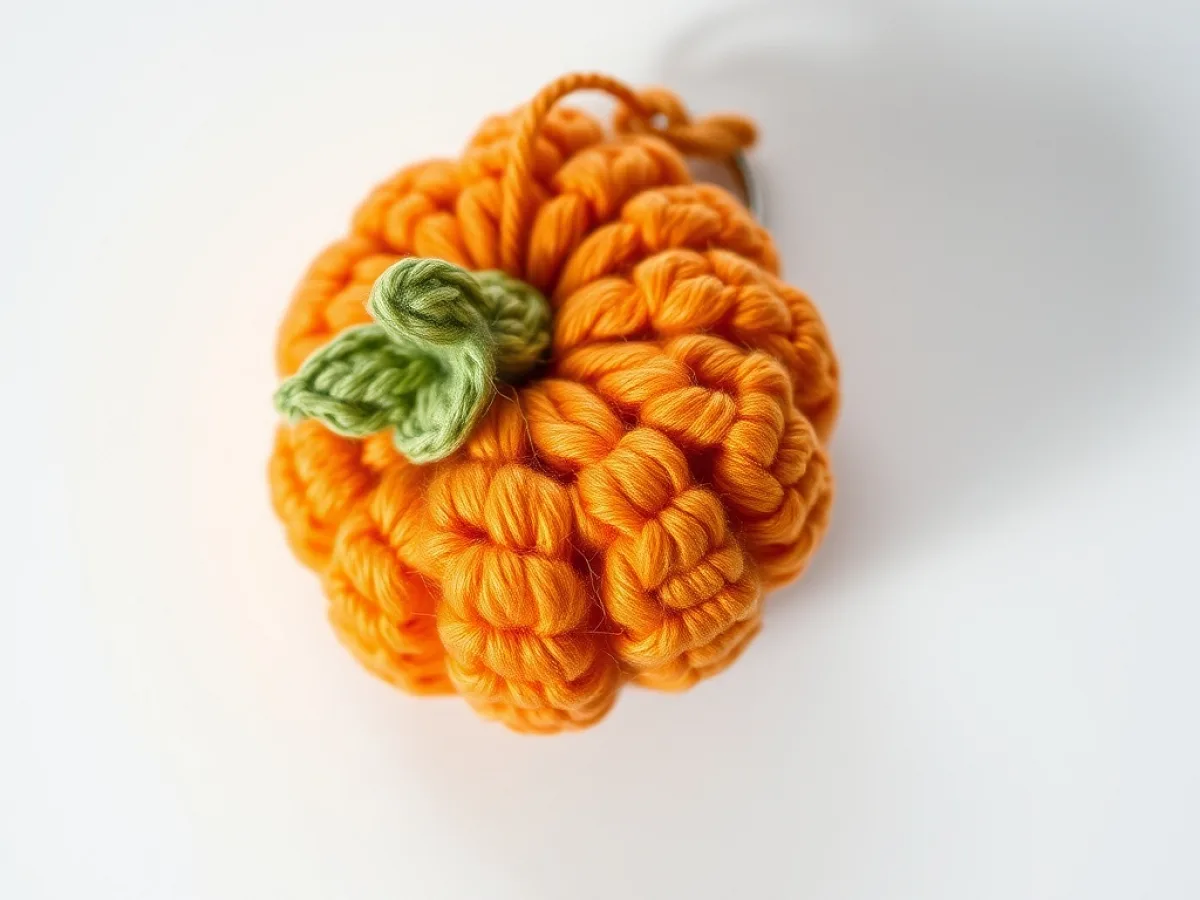
Switch to green yarn. Slip stitch a short loop for the stem, then work 4 sc in a row, finish with a slip stitch, and pull tight.
Weave in all ends with the yarn needle, then attach the keyring through the stem loop. Give the pumpkin a gentle squeeze to flatten any gaps.
A tiny piece of fabric tape inside the stem helps the keyring stay secure.
Troubleshooting common hiccups
If the pumpkin feels floppy, you likely used a larger hook; switch to the recommended 3.5 mm size.
Loose stitches often mean the magic ring wasn’t tightened enough; re‑pull the tail and work the first round again.
Uneven stems happen when you miss a slip stitch; count the stitches before changing colors to stay aligned.
Check your stitch count every round; a quick tally prevents shape surprises later.
Step
Gather supplies
Collect yarn, hook, keyring, needle and scissors as listed in the essentials.
Create magic ring
Form a loop, pull the tail through, and tighten to make a tight circle.
Round 1 – foundation
Insert hook, pull up a loop, 6 sc into the ring, pull tail to close.
Round 2 – increase
2 sc in each stitch; you now have 12 sc.
Rounds 3‑5 – grow
Increase evenly each round until you reach 24 sc, the pumpkin’s widest part.
Round 6 – start decreasing
sc2tog every 8 stitches; you’ll see the belly narrow.
Round 7 – close opening
Continue sc2tog until the opening is about 1 cm, then fasten off leaving a long tail.
Add stem
Switch to green yarn, slip stitch a short loop, 4 sc, slip stitch, pull tight.
Weave in ends
Thread the tail onto the needle and hide all ends inside the pumpkin.
Attach keyring
Slide the keyring onto the stem loop, give a gentle squeeze, and your keychain is ready.
Ways to change it
Larger pumpkin
Use a 4 mm hook and add two extra increase rounds for a 6 cm tall charm.
Different color palette
Try orange‑red yarn or a pastel hue for a seasonal twist.
Cotton yarn
Makes the keychain washable; works best with a slightly larger hook.
Embroidered eyes
Add two black seed stitches after the body is closed for a face.
Bag charm version
Leave a longer stem loop and attach a small chain instead of a keyring.
The short version
- A magic ring gives a tight start and smooth center.
- Increasing to 24 sc creates the pumpkin’s widest part.
- Decrease evenly to shape the bottom and close the opening.
- Switch to green yarn for a simple stem that holds the keyring.
- Weaving in ends hides any loose yarn and strengthens the piece.
Questions people ask
Can I use a different hook size?
Yes, a larger hook makes the pumpkin softer and a smaller hook tightens the stitch; adjust yarn weight accordingly.
How do I know when the body is the right size?
When the round measures about 4 cm across and the opening is small enough to close with a few hidden stitches, the size is right.
Give the pumpkin keychain a try today
After you finish, keep the keychain away from sharp edges and it will stay bright through many seasons. Stitch with ease.