
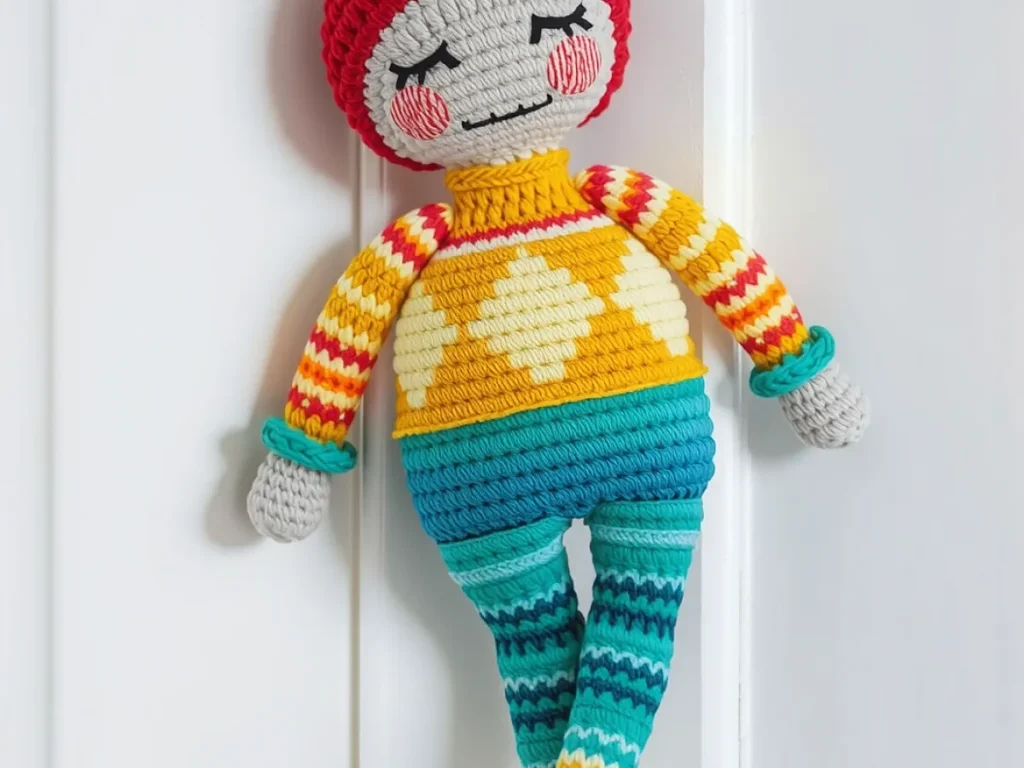
Colorful Crocheted Doll
Create a bright, hand‑made doll that brightens any shelf in a couple of hours.
A single skein of rainbow acrylic yarn can become a playful doll in about two hours.
The doll uses simple single crochet rounds, so even a first‑time crocheter can follow along. Color changes are introduced gradually, keeping the rhythm steady.
Each section explains why a technique works, helping you avoid common snags and finish with confidence.
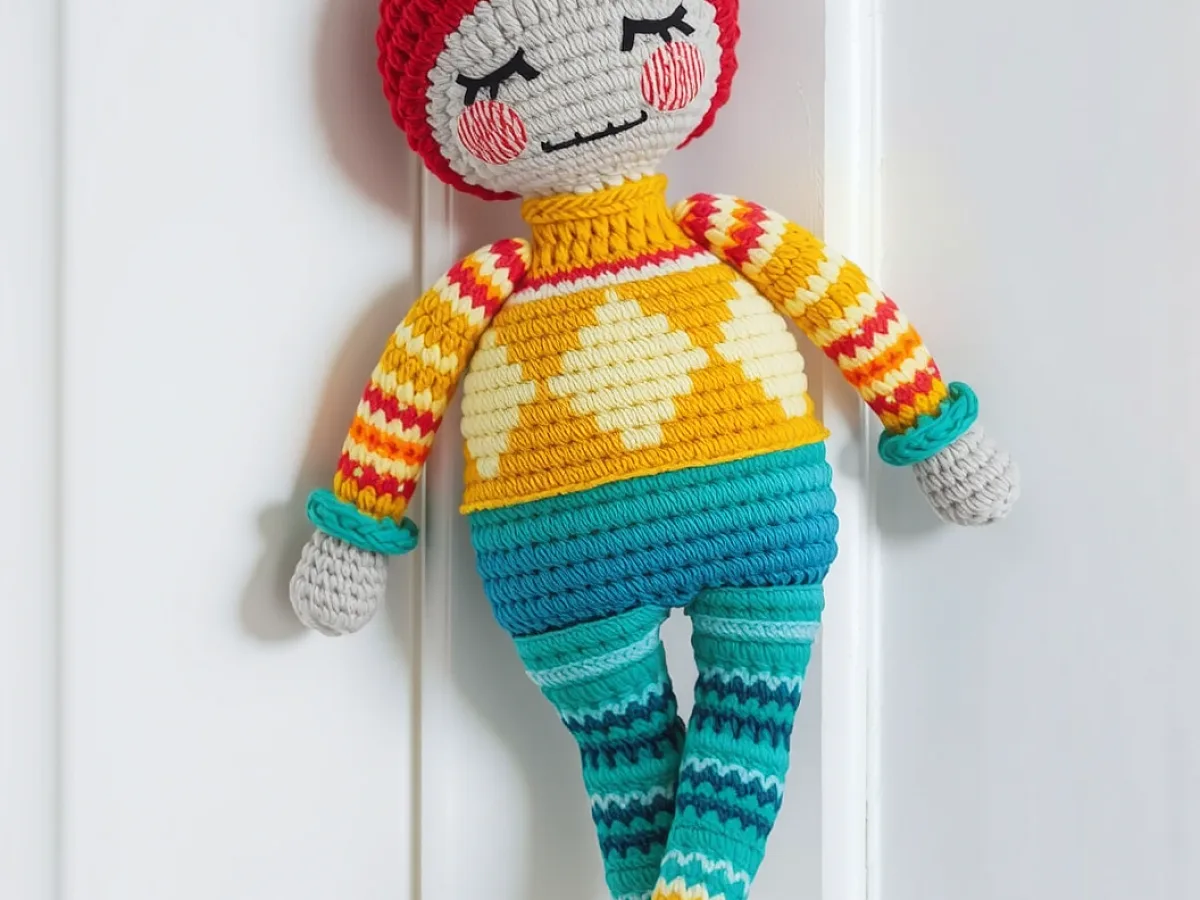
You can crochet a vivid, multi‑colored doll using basic stitches and a few tools. Follow the steps, choose your yarn, and finish with gentle care for a lasting keepsake.
What you need
Yarn
4‑ply acrylic in several bright colors; about 2 skeins total, under $15
Crochet hook
Size 4 (3.5 mm) works well; a size 5 gives a looser feel
Scissors
Small, sharp pair for clean cuts
Yarn needle
18 in/45 cm, for weaving and sewing
Stitch marker
Helps you see round counts, optional
Gathering Materials
Choose a 4‑ply acrylic yarn in several bright shades; the fibers hold shape well and are easy to wash. A size 4 (3.5 mm) crochet hook works for most 4‑ply yarns, but a size 5 can give a softer look.
Have a pair of sharp scissors, a yarn needle for weaving ends, and a stitch marker to keep track of round counts.
- Yarn – 2 skeins of assorted colors (about 100 g each)
- Hook – size 4 (3.5 mm)
- Scissors – small, pointed
- Yarn needle – 18 in/45 cm
If acrylic feels too stiff, cotton blend yarn of the same weight adds a softer hand without changing gauge.
Creating the Body
Start with a magic ring, 6 single crochets (sc) in the first color, then pull tight. This forms a tight center that prevents gaps later.
Increase each round by adding 6 sc evenly until the circle measures about 6 cm across, then switch to the next color for a smooth transition.
- Round 1: 6 sc in magic ring
- Round 2: 12 sc (2 sc in each)
- Round 3: 18 sc (increase every third stitch)
Count stitches on a piece of scrap yarn; an off‑by‑one will show as a wobble in the finished doll.
Making the Limbs
Crochet two short tubes for arms and two longer tubes for legs, each beginning with a magic ring and working in single crochet without increases.
When the limb reaches the desired length (arms ~4 cm, legs ~6 cm), close the round, leave a long tail, and fasten off.
- Arm length: 4 cm, 8 rounds
- Leg length: 6 cm, 12 rounds
Use a contrasting color for the limb tip; it helps you see where to sew on later.
Adding Details
Sew the limbs onto the body using the yarn tail and a yarn needle, matching the seam lines to keep the shape even.
Embroider simple eyes with black thread, and add a tiny pom‑pom for hair if you like; these accents give personality without extra bulk.
- Eyes: 2 mm black bead or embroidered stitch
- Hair: 1 cm pom‑pom in a favorite shade
Press the needle through the same stitch on both pieces to avoid twisting the yarn.
Finishing Touches
Weave all loose ends into the nearest stitch and trim excess yarn. Block the doll gently with steam to smooth any uneven edges.
Store the doll in a breathable bag; hand wash in cool water if it gets dusty, then lay flat to dry.
A light mist of fabric spray can keep the colors vibrant over time.
Step
Start the magic ring
Make a magic ring, pull 6 sc into it, and join with a slip stitch. You’ll see a tight, round center.
Build the body
Increase each round as shown until the body reaches 6 cm across, then continue without increases for a smooth cylinder.
Crochet limbs
Create two short arm tubes and two longer leg tubes, each ending with a long tail for sewing.
Sew limbs on
Thread the tail through a needle and attach each limb to the body, matching the seam lines.
Add eyes and hair
Embroider eyes or attach beads, then sew a small pom‑pom for hair if desired.
Weave ends and block
Weave all yarn tails into the nearest stitch, trim excess, and gently steam block to settle the shape.
Ways to change it
Miniature version
Use a size 2 (2.5 mm) hook and thinner yarn for a doll under 6 cm tall
Chunky yarn
Swap to bulky yarn and a size 6 (4 mm) hook for a larger, cuddly look
Seasonal palette
Choose pastel shades for spring or deep jewel tones for winter themes
Cotton yarn
Cotton holds shape similarly but feels softer; great for heirloom pieces
The short version
- A magic ring creates a seamless start for the doll’s body
- Increasing rounds evenly prevents wobbling
- Separate limbs allow easy positioning and sturdy attachment
- Color changes are done by finishing a round, then pulling the new yarn through the last stitch
- Weaving ends and gentle steaming give a polished finish
Questions people ask
How can I tell the doll is the right size before finishing?
Measure the body after the third increase round; it should be about 4 cm wide for a standard 12 cm doll. Adjust rounds if it feels too small or large.
What if my stitches look uneven?
Check that you’re counting the correct number of increases each round. A missed increase shows as a dip in the circumference.
Try crocheting your own colorful doll today
With just yarn, a hook, and a few gentle steps, you’ll have a bright doll that brings joy to any space. Enjoy the process and the result.



