Single Crochet Tutorial
Learn to single crochet in about 20 minutes, from slip knot to a neat row of stitches.
The single crochet is the shortest, tightest stitch in crochet, and it's the first one most people learn.
If you can make a chain, you can make a single crochet. It's the stitch that turns chains into washcloths, scarves, and amigurumi. The name comes from the fact that it uses just one loop at a time, unlike taller stitches that pull through two or three.
You'll have a row of neat, v-shaped stitches in about twenty minutes. This guide shows the motion, what to look for at each step, and the one mistake that trips up almost every beginner.
Single crochet (abbreviated sc) is a basic stitch that creates a dense, sturdy fabric. You insert the hook into a stitch, yarn over, pull up a loop, yarn over again, and pull through both loops on the hook. This tutorial walks you through it step by step.
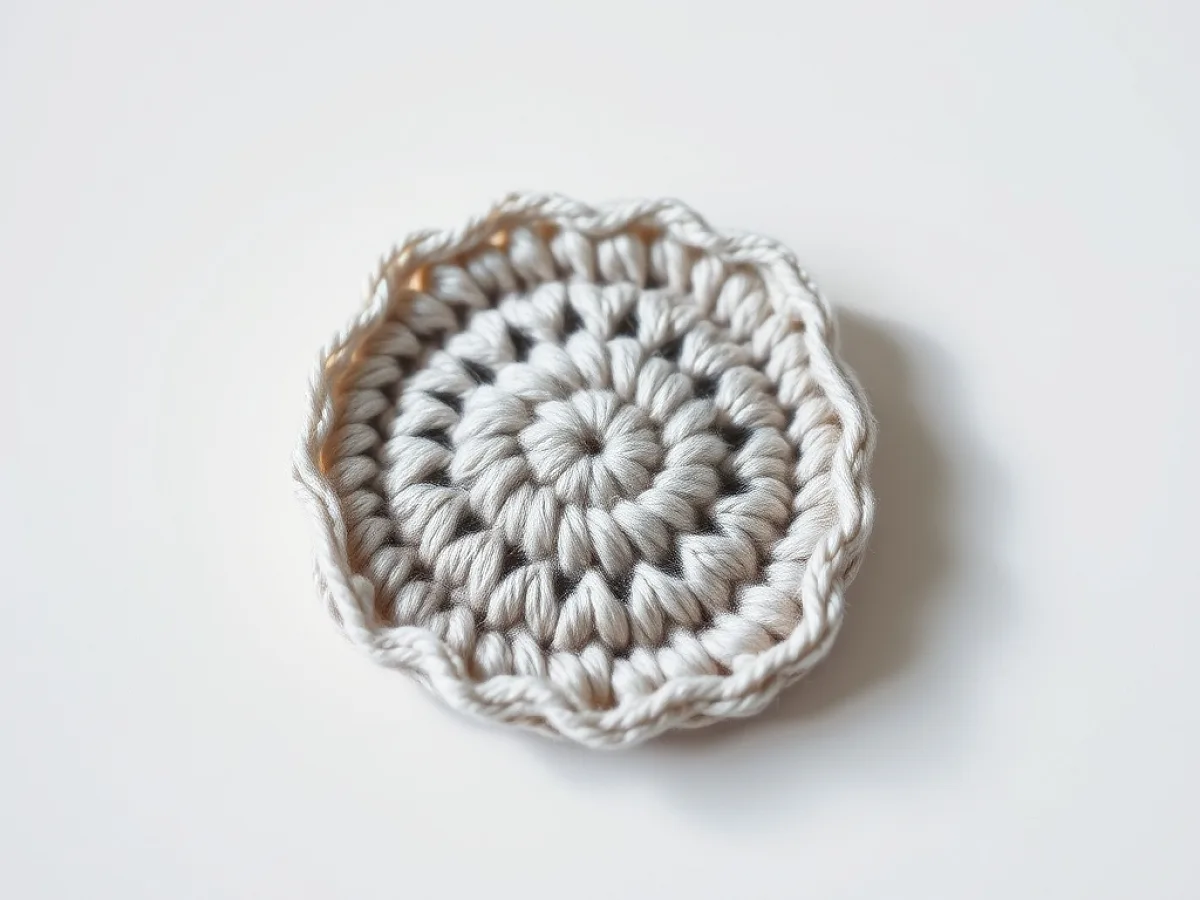
What you need
Worsted weight yarn
A smooth, light-colored yarn (size 4) is easiest for learning. You'll need about 20 yards for a practice swatch.
Crochet hook
Size 5.0 mm or 5.5 mm works best with worsted yarn. A hook with a comfortable grip helps.
Scissors
For cutting yarn at the end.
Yarn needle
For weaving in ends. A blunt-tip needle works well.
What you need to start single crocheting
You only need two things: yarn and a hook. For practice, choose a smooth, light-colored worsted weight yarn (size 4) and a hook that matches the label, usually 5.0 mm or 5.5 mm. Light yarn makes it much easier to see your stitches.
Avoid fuzzy or dark yarn at first. You'll struggle to see the v-shapes on top of each stitch, and that's where the hook goes. A smooth cotton or acrylic works best.
- Yarn: worsted weight (4), light color, about 20 yards for a swatch
- Hook: 5.0 mm or 5.5 mm (or whatever the yarn label suggests)
- Scissors and a yarn needle for finishing
If your stitches feel too tight, go up a hook size. If they look loose and holey, go down one.
How to single crochet step by step
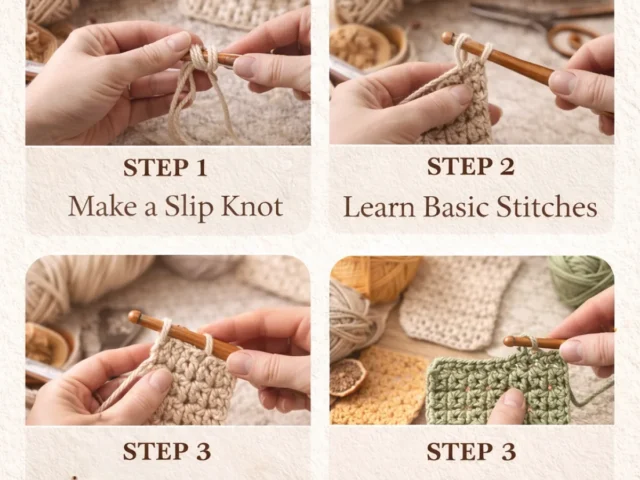
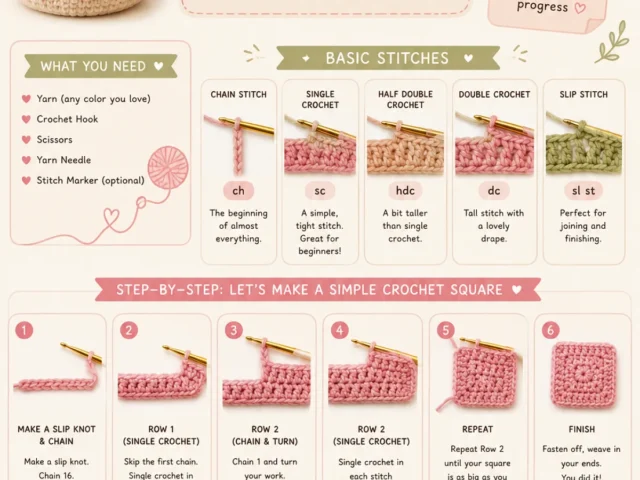
Start with a slip knot on your hook and make a foundation chain of about 10 chains. This chain is your base row.
Insert the hook into the second chain from the hook. That extra chain is the turning chain, which gives your work height. Yarn over and pull up a loop. You now have two loops on your hook.
Yarn over again and pull through both loops. That's one single crochet. Repeat across the chain: insert, yarn over, pull up a loop, yarn over, pull through both. At the end, chain one and turn your work.
Count your stitches at the end of each row. If you have fewer than you started with, you probably skipped the last stitch. If you have more, you might have worked into the turning chain by mistake.
Where to insert the hook: the top of the stitch
When you look at a row of single crochet, you'll see a row of V-shapes on top. Insert your hook under both loops of that V. That's the standard way.
For a different look, you can work into just the front loop or just the back loop. That creates a ribbed texture. But for basic single crochet, use both loops.
If you can't find the V, look for the little 'bar' in front of the stitch. The V is right behind it.
The most common mistake: the last stitch
Almost every beginner ends up with a row that slants inward. That's because they skip the very last stitch of the row. The last stitch can be hard to see because it sits at the base of the turning chain.
At the end of each row, count your stitches. If you have fewer than you started, you've missed the last one. When you turn, that last stitch is the one right next to the chain you just made.
Stick a stitch marker in the first and last stitch of each row. It saves you a lot of counting.
How to finish off and weave in ends
When your piece is long enough, cut the yarn leaving a 6-inch tail. Yarn over and pull the tail through the loop on your hook. Pull tight to make a knot.
Thread the tail onto a yarn needle and weave it back and forth through the back of several stitches. Trim the excess.
Weave in ends in the same color yarn so they disappear into the fabric.
Step
Make a slip knot and foundation chain
Make a slip knot on your hook and chain 10. This chain is the base.
Insert hook into second chain
Insert your hook into the second chain from the hook. Yarn over and pull up a loop. You'll have two loops on the hook.
Yarn over and pull through both loops
Yarn over again and pull through both loops on the hook. That's your first single crochet.
Repeat across the chain
Work one single crochet into each chain across. At the end, chain one and turn your work.
Work rows of single crochet
For each new row, work one single crochet into each stitch from the previous row. Remember to chain one at the end of each row before turning.
Finish off
When your piece is the size you want, cut the yarn leaving a 6-inch tail. Pull the tail through the loop on your hook and tighten.
Ways to change it
Back loop only
Work into just the back loop of each stitch to create a ribbed texture, great for cuffs and edges.
Front loop only
Work into the front loop for a different ribbed effect, often used in amigurumi to create a clean edge.
Tighter gauge
Use a smaller hook to make a denser fabric, ideal for bags or baskets.
Looser gauge
Use a larger hook for a drapey, open fabric, good for scarves or shawls.
Joined rounds
Instead of turning, join each round with a slip stitch and chain one to start the next. This works for hats and coasters.
The short version
- Single crochet is the shortest basic stitch and creates a dense fabric.
- Insert the hook under both loops of the V on top of each stitch.
- Always chain one at the end of a row before turning.
- The most common mistake is skipping the last stitch of a row; count your stitches.
- Use light-colored, smooth yarn when learning so you can see your stitches.
- Practice makes the motion smooth and even.
Questions people ask
How do I count single crochet stitches?
Count the V-shapes along the top of your row. Each V is one stitch. Don't count the loop on your hook or the turning chain.
Why does my crochet get narrower as I go?
You're probably skipping the last stitch of each row. Place a marker in the first and last stitch to remind yourself to work into them.
What is the difference between single crochet and slip stitch?
A slip stitch is shorter and used for joining or moving across stitches without adding height. Single crochet adds a row of height and is a structural stitch.
Grab your hook and yarn, and try a few rows now.
You've got the basics down. Now make a small square, count your stitches, and see how even you can keep your tension. The more you practice, the smoother it feels. Keep it quick and cute!