Crochet Video Tutorial with Hook and Yarn: Watch and Learn
Follow a crochet video tutorial step by step and make a simple square with just a hook and yarn.
If you have ever watched a crochet video and felt lost after the first minute, this guide is for you.
A video tutorial is the closest thing to having a teacher sit beside you. You can see the exact angle of the hook and the way the yarn wraps. You can pause and rewind as many times as you need.
This guide walks you through how to use a crochet video tutorial effectively. It covers what to watch for, how to set up your supplies, and the common mistakes that make beginners think they are failing when they are not.
A crochet video tutorial lets you pause, rewind, and match your hands to the screen. You only need a hook, some yarn, and about twenty minutes to finish a small practice square.
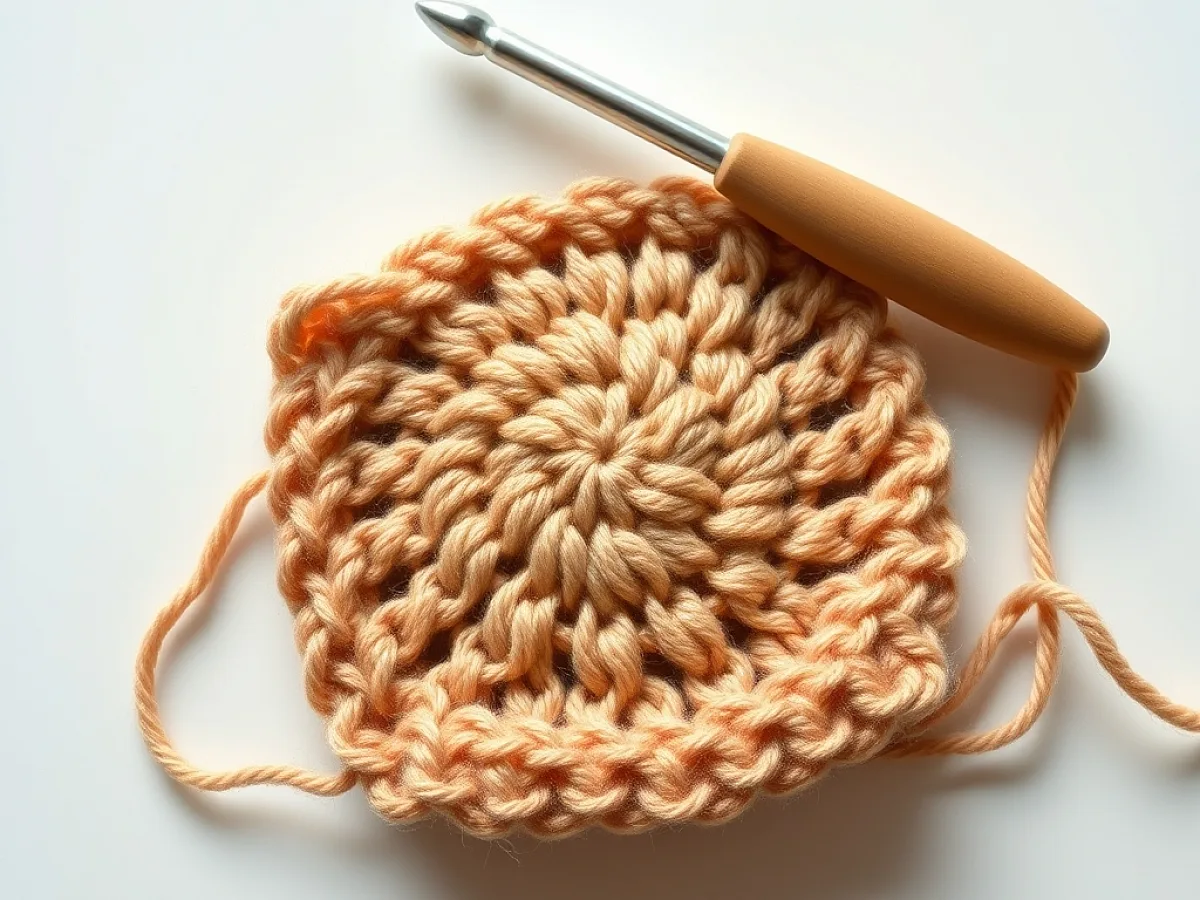
What you need
Worsted weight yarn
A light color, about 50 grams, so you can see the stitches. Acrylic or cotton both work.
Crochet hook
Size 5.5 mm (US I-9) for worsted weight yarn. If you only have a different size, use it, but your stitches will be bigger or smaller.
Scissors
Any small pair works. You will use them to cut the yarn at the end.
Yarn needle
A blunt-tip needle with a large eye, for weaving in ends.
Stitch markers (optional)
Small rings or clips that help you mark the first stitch of a row.
What makes a crochet video tutorial work
The best video tutorials show the hands from the same angle you see your own hands. That usually means the video is filmed from above or over the shoulder. If the video shows the crocheter from the front, you will have to mirror every move, which is confusing.
Look for videos that list the hook size and yarn weight in the description. That way you can match your supplies. A tutorial that says "worsted weight yarn and a 5.5 mm hook" is easier to follow than one that just says "medium yarn."
A good video also shows the finished piece at the start. That gives you a target. You will know what the stitches should look like when they are correct.
Before you start, watch the first two minutes of the video all the way through. That shows you the rhythm and the stitch names.
What you need before you press play
You do not need a lot. For a basic tutorial, grab a skein of worsted weight yarn in a light color. Light colors show the stitches better on screen. A 5.5 mm hook is a good all-around size for that yarn.
Keep a pair of scissors and a yarn needle nearby for weaving in ends. Having a small notebook helps too. You can jot down the stitch counts or the row numbers as you go.
Sit where you can see the screen clearly and rest your hands comfortably. A pillow on your lap can help support your work.
How to follow the video step by step
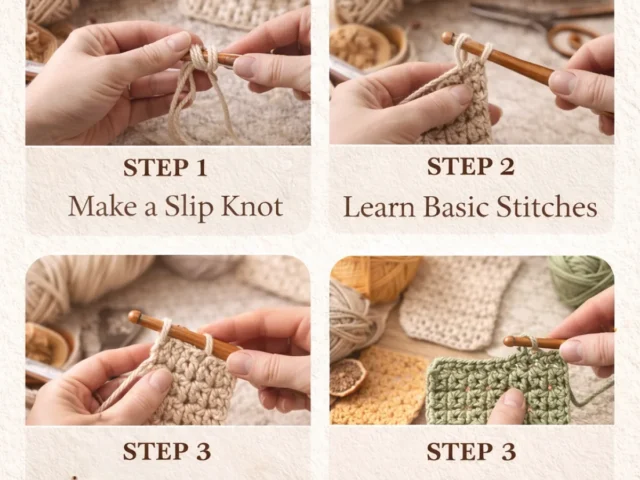
Start with the foundation chain. The video will show you how to make a slip knot and then chain stitches. Count each chain as you make it. Most tutorials tell you how many chains to start with, like 11 or 16.
Pause the video after each step. Do not try to keep up in real time. It is better to do one stitch correctly than to race through ten wrong ones.
When you finish a row, check the edge. The sides should look even, with no extra stitches or skipped loops. A common mistake is to drop the last stitch of a row, which makes the edge slant inward.
If you lose your place, rewind to the last moment you remember and watch it again. That is the whole point of a video tutorial.
Common stitch errors and how to fix them
Dropping a stitch: You miss the last stitch of a row, so the edge curves. Count your stitches after each row. If you have fewer than you started with, you missed one. Go back and find it.
Adding a stitch: You accidentally work into the turning chain at the end of a row, which adds an extra stitch. The edge will look wavy. Check the video to see whether the turning chain counts as a stitch or not.
Twisted chains: Your foundation chain may twist if you turn it the wrong way. The chain should lie flat. If it looks like a spiral, pull it out and start again. It happens to everyone, so do not get upset.
Use a stitch marker to mark the first stitch of each row. That helps you see where the row ends.
How to know you are ready for the next step
You are ready to move on when your square looks flat and the edges are straight. If the fabric curls or ripples, check your tension. If your stitches are too tight, the fabric will curl. If they are too loose, it will look holey.
When you finish the last row, cut the yarn, leaving a 15 cm tail. Pull the tail through the last loop and tighten it. Weave in the ends with a yarn needle to secure them.
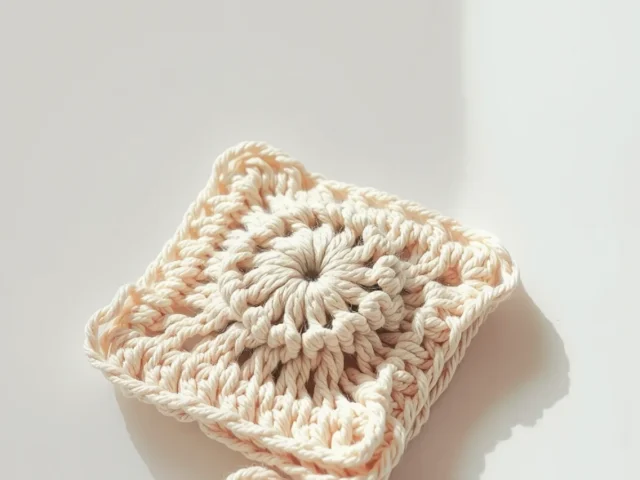
A simple square is not a finished project, but it is a solid start. You can use it as a coaster, a washcloth, or the first block of a blanket.
Lay your square on a flat surface. If it lies flat and the corners are 90 degrees, you did it right.
Step
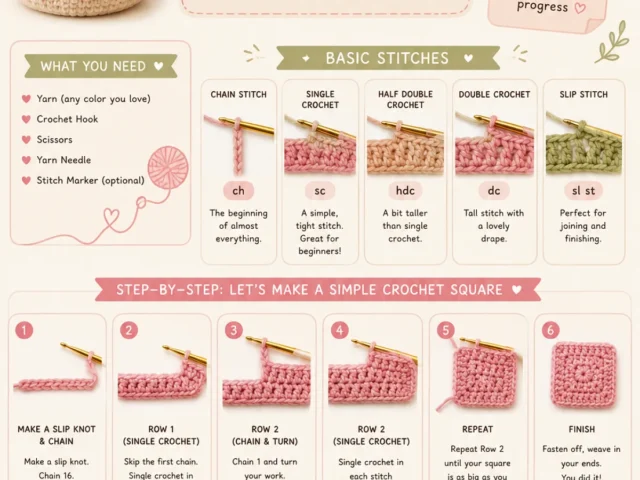
Make a slip knot
Loop the yarn around your fingers, pull a loop through, and place it on the hook. Tighten gently so it slides but does not choke the hook.
Chain the foundation
Yarn over and pull through the loop on the hook. Repeat until you have 11 chains for a small square. Count each chain as you go.
Work the first row
Insert the hook into the second chain from the hook. Yarn over and pull up a loop, yarn over and pull through two loops. That is one single crochet. Repeat across.
Chain one and turn
At the end of the row, chain one. This is your turning chain. Turn your work like turning the page of a book.
Repeat rows
Work single crochet into each stitch across. Count your stitches each row to make sure you still have 10. Continue until your square is as tall as it is wide, about 14 rows.
Finish off
Cut the yarn, leaving a 15 cm tail. Yarn over and pull the tail through the loop on the hook. Pull tight to make a knot.
Weave in ends
Thread the tail onto a yarn needle. Weave it back and forth through the stitches for about 5 cm. Trim the excess.
Ways to change it
Different yarn weight
Use bulky yarn with a 6.5 mm hook for a thicker, quicker square. The video will still work, but your square will be larger.
Cotton yarn
Cotton has less stretch than acrylic. It makes a firmer fabric, good for washcloths.
Try a different stitch
Once you master single crochet, look for a video tutorial for half double crochet or double crochet. The same principles apply.
Work in the round
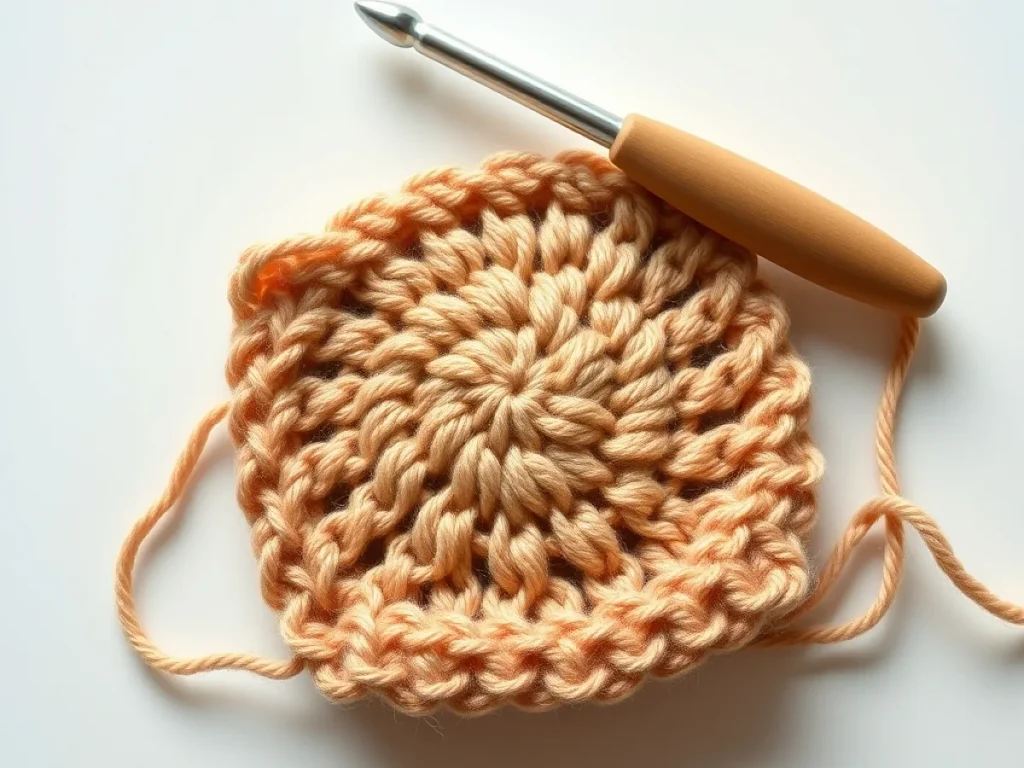
Instead of a flat square, try a video that shows crocheting in a circle. You will make a small coaster or the start of a hat.
Make it bigger
Chain more at the start, like 31 chains, and work more rows. You will get a larger square, maybe a dishcloth or a baby blanket block.
The short version
- Match your hook and yarn to the video's recommendation for best results.
- Pause and rewind the video as often as you need; that is the advantage over a printed pattern.
- Count your stitches at the end of every row to catch mistakes early.
- A light-colored, worsted weight yarn makes it easier to see your stitches.
- If your edges slant, you are likely dropping or adding stitches.
- Tension problems show up as curling or waviness; adjust by loosening or tightening your grip.
- Finish by weaving in ends so your work does not unravel.
Questions people ask
How do I choose the right hook size for a video tutorial?
Check the video description for the recommended hook size. If it is not listed, start with a 5.5 mm hook for worsted weight yarn. Your gauge may differ, but that is fine for practice.
Why does my crochet edge look wavy?
Wavy edges often mean you are adding extra stitches. You might be working into the turning chain by mistake. Count your stitches after each row to see if the number is the same.
Can I use a video tutorial if I have never crocheted before?
Yes, look for videos labeled beginner. They show the basics of holding the hook and yarn. Start with single crochet, which is the simplest stitch.
What if my yarn is a different weight than the video?
That is fine. Use a hook that matches your yarn. The stitches will be larger or smaller, but the technique is the same.
How long does it take to finish a small square?
A 15 cm square can take about 20 minutes once you get the rhythm. The first one may take longer because you are learning.
Grab your hook and press play
A crochet video tutorial is a tool, not a test. You can pause, replay, and go at your own speed. The more you practice, the smoother your stitches will become. Happy hooking!