
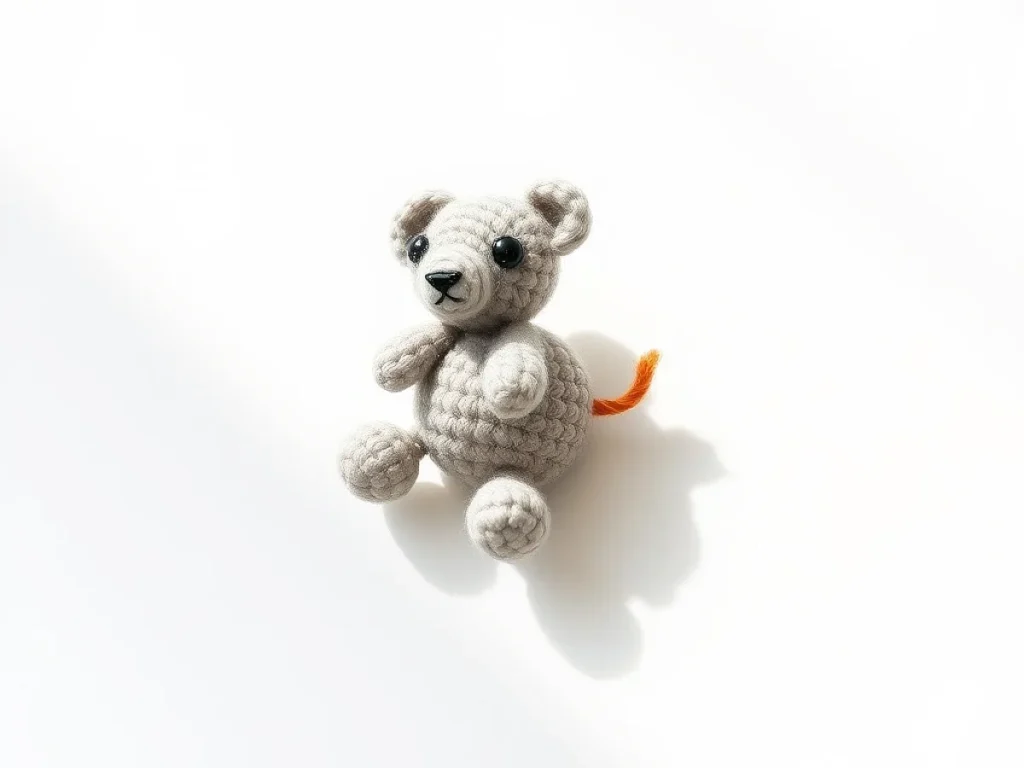
Micro Crochet Animal Brooch: A Tiny Pattern You Can Actually Finish
Make a 4 cm animal brooch on a 1.25 mm hook, with a pin back that stays flat on a lapel.
A micro crochet animal brooch is usually about 4 cm wide and made with thread thin enough to pass through a sewing needle.
A micro crochet animal brooch is usually about 4 cm wide and made with thread thin enough to pass through a sewing needle. That small size is the whole point, and it is also the whole problem.
The stitches are tiny, the yarn splits if you look at it wrong, and a brooch that looks fine on the table can droop the moment you pin it on. This guide walks through one animal head from start to finish, plus the fix for the three things that go wrong most often.
You crochet a small animal head in the round with cotton thread and a 1.25 mm hook, stuff it lightly, add ears and a face, then sew a metal brooch bar to the back. Most people finish one in about two hours once they can work single crochet in a magic ring without losing count.
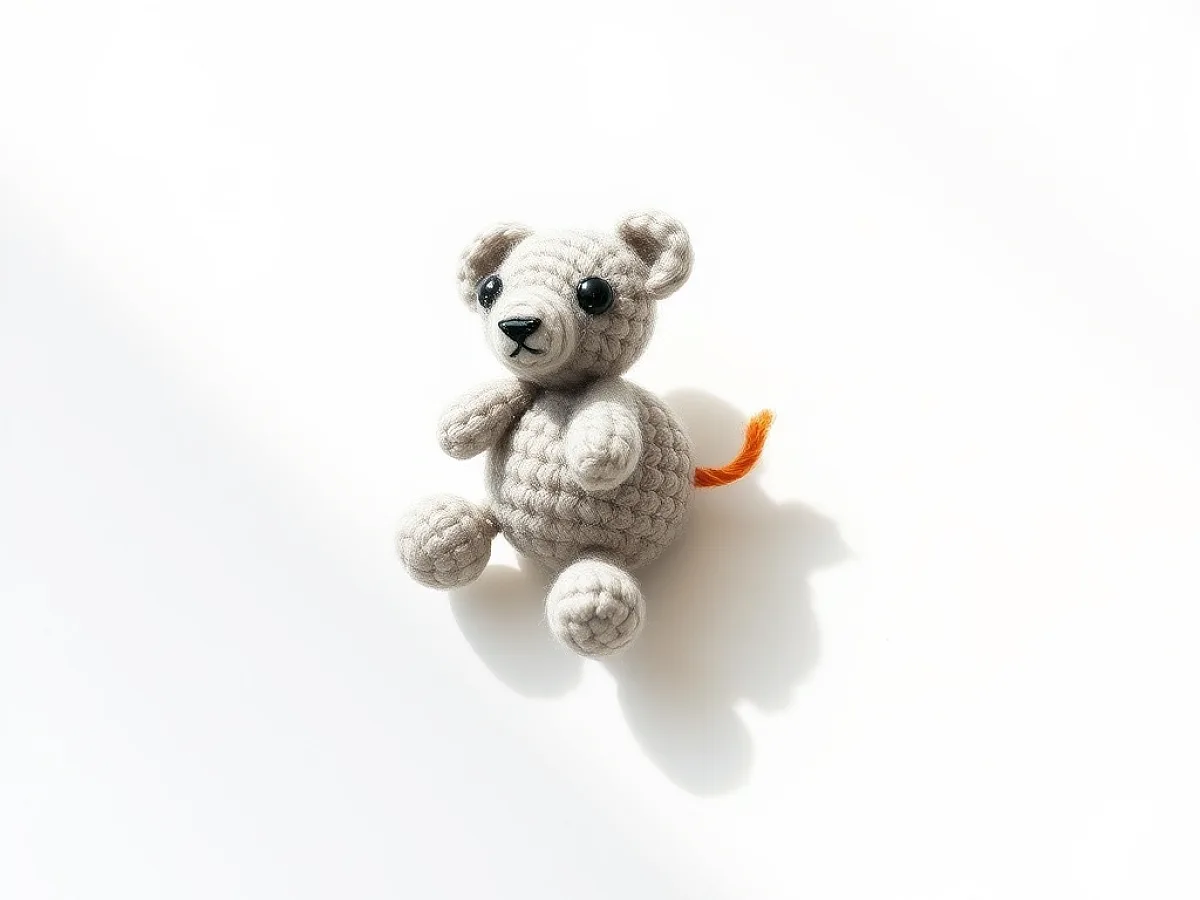
What you need
Size 10 crochet cotton thread
About 10 g in a main color, plus small amounts in a contrast color. Aunt Lydia's and DMC both work well. Size 3 thread is too thick for a true micro brooch.
1.25 mm steel hook
This is the standard match for size 10 thread. Use 1.1 mm if your stitches come out loose, 1.5 mm if your hand cramps.
20 mm metal brooch bar
Choose one with a flat pad you can sew through. Plastic bars bend and crack.
Polyester fiberfill
A piece the size of a walnut is plenty. Cotton batting works too but packs harder.
Tapestry and sewing needles
A tapestry needle for the thread, a sharp sewing needle for the brooch bar. Do not swap them.
What counts as micro crochet
Micro crochet means working with crochet thread rather than yarn. The common size is size 10 cotton thread, which is close to lace weight and sold on 50 g balls for a few dollars. A 1.25 mm hook is the standard match.
The result is small but not fragile. A finished animal head in size 10 thread and single crochet comes out around 3.5 to 4 cm across. That is roughly the width of two fingers, which is a good size for a lapel, a scarf end or a canvas tote.
If you already crochet amigurumi in DK yarn, you can make this. The motions are the same. The only new skill is holding tension when the thread is thin enough to snap.
Size 20 thread makes a brooch about 2.5 cm across, but it is hard on the eyes and the hook is 0.9 mm. Start with size 10.
What you'll need before you start
Gather everything first. Thread this thin is hard to put down and pick up again without losing your place.
- Size 10 crochet cotton thread, about 10 g, in one main color
- Small amounts of size 10 thread in a contrast color for ears and nose
- 1.25 mm steel crochet hook
- Tapestry needle that fits the thread
- Polyester fiberfill, a piece about the size of a walnut
- One 20 mm metal brooch bar with a flat glue pad
- Sharp sewing needle and matching sewing thread
- Small sharp scissors
Abbreviations used in this pattern
These are the standard US terms. If you learned UK terms, your double crochet is the US single crochet, so read the list with that in mind.
- ch – chain
- sc – single crochet
- inc – two single crochet in the same stitch
- dec – single crochet two stitches together
- sl st – slip stitch
- st – stitch
- MR – magic ring
Write the stitch counts on paper as you go. Counting a 6-stitch round in thread is much harder than counting in yarn.
Making the animal head
This is a basic ball shape with ears added afterward. Work in a continuous spiral and do not join rounds. Mark the first stitch of each round with a scrap of contrast thread, because a stitch marker in 1.25 mm work tends to fall out.
Gauge is not critical for a brooch, but it does change the size. If your first three rounds measure more than 1.5 cm across, go down one hook size or loosen your tension slightly. The finished head should be 3.5 to 4 cm wide before ears.
Keep your starting tail long, about 15 cm. You will use it to close the bottom gap later.
Step by step
If you lose your place, count the stitches in the round you just finished. The number tells you exactly where you are.
Adding the face and ears
Ears are made separately and sewn on. Make two small triangles: chain 3, then work 1 sc in the second chain from the hook and 1 sc in the last chain. Fasten off, leaving a 10 cm tail.
Pin the ears in place before you sew. Look at the head straight on and check that both ears sit at the same height. Sew each ear with three or four small stitches through the base, then bury the tail inside the head.
For the face, use a single strand of black thread and a sharp needle. Two small straight stitches make the eyes, and one short horizontal stitch makes the nose. Whiskers are three straight stitches on each side, worked loosely so they do not pull the fabric.
Sew the face before you stuff the head. It is much easier to hide knots in a flat piece.
Stuffing and closing
Add fiberfill in small pinches, not one big ball. A brooch needs to stay flat, so aim for about 70 percent full. You should be able to press the head between two fingers and feel it give slightly.
Overstuffing is the most common mistake. A rock-hard head will not sit flat on a jacket, and the pin bar will tilt away from the fabric.
Close the final gap with the long starting tail. Pass the needle through the front loop of each remaining stitch, pull tight, and knot inside the head.
Roll the head between your palms for a few seconds. This evens out the stuffing and shows any lumpy spots before you sew on the pin.
Attaching the brooch bar
Use a 20 mm metal brooch bar with a flat pad. Line it up across the back of the head, centered, with the pin facing out.
Sew it down with sewing thread, not crochet thread. Crochet cotton is too stretchy and the bar will work loose. Make eight to ten passes through each end of the pad, catching the crochet fabric underneath but not pulling through to the front.
Check the balance before you tie off. Pin it to a cloth and let it hang. If the head tips forward, move the bar up a few millimeters.
A drop of clear fabric glue under the pad is a backup, not a replacement for sewing. Glue alone pops off in cold weather.
Common stitch errors and how to spot them
The magic ring that will not close usually means you worked into the ring itself instead of into the stitches. Undo it and start again with six single crochet worked over the doubled thread.
A visible spiral seam means you joined rounds instead of working continuously. It is not wrong, just a different look, and it is easy to hide at the back of the head.
Lopsided ears almost always come from sewing them on by eye. Count the stitches from the center of the head to each ear. They should match exactly.
Test your work: pin the finished brooch to a wool sweater and wear it for ten minutes. If it stays flat and does not spin sideways, the bar is in the right place.
Ways to change it
The same head shape works for a lot of animals. Change the ear shape, the colors and the face, and you have a different brooch without learning a new pattern.
- Cat: pointed triangle ears, pink inner ear, black whiskers
- Bear: two small circles for ears, brown thread, a cream muzzle
- Fox: large triangle ears, orange thread, white chin
- Bunny: tall narrow ears, one round tail at the side
- Panda: black ears and eye patches on a white head
Keep a note of the hook size and thread brand for each animal. Two brands of size 10 thread can differ enough to change the finished size by several millimeters.
Step
Make a magic ring and work round 1
Work 6 sc into the ring and pull the tail to close it. The hole should disappear completely. If it does not close, you worked into the ring instead of the stitches.
Increase to 12 stitches
Work 1 inc in each stitch around. Count as you go. You should have 12 stitches at the end of this round.
Increase to 18 stitches
Work 1 sc, then 1 inc, and repeat that pair around. End with 18 stitches. The piece should now look like a shallow bowl.
Work three plain rounds
Work 1 sc in each stitch for three rounds with no increases. The sides of the head build up here. Keep your tension even so the shape stays round.
Decrease back down
Work 1 sc, then 1 dec, and repeat around. You should be back to 12 stitches. Stop here and add the face before you go further.
Stuff lightly and close
Add fiberfill in small pinches until the head gives slightly under pressure. Work 6 dec, then close the last 6 stitches with your starting tail.
Sew on ears and the brooch bar
Pin the ears at matching heights, sew them down, then sew the 20 mm bar across the center of the back with sewing thread. Check the balance on a cloth before you tie off.
Ways to change it
Smaller brooch
Switch to size 20 thread and a 0.9 mm hook for a 2.5 cm brooch. Slower going and harder on the eyes.
Bigger brooch
Use size 3 thread and a 2 mm hook for a 6 cm brooch that works on a coat lapel.
Magnet back
Swap the pin bar for a 10 mm sew-in magnet pair. Good for thin shirts that a pin would mark.
Keyring version
Skip the brooch bar and sew a 25 mm split ring to the top instead. Same pattern, different use.
Seasonal colors
Work the head in cream and add a tiny red scarf for winter, or pastel ears for spring.
The short version
- Size 10 cotton thread with a 1.25 mm hook gives a brooch about 3.5 to 4 cm across.
- Stuff the head to about 70 percent full so it stays flat against fabric.
- Sew the brooch bar on with sewing thread, not crochet cotton, which stretches.
- Sew the face before stuffing, when the piece is still flat and easy to handle.
- Match the ear height by counting stitches from the center, not by eye.
Questions people ask
How long does a micro crochet animal brooch take to make?
About two hours for your first one, including the face and the pin bar. Once you know the shape, most people finish in under an hour.
Can I use regular yarn instead of thread?
Yes, but the brooch will be much bigger. DK yarn with a 3 mm hook gives a head around 7 cm across, which is more of a bag charm than a lapel pin.
Why does my brooch droop when I pin it on?
It is usually overstuffing or a pin bar that sits too low. Use less fiberfill and move the bar up a few millimeters so the weight hangs below the pin.
What size hook do I need for size 10 crochet thread?
A 1.25 mm steel hook is the standard match. Go down to 1.1 mm if your stitches look loose, or up to 1.5 mm if your hand hurts.
How do I stop the thread from splitting?
Use a hook with a smooth, rounded throat and avoid tugging the thread tight after each stitch. If it keeps splitting, try a different brand of size 10 cotton.
Pick one animal and make the head tonight
Start with the cat. It has the simplest ears and the face is three stitches. Once that one sits flat on a jacket, the bear and the fox take half the time. Happy hooking!



