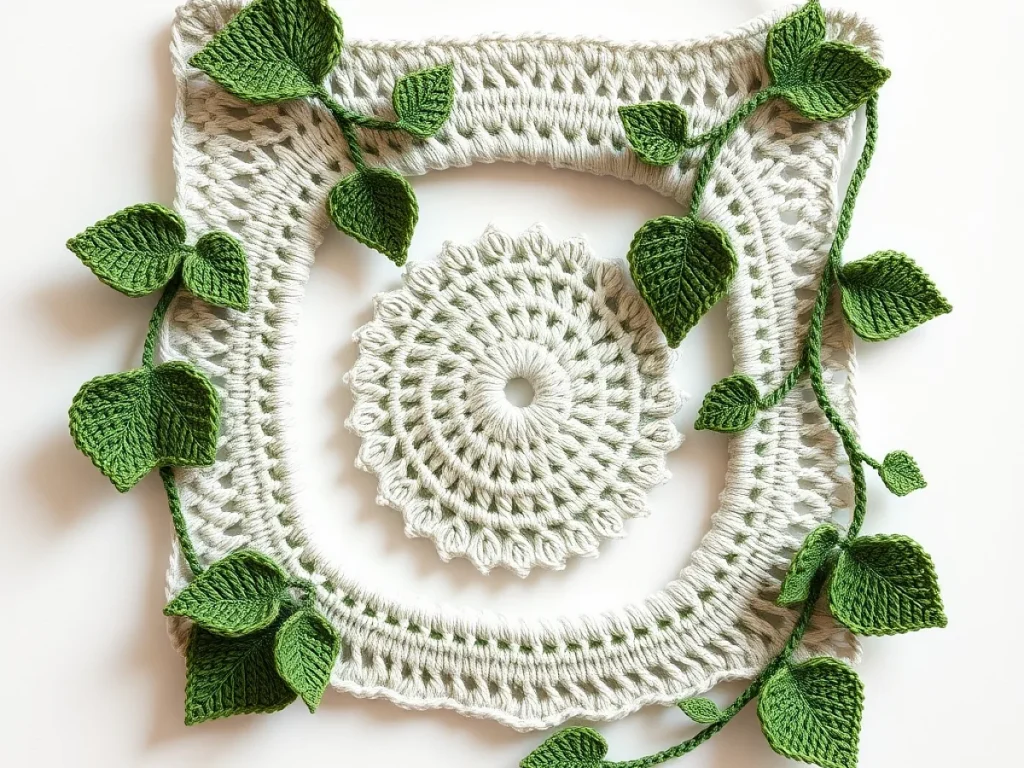
3D Crochet Leaves & Vines Wall Hanging
Make a lush, textured leaf and vine wall hanging with this step-by-step crochet guide.
You can crochet a wall hanging that looks like a real plant, but it never needs watering.
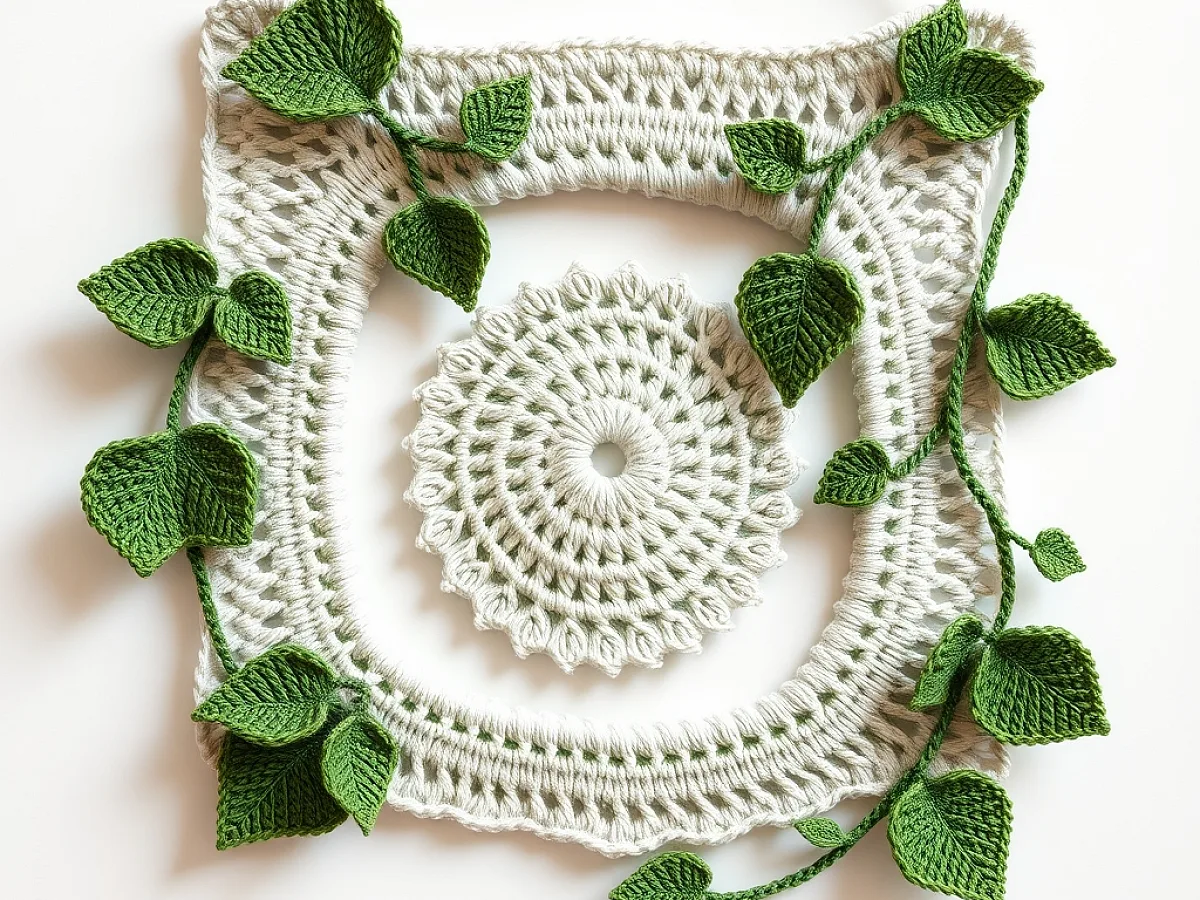
A 3D crochet wall hanging brings nature indoors without the upkeep. The secret is in the layers: leaves crocheted flat, then folded or stacked to give depth, and vines that trail down from a wooden dowel.
You don't need to be an expert. If you can chain, single crochet, and double crochet, you can make this. The whole project takes about four hours, depending on how many leaves you want.
Let's get started.
This guide shows you how to make a 3D crochet leaves and vines wall hanging using basic stitches, layered leaves, and simple vine chains. You'll need medium-weight yarn, a 4mm hook, and a few hours.
What you need
Worsted weight yarn
Choose cotton or acrylic in earthy tones. You'll need about 100 grams total.
4mm crochet hook
If your yarn is thicker, use a 5mm hook. Check the yarn label.
Wooden dowel or branch
A 12-inch dowel from a craft store costs about $2. A branch is free.
Yarn needle
For seaming leaves and weaving in ends.
Scissors
Sharp scissors make clean cuts.
What You Need
Gather your supplies before you start. You'll want a few colors of worsted-weight yarn in earthy tones like olive, sage, and cream. A 4mm hook works well for most worsted yarns.
You'll also need a wooden dowel or branch, about 12 inches long, and a yarn needle for weaving in ends. Scissors are essential, and stitch markers help keep track of rounds.
- Worsted weight yarn in 3-4 shades of green and a neutral
- 4mm crochet hook
- Wooden dowel or branch (12 inches)
- Yarn needle and scissors
- Stitch markers (optional)
If you don't have a dowel, a straight tree branch works just as well. Just make sure it's dry and sturdy.
Understanding the Stitches
You'll use a few basic stitches: chain (ch), single crochet (sc), double crochet (dc), and slip stitch (sl st). For the leaves, you'll also need to know how to work in the back loop only to create a ribbed texture.
The gauge isn't critical for a wall hanging, but keeping a consistent tension makes the leaves lie flat. If your leaves curl, try a larger hook.
- ch = chain
- sc = single crochet
- dc = double crochet
- sl st = slip stitch
- BL = back loop only
Practice a few leaves before you start the real project. It's easier to adjust your tension on a test piece.
Crocheting the Leaves
The leaves are the star of the show. You'll make several in different sizes and colors. Start with a simple leaf shape: chain 10, then work single crochets down one side, and double crochets on the other side to create a point.
To make the leaf 3D, you'll fold it in half lengthwise and slip stitch the edges together, leaving a small opening. Then stuff it lightly with yarn scraps before closing. This gives the leaf a puffy, dimensional look.
Make about 8 to 10 leaves in varying sizes. Larger leaves use a base chain of 14, smaller ones use 8.
- Large leaf: ch 14, sc in 2nd ch from hook, sc in next 5 ch, dc in next 2 ch, sc in last 5 ch, turn, work back along the other side.
- Small leaf: ch 8, sc in 2nd ch from hook, sc in next 3 ch, dc in next ch, sc in last 3 ch, turn, work back.
- Fold and seam to create the 3D effect.
When seaming, use a yarn needle and whip stitch. Keep the opening small so the stuffing doesn't poke out.
Making the Vines
Vines are simple chains with leaves attached. Cut a length of yarn about 24 inches, fold it in half, and chain a few stitches at the fold to make a loop. Then chain about 20 stitches, attach a small leaf, and continue chaining.
You can also make curly vines by chaining 30 and then working 3 double crochets in each chain. This creates a spiral effect.
Make 3 to 5 vines of different lengths, from 12 to 24 inches, so they hang at varying levels.
- Straight vine: ch 20, attach leaf, ch 20, attach leaf, repeat.
- Curly vine: ch 30, 3 dc in each ch across.
- Varied lengths for visual interest.
To attach a leaf to a vine, simply slip stitch the leaf's base onto the chain. Make sure the leaf faces outward.
Assembling the Wall Hanging
Lay out your leaves and vines on a flat surface to plan the arrangement. Place the largest leaves in the center, and smaller ones on the sides. Vines should drape down from the top.
Attach each piece to the dowel using a slip knot or by tying a piece of yarn around the dowel. Start with the vines in the back, then add leaves in front to create depth.
Once everything is attached, weave in all ends and trim any excess yarn. Hang the dowel from a nail or hook using a piece of yarn tied at both ends.
- Arrange pieces before attaching.
- Tie securely to the dowel.
- Weave in ends and trim.
- Add a hanger to the dowel.
If the dowel is slippery, wrap a bit of yarn around it where you'll tie the pieces. This gives the knots more grip.
Finishing Touches
After hanging, check that the leaves aren't flopping forward. If they are, you can add a stitch to the back to stiffen them, or rearrange the layers.
You can also add small beads or wooden rings to the vines for extra boho charm. Just thread them onto the vine before attaching the leaf.
- Adjust leaves so they hang nicely.
- Add optional beads or rings.
- Trim any loose yarn.
To make the leaves stiffer, you can spray them with a fabric stiffener and let them dry. But they'll soften again over time.
Step
Crochet the leaves
Make 8-10 leaves in different sizes. Use the pattern above, then fold and seam to create the 3D shape.
Make the vines
Create 3-5 vines of varying lengths. Attach small leaves along the chains.
Arrange on the dowel
Lay out all pieces to plan the design. Place large leaves in the center, smaller on the sides.
Attach to the dowel
Tie each piece securely to the dowel using yarn. Start with vines, then layer leaves.
Weave in ends
Use a yarn needle to hide all loose ends. Trim any excess yarn.
Hang it up
Tie a piece of yarn to each end of the dowel to create a hanger. Drape it over a nail or hook.
Ways to change it
Color palette
Use all greens for a natural look, or add a pop of mustard or rust for a boho vibe.
Leaf size
Make all leaves large for a statement piece, or mix sizes for more texture.
Add flowers
Crochet small flowers and attach them among the leaves for a garden feel.
Macrame accents
Add macrame knots or beads to the vines for extra detail.
Different yarn
Use chunky yarn and a larger hook for a quick, oversized version.
The short version
- The 3D effect comes from folding and seaming the leaves.
- Worsted weight yarn and a 4mm hook are ideal for beginners.
- Vines are simple chains with leaves attached.
- You can use a branch instead of a dowel for a rustic look.
- Attach pieces securely to the dowel to prevent sagging.
- This project takes about 4 hours total.
- It's a great gift for plant lovers who can't keep plants alive.
Questions people ask
How do I make the leaves look 3D?
Fold each leaf in half lengthwise and slip stitch the edges together, leaving a small opening. Stuff lightly with yarn scraps, then close the opening. This creates a puffy, dimensional leaf.
What yarn is best for a wall hanging?
Worsted weight cotton or acrylic yarn works well. Cotton holds its shape better, but acrylic is softer and less expensive. Choose colors you like.
Can I make this without a dowel?
Yes, you can use a straight tree branch, a wooden skewer, or even a metal ring. Just make sure it's sturdy enough to hold the weight.
How long does it take to make?
Expect to spend about 4 hours, including making leaves, vines, and assembly. If you're new to crochet, it might take a bit longer.
Hang your handmade greenery
Now you have a beautiful 3D crochet wall hanging that adds a touch of nature to any room. It's a fun project that you can customize with your favorite colors and extra details. Keep it quick and cute!