
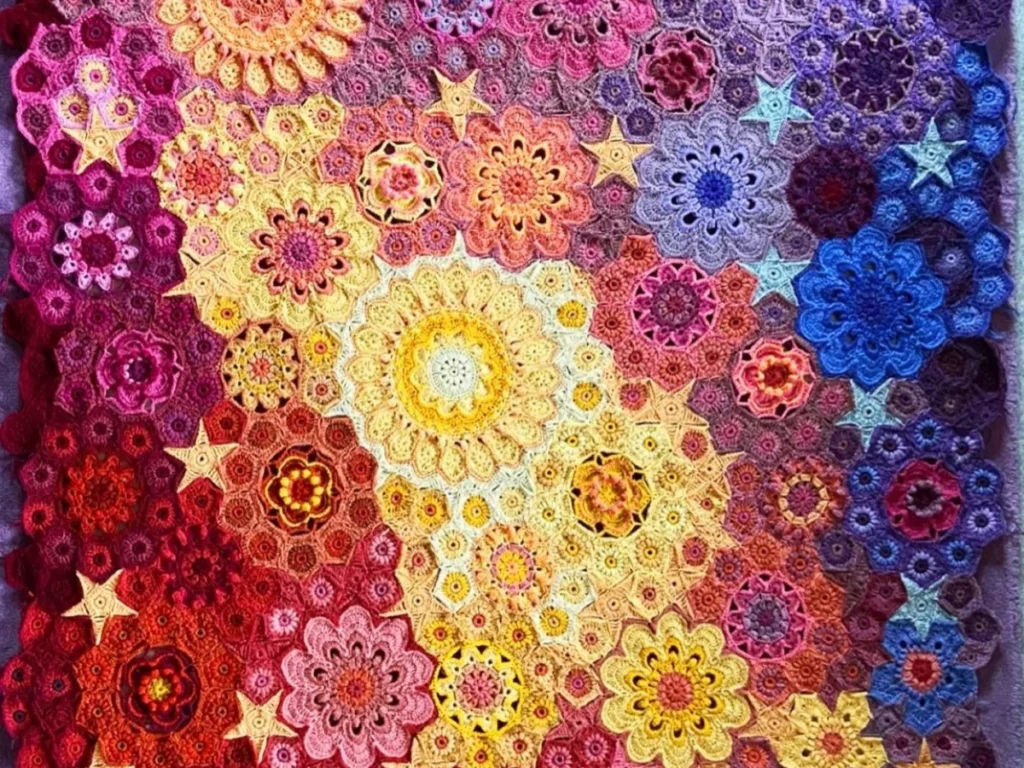
Artistic Crochet: 7 Ways to Turn Simple Stitches into Wall Art
Turn simple crochet stitches into framed wall art with these seven easy techniques.
You can turn a simple granny square into a framed piece of art in about an hour.
Most crochet patterns tell you to make a scarf or a blanket. But the same stitches you already know—chain, single crochet, double crochet—can become something you hang on the wall. Artistic crochet is simply using those stitches to make a picture or a design, not just a wearable.
You don't need to be an expert. If you can make a chain and a double crochet, you can make wall art. This guide shows you seven ways to do it, from the easiest (a simple rectangle) to the more playful (crochet landscapes). Each one takes about an hour or two, and you can use yarn you already have.
Artistic crochet is about using basic stitches in creative ways—like shaping, color blocking, or adding texture—to make something you hang on the wall. You don't need advanced skills, just a few supplies and a willingness to experiment.
What you need
Yarn
Worsted weight (medium) in your chosen colors. About 100-200 yards for a small piece.
Crochet hook
5.0 mm (US H-8) or 5.5 mm (US I-9) for worsted weight. Adjust to match your yarn.
Scissors
For cutting yarn.
Tapestry needle
For weaving in ends and sewing pieces together.
Dowel or branch
To hang your finished piece. A 12-inch dowel works for most small projects.
Optional: blocking mat and pins
To shape and flatten your finished piece.
What Yarn and Hook Work Best?
For wall art, you want a yarn that holds its shape. Worsted weight (medium, #4) is a good starting point. It's thick enough to show stitches clearly, but not so bulky that it looks clumsy. You can also use DK (light, #3) for finer detail, or bulky (#5) for a chunky, modern look.
Use a hook that matches your yarn. For worsted weight, that's usually a 5.0 mm (US H-8) or 5.5 mm (US I-9). Check the yarn label for the recommended hook size, and then go up one size if you want a looser, drapier fabric. For wall art, a slightly tighter gauge helps the piece keep its shape.
If you're not sure, make a small swatch first—about 4 by 4 inches. If it curls or waves, adjust your hook size.
How to Plan Your Design
Start with a simple shape. A square, a circle, or a triangle is easier to manage than a complicated silhouette. You can sketch your idea on graph paper first, or just start crocheting and see where it goes.
Think about color. Choose two or three colors that you like together. You can use a color wheel to find complementary colors, or just pick from your yarn stash. For a first project, stick to two colors—it's easier to see the pattern.
Lay your yarn balls on the floor in the order you plan to use them. That helps you visualize the final piece before you start.
7 Ways to Make Crochet Wall Art
Here are seven specific methods, from easiest to more advanced. Each one uses basic stitches but arranges them in a new way.
- 1. Simple Rectangle: Just crochet a rectangle in your favorite stitch (like single crochet or double crochet) and hang it on a dowel. Add a border in a contrasting color for a finished look.
- 2. Granny Square: Make a classic granny square, but make it big—like 12 inches or more. Use it as a standalone piece or combine several squares into a larger hanging.
- 3. Color Block: Crochet a rectangle and change colors every few rows to create horizontal stripes. You can also use a technique called tapestry crochet to make geometric patterns.
- 4. Texture Play: Use different stitches in the same piece—like popcorn, puff, or shell stitches—to create raised patterns that catch the light.
- 5. Crochet Landscape: Create a simple landscape by crocheting a rectangle for the sky, then adding a 'ground' section in a different color. You can add simple shapes like a sun or a tree.
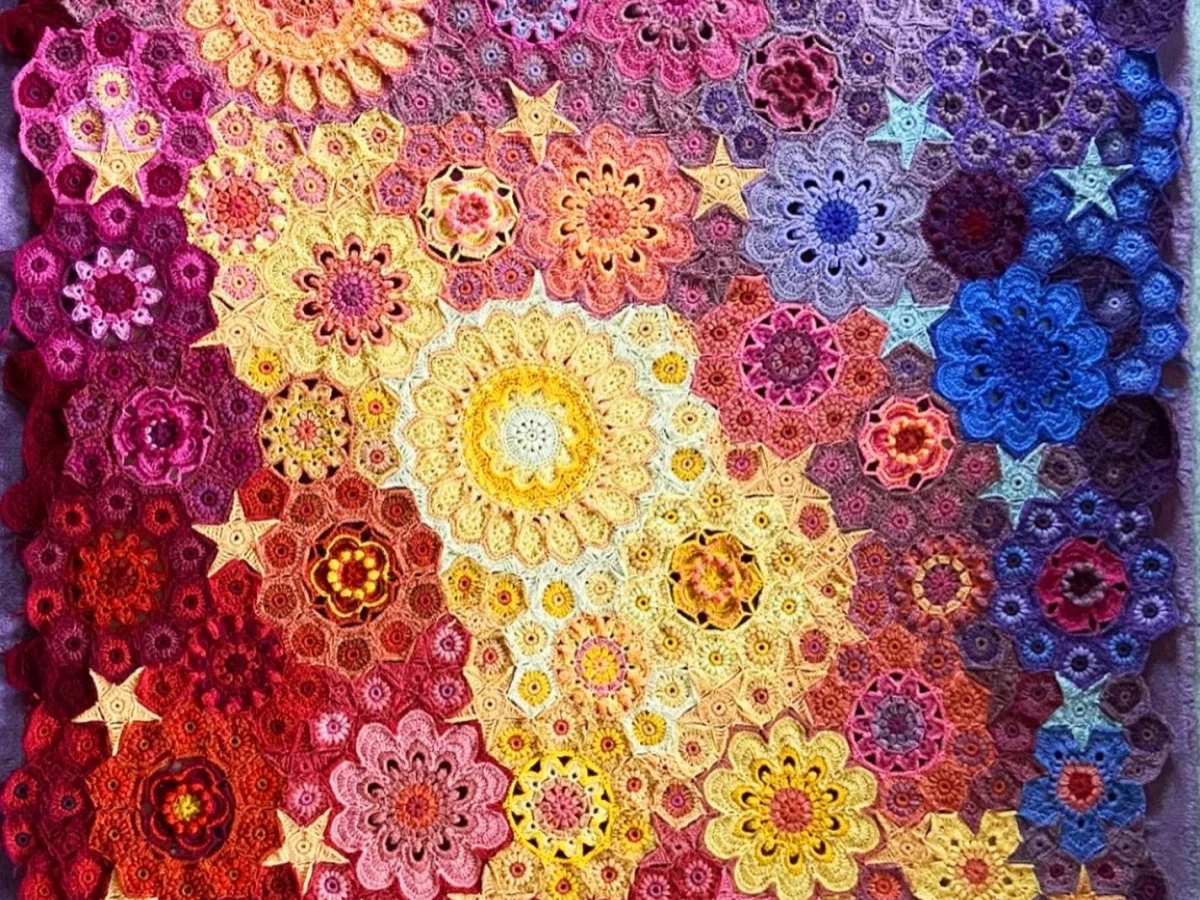
- 6. Freeform Crochet: Let go of a plan and crochet random shapes, then sew them together. This is great for using up scraps and creating a unique piece.
- 7. Crochet Mandala: Make a circular mandala using increasing rounds. You can follow a written pattern or improvise your own.
For a first project, try the simple rectangle or the granny square. They're forgiving and you'll finish quickly.
How to Block Your Finished Piece
Blocking is what makes your crochet lie flat and look professional. It's simple: pin your piece to a foam mat or a towel in the shape you want, then spray it with water until it's damp. Let it dry completely.
For wool or acrylic, you can also use a steam iron on a low setting, but hold it an inch above the piece—don't press directly. Blocking can take a few hours to dry, so plan ahead.
If you're in a hurry, you can skip blocking for a piece that's already flat. But it makes a big difference in how the stitches look.
How to Hang Crochet Art
The easiest way is to use a wooden dowel or a branch. Slide the dowel through the top row of stitches, or fold the top edge over and sew a pocket for the dowel.
Then attach a piece of yarn or twine to each end of the dowel and hang it from a nail or hook. Make sure the dowel is a few inches wider than your piece so the yarn can loop around.
Another option is to use a picture frame. You can stretch your crochet piece over a canvas or cardboard and frame it like a painting. This gives it a more polished look.
Use a level to make sure your hanging piece is straight. A slightly crooked piece can drive you crazy.
Step
Choose your pattern
Pick one of the seven methods from the list above. For a first project, choose the simple rectangle or granny square.
Gather your supplies
Collect your yarn, hook, scissors, needle, and dowel. Make sure you have enough yarn in each color.
Make a gauge swatch
Crochet a 4×4 inch square using your chosen stitch. If it's too loose or too tight, change your hook size.
Start crocheting
Follow your pattern, changing colors as needed. Work slowly and count your stitches to keep the edges straight.
Weave in ends
Use your tapestry needle to weave in all loose yarn ends on the back of the piece. This makes it look neat.
Block your piece
Pin it to a mat, spray with water, and let it dry completely. This flattens the stitches and gives it a professional finish.
Attach the dowel
Slide the dowel through the top edge, or sew a pocket. Then tie yarn to each end and hang it up.
Ways to change it
Use different yarn weights
Try DK for finer detail or bulky for a chunky look. Adjust your hook size accordingly.
Add beads or buttons
Sew on beads or buttons for extra texture and visual interest.
Make a multi-panel piece
Create several smaller pieces and hang them together as a set.
Experiment with color
Use a color wheel to find complementary colors, or try a monochromatic scheme.
Try freeform
Let go of a plan and improvise shapes. This is great for using up scraps.
The short version
- Artistic crochet uses basic stitches to create wall art.
- Worsted weight yarn and a 5.0 mm hook are a good starting point.
- Blocking is essential for a flat, professional finish.
- You can hang crochet art on a dowel or frame it.
- Simple rectangles and granny squares are great for beginners.
- Color and texture are the main ways to make your piece artistic.
- You can finish a small piece in about an hour.
Questions people ask
What is artistic crochet?
Artistic crochet is using crochet stitches to create decorative pieces, like wall hangings, rather than functional items like clothing. It focuses on color, texture, and shape.
Do I need to know advanced stitches?
No. You can create artistic crochet with basic stitches like chain, single crochet, and double crochet. The artistry comes from how you combine colors and shapes.
How long does it take to make a crochet wall hanging?
A small piece, like a 12-inch square, can take about an hour. Larger or more complex pieces may take a few hours.
Can I use any yarn for wall art?
Yes, but worsted weight is easiest to work with because it shows stitches well. Thinner yarns can be used for finer detail, but they take longer.
Pick a method and start your first piece today
Artistic crochet is a fun way to use your skills in a new way. Start with a simple rectangle or a granny square, and you'll have a piece of art in no time. The key is to play with color and texture, and don't worry about making it perfect. Happy hooking!



