
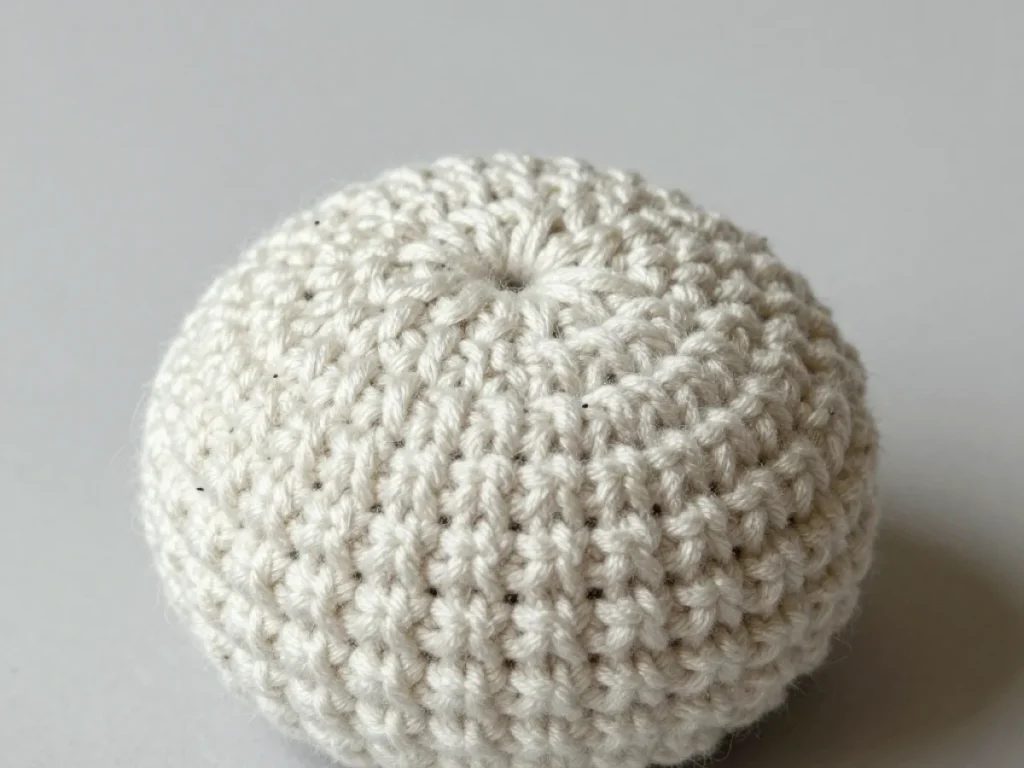
How to Make an Ergonomic Crochet Pincushion
Crochet a compact pincushion that holds your pins, DPNs, and stitch markers while keeping your wrist in a natural position.
The classic tomato pincushion forces your wrist to bend at an awkward angle every time you reach for a pin.
The classic tomato pincushion forces your wrist to bend at an awkward angle every time you reach for a pin. That repeated motion can make your hand ache, especially during long sewing or crochet sessions. An ergonomic pincushion raises the pin surface so your wrist stays straight, and it adds a broad, weighted base so the cushion doesn't slide or tip.
This pattern makes a compact pincushion that fits in your project pouch. It has a soft top for pins and a firm bottom that holds double-pointed needles and stitch markers. The design is simple enough for a confident beginner, and you can finish it in an evening.
This ergonomic crochet pincushion solves that by raising the pin surface to a comfortable height and adding a wide, weighted base that keeps it steady. You can make one in about two hours with a small amount of worsted-weight yarn and a 3.5 mm hook.
What you need
Worsted-weight cotton yarn
About 60 yards each of two colors. Cotton grips pins better than acrylic.
3.5 mm crochet hook
Or the size that gives you a firm fabric with your chosen yarn.
Fiberfill stuffing
About half a cup, or enough to fill the dome firmly.
Dried beans or rice
Half a cup for the weighted base. You will wrap them in fabric.
Small cotton fabric square
4 inches square, to make the weight pouch.
Yarn needle and scissors
For weaving in ends and sewing the pieces together.
Why ergonomics matter for a pincushion
When you stick pins into a flat cushion, you have to bend your wrist down to grab them. Do that a hundred times in a row and your forearm starts to complain. Raising the cushion to about two inches high puts your wrist in a neutral, straight line.
The shape also matters. A pincushion that is wider than it is tall gives you a stable base, so you don't have to chase it across the table. The one in this pattern uses a weighted bottom made with a small bean bag or a few coins wrapped in fabric.
If you already have wrist pain, test the height by placing a small box under your current pincushion. If that feels better, you know this shape will help.
What you need to make the pincushion
You will need worsted-weight yarn in two colors: one for the top and one for the bottom. A cotton blend works best because it grips pins well and does not stretch out of shape. You will also need a 3.5 mm crochet hook, a yarn needle, and fiberfill for stuffing.
For the weighted base, gather about half a cup of dried beans, rice, or small pebbles. You will sew these into a small fabric pouch so they do not leak out through the crochet stitches. A piece of cotton fabric about 4 inches square works fine.
Worsted weight means a category 4 yarn. If you only have DK weight, use a 3.25 mm hook and expect a slightly smaller pincushion. The pattern is forgiving, so do not worry about matching gauge exactly.
How to crochet the top piece
Start with a magic ring and work 6 single crochets into it. Pull the ring tight. Then increase in every stitch to make 12. Continue increasing evenly until you have a flat circle about 3 inches across. For worsted weight, that usually takes 5 rounds.
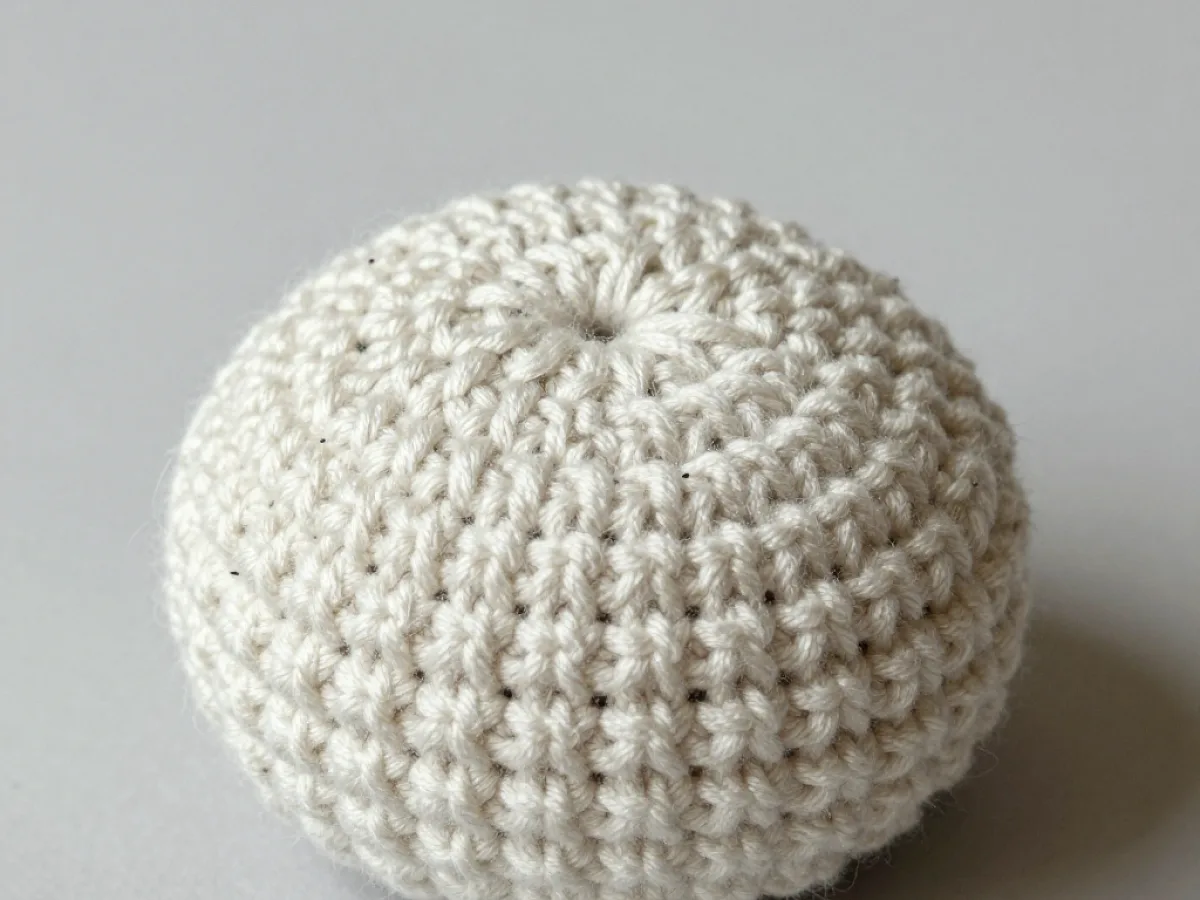
After the circle is wide enough, stop increasing and work even in single crochet for 4 rounds. This makes the sides of the cushion. The piece will start to curve upward, forming a dome. If it looks too flat, add one more round of increases before working even.
Count your stitches at the end of each round. A common mistake is to add or lose a stitch, which makes the dome lopsided. Use a stitch marker to mark the start of each round.
How to crochet the bottom piece
The bottom is a flat circle that matches the diameter of the top opening. Work the same increases as the top, but stop at the same number of stitches you had before you started working even. For example, if the top has 48 stitches around, make a circle with 48 stitches.
You will also need to make a small tube that fits around the weight pouch. Chain 6 and join to form a ring, then work single crochet in the round until the tube is about 1 inch tall. This will sit inside the bottom to hold the weight.
To check if the bottom circle matches the top, lay the top flat and place the bottom over it. They should be the same diameter. If the bottom is smaller, add one more increase round.
Putting the pincushion together
First, sew the fabric pouch and fill it with the beans or pebbles. Close it tightly. Then place the pouch inside the small crochet tube. This keeps the weight centered and prevents it from shifting.
Stuff the top piece with fiberfill until it is firm but still springy. Then place the bottom circle over the opening and whipstitch the edges together, leaving a small gap. Insert the weight tube through the gap and position it in the center. Finish sewing the seam, making sure the weight is secure.
If the weight pouch is too big, it will make the pincushion lumpy. Aim for a pouch that fits in the palm of your hand, about 2 inches across.
How to use the pincushion for other notions
The sides of the pincushion are thick enough to hold double-pointed needles and stitch markers. Just push the tips into the crochet fabric between the stitches. The cotton yarn grips them so they stay put.
For stitch markers, you can also attach them to the edge of the top seam. This keeps them visible and within reach while you work. The compact size means you can toss the whole thing into your project bag without worrying about pins falling out.
If you use the pincushion for knitting needles, choose a heavier weight for the bottom, like rice, to keep it from tipping over.
Step
Crochet the top dome
Work a flat circle to 3 inches, then work even for 4 rounds to form the dome.
Crochet the bottom circle
Make a flat circle the same diameter as the top opening, with the same stitch count.
Make the weight pouch
Sew a small fabric pouch, fill it with beans or rice, and close it tightly.
Make the weight tube
Crochet a small tube that fits around the pouch, about 1 inch tall.
Stuff and assemble
Stuff the dome, place the weight tube inside the bottom, and whipstitch the pieces together.
Ways to change it
Larger version
Increase the circle to 4 inches for a bigger pincushion that holds more pins.
Different yarn
Use DK weight with a 3.25 mm hook for a finer texture, or bulky yarn for a chunkier look.
Add a hanging loop
Crochet a chain and attach it to the seam if you want to hang the pincushion near your work area.
Embellish with a crochet flower
Sew a small flower on top to make it a charming display piece when not in use.
The short version
- The raised design keeps your wrist straight, reducing strain during long projects.
- A weighted base stops the pincushion from sliding or tipping over.
- Cotton yarn grips pins better than acrylic, so they stay put.
- The compact size fits easily into a project pouch or tote.
- You can hold double-pointed needles and stitch markers in the sides.
- The pattern uses basic single crochet and simple increases, perfect for beginners.
- Finished size is about 3 inches wide and 2 inches tall.
Questions people ask
Why is a crochet pincushion more ergonomic than a flat one?
A flat pincushion forces you to bend your wrist down to reach pins. Raising the pin surface to 2 inches lets your wrist stay straight, which reduces strain.
What yarn is best for a pincushion?
Cotton or a cotton blend works best because it grips pins and does not stretch out of shape. Acrylic can be too slippery.
How do I make the pincushion stay in place?
The weighted bottom, made with a fabric pouch of beans or rice, keeps it steady. Place the weight inside a crochet tube so it stays centered.
Can I use this pincushion for knitting needles?
Yes, the sides are thick enough to hold double-pointed needles and stitch markers. Just push them into the fabric between stitches.
Ready to make your own ergonomic pincushion?
Gather your yarn and a few beans, then follow the steps above. In about two hours, you will have a pincushion that is kind to your wrist and keeps your notions close. Stitch with ease.



