Beginner Crochet Mistakes You Can See in Your First Rows
Learn to read your own stitches so you can spot the six mistakes beginners make most and fix them in the same row.
If your crochet piece keeps getting narrower, the mistake is usually in the first stitch of each row, not in your hands.
You do not need anyone to watch you crochet. Your fabric already tells you what went wrong.
Here is how to read it. Six mistakes cause almost every ugly first project, and each one leaves a shape you can check in ten seconds.
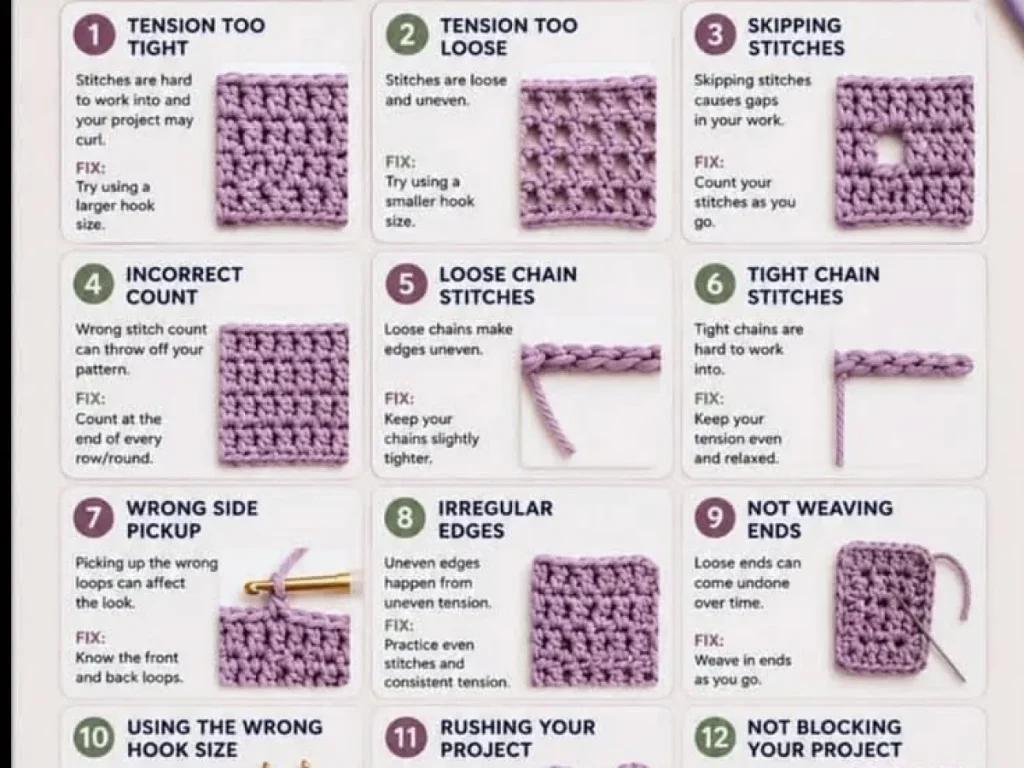
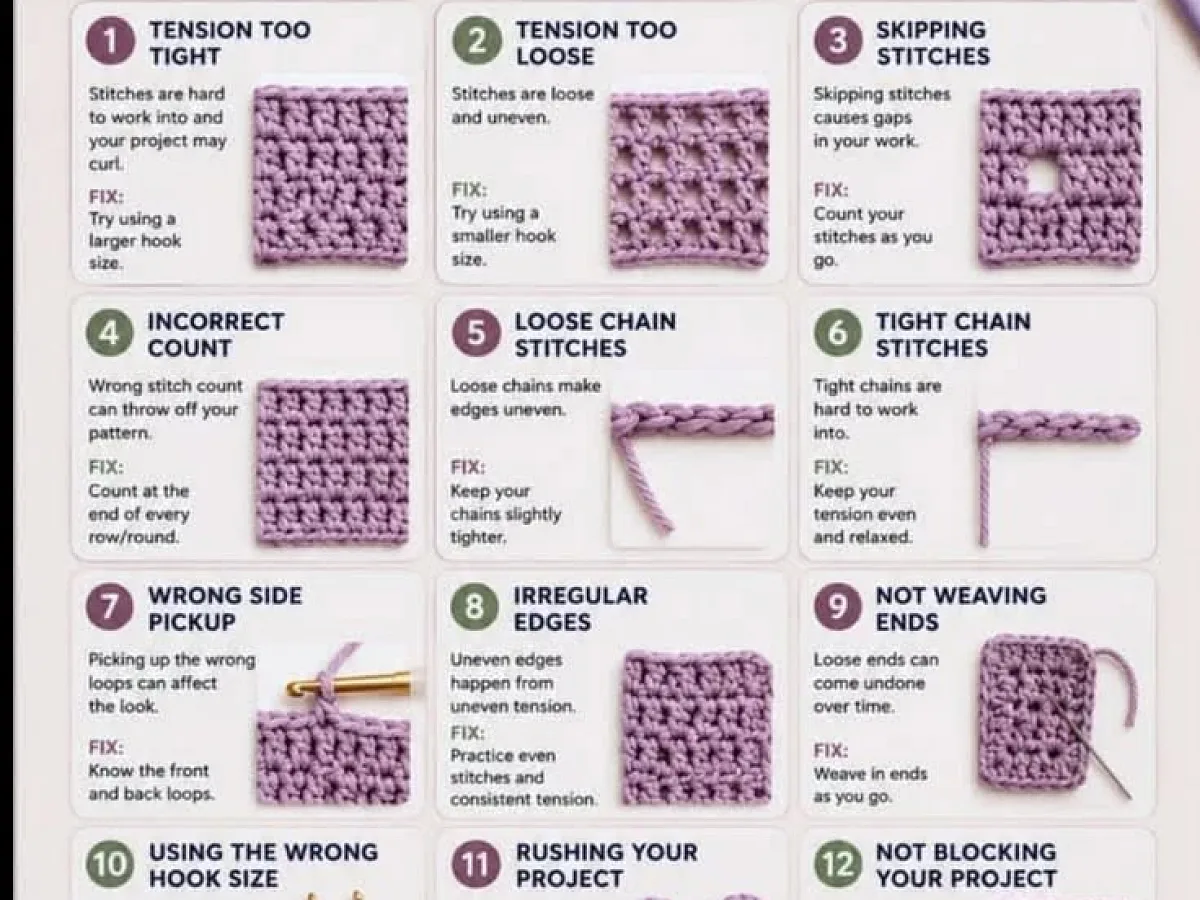
Most beginner crochet mistakes show up as a shape, not a stitch. A piece that narrows means you skipped a turning chain. A piece that widens means you added a stitch at the edge. Gaps, loose loops and tight fabric all have their own tell, and you can see every one of them in your last three rows.
What you need
Worsted weight yarn
One ball in a light colour. Light yarn shows stitch definition better than dark yarn, which matters when you are learning to read your work.
4.5 mm hook
A good middle size for worsted yarn. Keep a 5 mm nearby so you can compare how one size up changes your tension.
Yarn needle
A blunt-tipped needle with a large eye. You need it for weaving in the ends when you finish.
Scrap paper
For writing down your stitch count at the end of each row. Do not try to remember it.
Why your edges tell you more than your stitches
Stitch height is hard to judge while you work. Edge shape is not. Hold the piece up and let it hang.
A straight edge means your stitch count held. A curve means it did not. That curve points to one of two mistakes, and they are opposites.
Count the stitches in your first row, then count the last row you finished. The difference is the size of the problem. One stitch off per row over twenty rows is a scarf that loses twenty stitches.
Lay the piece flat on a table, not in your lap. Fabric relaxes against a hard surface and the curve shows up clearly.
The six mistakes and what each one looks like
Each mistake has a signature. Learn the signature and you can name the problem without undoing anything.
- Narrowing fabric: you skipped the first stitch after the turning chain, or missed the last stitch of the row.
- Widening fabric: you worked a stitch into the turning chain itself, so each row grows by one.
- Gaps along the side: the turning chain is too tall for the stitch you are using, usually a chain of three on single crochet.
- Loose, loopy stitches: you are pulling the yarn from the ball instead of from the loop on the hook, so tension drifts.
- Tight, stiff fabric: you are choking the hook, often because the yarn is held too far up the finger.
- Slanted rows: you are turning the work the same direction every time instead of flipping it over.
How to fix a skipped edge stitch
This is the number one reason beginner projects turn into triangles. The last stitch of a row hides under the turning chain, and it is easy to miss.
Count as you go for the next three rows. Say the number out loud if it helps.
Once you trust your eye, feel for the last stitch with your fingertip before you push the hook in. It sits lower than you expect.
If you are already ten rows in, do not rip it out. Keep going and treat the piece as practice. A scarf with a wobbly start still keeps a neck warm.
How to stop adding stitches at the start
The turning chain counts as a stitch in most patterns. That means you do not work into it again.
After you turn, skip the first stitch, then work into the next one. The chain you just made stands in for the stitch you skipped.
Check the width after every row for the first four rows. If it grew, you worked into the chain.
Some patterns say the turning chain does not count. Read that line twice before you start. It changes where your first stitch goes.
Tension problems and what actually helps
Tension is not a talent. It is a habit, and habits change with position.
Sit the same way each time. Rest your elbows on the table if you can. Most people crochet tighter when their arms are unsupported.
Change hook size before you change anything else. Going up one size, from a 4 mm to a 4.5 mm, loosens fabric more reliably than trying to relax your hands.
Make a 15 cm square with your usual hook and yarn. Measure the middle 10 cm. If you get more stitches than the pattern gauge, go up a hook size.
A five minute check before you keep going
Stop at the end of any row and run this check. It takes less time than fixing twenty rows later.
- Count the stitches in this row and the row below. They should match.
- Look at both edges. Straight, or curving?
- Press the fabric flat with your palm. Does it spring back, or stay squashed?
- Hold it up to a light. Can you see daylight through the stitches?
Write your stitch count on a scrap of paper and keep it next to you. Memory is worse than paper at row fifteen.
What you need to practice this
You do not need a full project. A practice swatch teaches faster because you are not worried about ruining anything.
- Worsted weight yarn, one ball in a light colour so you can see each stitch.
- A 4.5 mm hook, plus a 5 mm hook to compare tension.
- A pair of scissors and a yarn needle for weaving in ends.
- A small notebook or a scrap of paper for stitch counts.
Test your work
Here is the check that catches almost everything. Count the stitches in your very first row. Now count the row you just finished.
If the numbers match, your edges are straight and you are ready to keep going. If they do not, look at the edge that curves. That curve names your mistake.
Happy hooking!
Do this count every five rows, not every row. It is enough to catch a problem early without slowing you down.
Step
Count your first row
Work a foundation chain and one row of single crochet. Count the stitches carefully and write the number down. This is your target for every row after it.
Turn and skip the first stitch
Chain one, turn the work, and skip the first stitch. Work into the next stitch. If your pattern says the turning chain counts, this skip is what keeps your count steady.
Work to the end and find the last stitch
The last stitch sits under the turning chain from the row below. Feel for it with your fingertip before you push the hook through. Missing it is what makes fabric narrow.
Count the new row
Count the stitches you just made. It should match your written number. If it is one short, you missed the last stitch. If it is one long, you worked into the turning chain.
Check the edge shape
Hold the swatch up and let it hang. Straight sides mean you are on track. A curve tells you which of the two edge mistakes you made.
Ways to change it
Use a bigger hook
Go up one size if your fabric feels stiff and tight. This loosens stitches without changing how you hold the yarn.
Try a cotton yarn
Cotton shows stitch definition sharply and does not stretch, which makes mistakes easier to see. It is less forgiving on tension, so it suits someone who already counts rows.
Add a stitch marker
Clip a marker into the first and last stitch of each row. It removes the guesswork about where the edge stitches are.
Practice in a single colour
Striping yarn hides stitch shape. Solid light colours are easier to read while you are learning.
Make a dishcloth instead of a scarf
A dishcloth is about 20 cm square, so you finish it before bad habits set in. You also get a useful thing at the end.
The short version
- Fabric that narrows means you skipped the first or last stitch of a row.
- Fabric that widens means you worked into the turning chain by mistake.
- A turning chain of three is too tall for single crochet and leaves gaps.
- Changing hook size fixes tension faster than trying to relax your hands.
- Counting stitches every five rows catches problems before they cost you twenty rows.
- Light, solid-colour yarn makes stitch shape easier to see than dark or variegated yarn.
Questions people ask
Why does my crochet get narrower every row?
You are missing the first or last stitch of the row. The last stitch hides under the turning chain and is easy to skip. Count your stitches at the end of each row and write the number down so you notice the drop straight away.
Why does my crochet curl at the edges?
Curling usually means your tension is too tight, or your turning chain is taller than the stitch you are using. Try going up one hook size. If that does not help, check whether your pattern counts the turning chain as a stitch.
How do I know if my tension is right?
Make a 15 cm square, then measure the middle 10 cm. Compare the stitch count to the gauge in your pattern. More stitches than the pattern says means you crochet tightly and should go up a hook size.
Should I undo my work if I find a mistake ten rows back?
Only if the mistake changes the shape or the fit. A missed stitch in a scarf will not matter. A missed stitch in a hat crown will change the size, so fix that one.
Why can I see holes between my stitches?
Your turning chain is probably too tall for the stitch. Three chains is right for double crochet, but single crochet needs only one. Check the chain count your pattern gives for each stitch type.
Count your next row before you start it
Pick up the piece you are working on right now and count the stitches in the last two rows. If the numbers match, keep going. If they do not, you know exactly which edge to watch.