
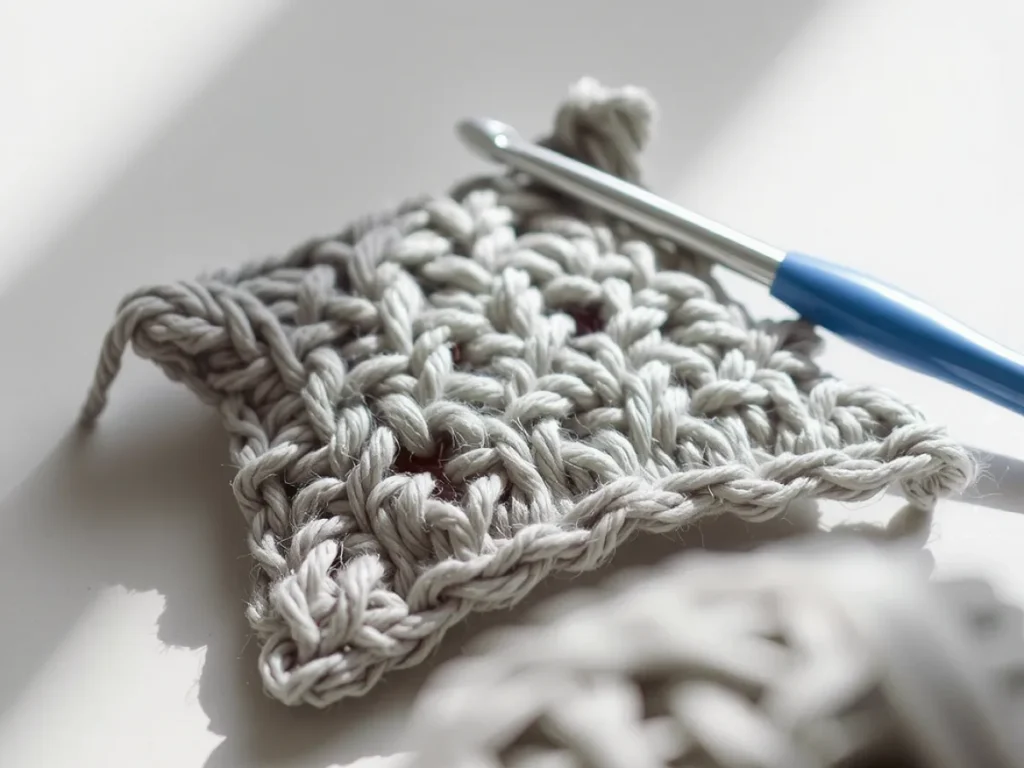
Weave In Ends Crochet Technique: A Step‑by‑Step Guide
Learn how to hide yarn tails neatly so your project looks finished.
A visible yarn tail can snag after just one wash.
When a crochet piece ends, the loose yarn can pull at the edge or catch on a nail. Tucking it in properly gives a clean, professional finish.
The weave in ends method works for any weight of yarn and most stitch patterns, and it only takes a few minutes.
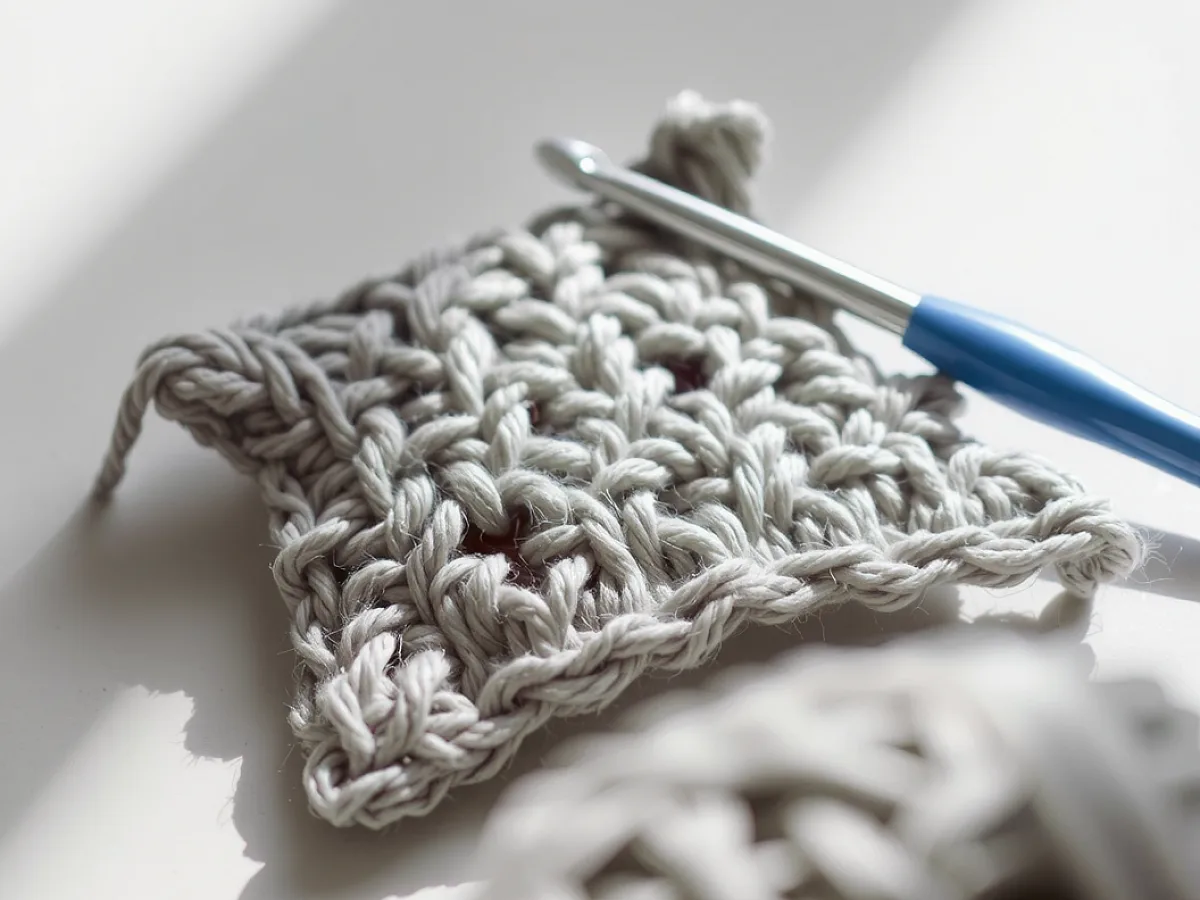
Weave in ends by threading the tail through the back loops of surrounding stitches, then pulling tight. This hides the tail and secures it without adding bulk.
What you need
Darning needle (or blunt crochet needle)
Choose a size that matches your yarn weight; a size 2‑3 mm works for sport weight, larger for bulky yarn.
Yarn tail
Leave 6‑8 inches after the final stitch; this length is enough to work with and reduces waste.
Scissors
Any small pair will do; sharp tips make a clean cut.
Why weaving in ends matters
A stray tail can catch on a hook or pull loose when the item is washed, shortening its life. Hiding the tail protects the fabric and keeps the look tidy.
Weaving also distributes the tension of the tail across several stitches, preventing a weak spot that could unravel later.
Check the back of your work; a smooth surface means the tail is fully hidden.
Supplies you’ll need
A sharp darning needle or blunt tapestry needle, the yarn tail you just cut, and a pair of scissors are enough. If you prefer, a crochet hook can be used for thicker yarns.
A needle with a small eye makes threading easier, especially with fine yarn.
Preparing the yarn tail
Leave about 6‑8 inches of tail after you finish the last stitch. This length gives you room to work without pulling the fabric.
If the tail is longer than 12 inches, trim it now to avoid excess bulk later.
Weaving the tail into the fabric
Thread the needle, then insert it under the back loop of the stitch nearest the tail. Pull the yarn through without tightening fully.
Start on the wrong side of the work so the stitches you hide are not visible from the front.
Common mistakes and fixes
Weaving only a single stitch can leave the tail visible; always pass the needle through at least three consecutive back loops.
If the tail shows, pull the needle a few stitches further and re‑weave, then trim the excess.
Finishing and caring for the piece
After the tail is hidden, pull the yarn gently until the weave is snug but not puckered. Cut the excess close to the fabric.
Wash the finished piece on a gentle cycle; the woven tail will stay secure if it was snugly tucked.
Step
Trim the tail
Cut the yarn leaving 6‑8 inches, enough to work with but not so long it creates bulk.
Thread the needle
Pass the tail through the eye of a darning needle; a thin needle helps with fine yarn.
Insert under a back loop
Push the needle under the back loop of the stitch nearest the tail, pulling the yarn through without tightening fully.
Weave through several stitches
Continue the needle through 3‑5 additional back loops, moving away from the edge to distribute tension.
Pull snug and cut excess
Gently tug the tail until the weave is snug, then cut the remaining yarn close to the fabric.
Ways to change it
Use a larger needle for bulky yarn
A size 6‑8 mm needle prevents the yarn from fraying while you weave.
Weave on the wrong side for reversible projects
Hiding the tail on the back keeps both sides looking clean.
Skip weaving for a decorative fringe
Leave the tail unstitched if you want a fringe edge on blankets or scarves.
The short version
- Weaving in ends prevents snags and prolongs the life of the piece.
- A 6‑8 inch tail gives enough length to work comfortably.
- Pass the needle through back loops, not front loops, for a hidden finish.
- Weave through at least three stitches to distribute tension.
- Trim the excess close to the fabric to keep the edge smooth.
Questions people ask
Can I use a crochet hook instead of a needle?
Yes, a hook works well with thick yarn; simply catch the tail on the hook and pull it through the back loops.
How many stitches should I weave through?
Three to five back loops are enough for most projects; more may be needed for very heavy yarn.
Try weaving in ends on your next project
A neatly woven tail makes your crochet work look polished and lasts longer. With a few simple steps you can finish any piece with confidence. Stitch with ease.



