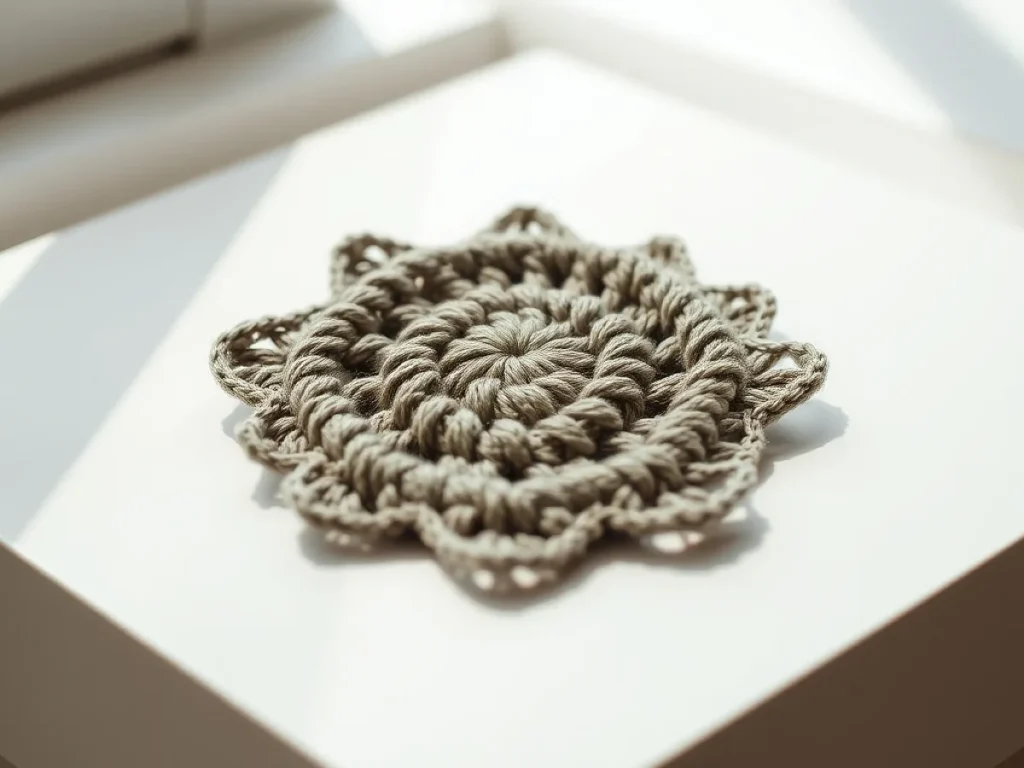
Ergonomic Crochet Graphic Design: Hook-Friendly Charts You Can Actually Read
Design a crochet chart you can follow for two hours without losing your place or rubbing your eyes.
A crochet chart that needs squinting is a chart that will get frogged.
If you have ever held a phone six inches from your face to count tiny symbols, you already know why chart design matters. The chart is a tool. It should work like one.
This is about making crochet charts that are easy on the eyes and easy on the hands. Not art prints. Working documents. The kind you tape to a table and forget about while you crochet.
Ergonomic crochet graphic design means building the chart around the hook hand, not around decoration. Big symbols, thick lines, one clear repeat, and a marked current row. Get those four things right and most people read a chart twice as fast.
What you need
Vector or layout software
Anything that exports a clean PDF works. Free options are fine as long as you can set line width in points.
Standard crochet symbol set
Oval, dot, plus, T, T with one slash, T with two slashes. Use the same set every time.
Printer and matte paper
Print at 100 percent scale. Matte A4 or Letter, 80 gsm or heavier.
Yellow highlighter or dry-erase marker
For marking the current row. Dry-erase works on laminated charts.
Why most crochet charts hurt to read
The usual problem is scale. A chart drawn at 60 percent to fit one page turns a double crochet symbol into a speck. You then zoom, scroll, and lose your row.
The second problem is contrast. Pale grey symbols on white paper disappear under a warm lamp. Black on white, or near-black on cream, holds up for hours.
- Symbols under 6 mm tall are hard to count at arm's length
- Lines thinner than 0.75 pt fade on home printers
- More than four symbol types in one repeat slows reading
Print a test row at full size before you commit. If you cannot count it from 40 cm away, make it bigger.
Set the size before you draw anything
Decide the finished chart width first. A4 portrait gives you about 180 mm of usable width. Divide that by your repeat count to get the space each stitch gets.
A 12-stitch repeat on 180 mm gives 15 mm per stitch. That is generous and very readable. A 40-stitch repeat gives 4.5 mm, which is too tight for symbols. Split the chart into two rows of the repeat instead.
For filet or colourwork, keep one square at 6 mm or larger. Smaller than that and a coloured pencil will not stay inside the box.
Symbols, lines and the grid
Use the standard symbol set so anyone can read your chart. A chain is an oval, a slip stitch is a dot, a single crochet is a plus, a half double is a T, a double is a T with one slash, a treble has two slashes.
Draw the grid in light grey at 0.5 pt. Draw the symbols in black at 1.5 pt or heavier. The grid should guide the eye, not compete with the stitches.
Place each symbol so its base sits on the stitch below it. If symbols float in the middle of a square, counting gets confusing fast.
- Chain: small oval, roughly 4 mm wide
- Slip stitch: filled dot, 1.5 mm
- Single crochet: plus sign
- Half double: T shape
- Double: T with one diagonal slash
- Treble: T with two diagonal slashes
Keep the same symbol size across every chart you make. Readers learn your charts once and then trust them.
Rows, repeats and the current-row marker
Number every row on both sides of the chart. Odd numbers on the right, even on the left. That way you never have to work out which end you are on.
Box the repeat with a dashed line and label it once, for example 8-stitch repeat. Do not redraw the repeat twelve times. Show it twice plus the edge stitches.
The current-row marker is the ergonomic part. A bold yellow band across the row you are working lets your eye jump straight back after you set the hook down.
If you laminate the chart, a dry-erase marker wipes off clean and you can move the band row by row.
Colour, contrast and printing at home
Two colours is plenty. Black for symbols, one accent for the current row. Three or more colours in a chart turns counting into a puzzle.
Check your contrast ratio. Black on white is about 21 to 1. Mid-grey on white is around 4 to 1 and will fail on a cheap printer.
Print at 100 percent scale, never fit to page. Fit to page shrinks a chart by roughly 6 percent on A4 and quietly breaks your symbol sizes.
Matte paper beats glossy. Glossy reflects lamp light straight into your eyes.
Common mistakes and how to spot them
If you keep losing your place, the chart is too busy. Cut a colour or make the current-row band wider.
If you keep miscounting the repeat, the repeat box is probably unclear. Redraw it with a heavier dashed line and a clear label.
If your stitches look right but the shape is wrong, check the symbol bases. A symbol sitting half a square too high shifts the whole row.
- Losing place: too many colours or no current-row marker
- Miscounting: repeat box not obvious
- Wrong shape: symbols not sitting on the stitch below
- Eye strain: symbols under 6 mm or thin grey lines
Print one copy for the wall and one for your lap. Two copies cost pennies and save a lot of squinting.
Step
Pick the finished width
Set your page to A4 portrait with 15 mm margins. That leaves about 180 mm of usable width. Write that number down before you draw.
Work out stitch spacing
Divide usable width by your repeat count. If you land under 6 mm per stitch, split the repeat across two chart rows.
Draw the grid
Light grey lines at 0.5 pt. Count the squares twice. A grid that is one square short will throw off every row after it.
Place the symbols
Black at 1.5 pt or heavier. Sit each symbol base on the stitch below. Check one full repeat before you copy it across.
Number the rows
Odd numbers right, even numbers left. Confirm the numbering matches your written pattern before you export.
Add the repeat box and current-row band
Dashed box around the repeat, labelled once. A bold yellow band across row one. Test it on screen at 100 percent.
Print and check
Print at 100 percent, never fit to page. Hold it at arm's length. If you cannot count the symbols, go back and enlarge them.
Ways to change it
Large-print version
Double the symbol size and split the chart across two pages. Good for low light or tired eyes.
Phone-friendly version
One repeat per screen, bold current-row band, no grid lines. Works for short sessions on the bus.
Colourwork grid
6 mm squares with flat colour fills and no symbols. Best for tapestry-style colour changes.
Left-handed version
Mirror the whole chart horizontally. Row numbering stays the same, direction flips.
Laminated chart
Print, laminate, use a dry-erase marker for the current row. Wipes clean and lasts for years.
Braille-friendly notes
Keep a plain-text row list beside the chart. Useful when the chart is too visual to read by touch.
The short version
- Symbols under 6 mm tall are the main cause of chart reading errors
- Print at 100 percent scale; fit to page shrinks charts by about 6 percent on A4
- Grid lines at 0.5 pt and symbols at 1.5 pt or heavier keep the chart readable
- A bold current-row band is the single biggest ergonomic win
- Two colours is enough; three or more slows counting
- Number rows on both sides so you always know which end you are on
Questions people ask
What size should crochet chart symbols be?
Aim for 6 mm tall or more. At that size you can count symbols from about 40 cm away, which is normal reading distance with the chart on a table.
Should I print a crochet chart at 100 percent?
Yes. Fit to page shrinks an A4 chart by roughly 6 percent and quietly changes your symbol sizes. Print at 100 percent and check with a ruler.
How do I stop losing my place on a chart?
Use a bold band across the row you are working. Yellow highlighter on paper, or dry-erase marker on a laminated copy. Move the band after every row.
Can I make a crochet chart without design software?
Yes. A spreadsheet with square cells works well. Set row height and column width to the same value, then draw symbols with basic shapes.
What is the best contrast for a crochet chart?
Black on white gives about 21 to 1 contrast. Mid-grey on white is around 4 to 1 and often fails on home printers. Stay dark on light.
Build one chart, print it, and see how much faster you crochet
Start with a single repeat, big symbols, and a yellow band across row one. Fix the size and the contrast before you add anything pretty. Your hands and your eyes will thank you. Keep it quick and cute!