
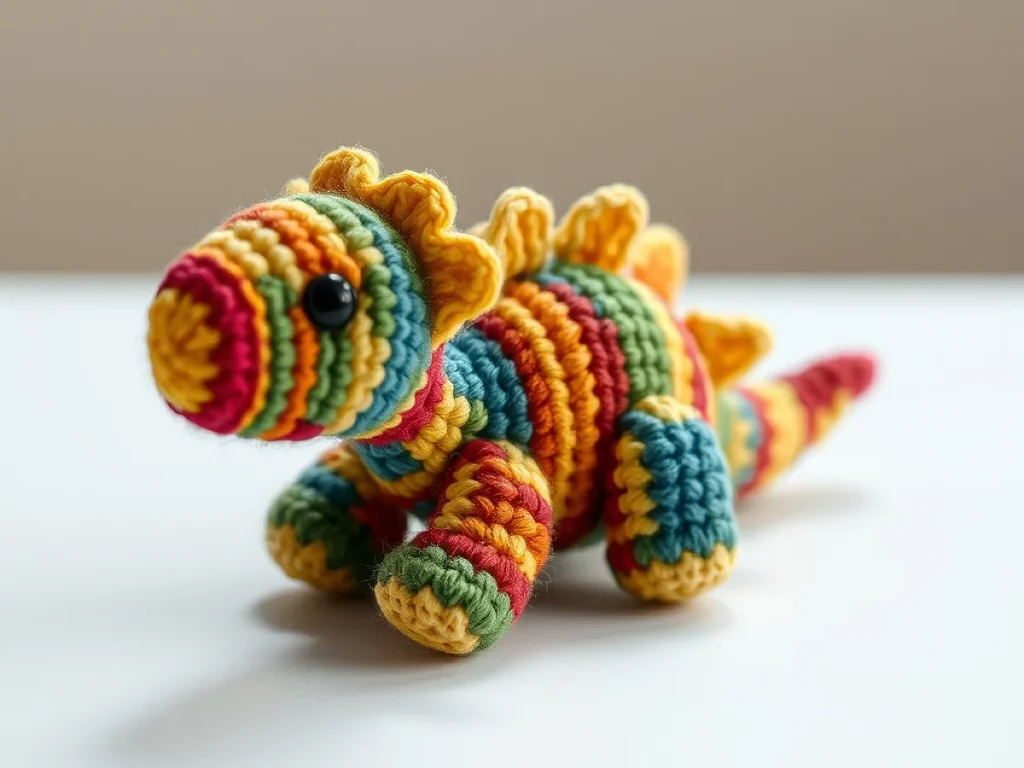
Micro Crochet Colorful Dinosaur
learn to stitch a tiny, vibrant dinosaur in under an hour
A single skein of super‑fine yarn can turn into a lively dinosaur that fits on your palm.
The idea of a tiny dinosaur feels playful, but it also tests your precision. This pattern keeps the steps clear so even those new to crochet can finish it quickly. With the right tools and a little patience, you’ll have a colorful little dino that you can proudly display or give away.
You can craft a micro crochet dinosaur using a 4‑mm hook, light‑weight yarn, and simple stitches in about 45 minutes. The finished piece measures roughly 6 cm tall and is great as a gift or desk charm.
What you need
Crochet hook
4‑mm (US G) or 5‑mm if 4‑mm is unavailable
Yarn
Light‑weight acrylic or wool, about 12 g per dinosaur. Bright colors preferred
Yarn needle
Thin enough to weave in ends without tearing the yarn
Stitch counter (optional)
Helps keep track of rounds and avoid miscounts
Choosing Your Materials
Pick a light‑weight yarn in bright colors – acrylic or wool works well. The pattern calls for about 12 g of yarn per dinosaur. Use a 4‑mm (US G) crochet hook; it gives the right balance between size and strength. If you lack a 4‑mm, a 5‑mm will work but the dinosaur will be a touch larger.
If you prefer a softer feel, try a light cotton blend; the stitches will look gentler.
Preparing the Yarn
Cut two strands of yarn, each about 30 cm long. One strand will form the body, the other the tail and limbs. Keep the strands straight; any twist will show in the finished piece.
Store the unused yarn in a small bag to keep it from tangling.
Starting the Body
Begin with a magic ring. Make 6 single crochets (sc) into the ring and join with a slip stitch to close. This small circle is the dinosaur’s head and body combined. It should measure about 3 cm across.
Use a stitch counter to keep track of each round – it helps avoid miscounts.
Adding the Tail and Legs
Attach the second yarn strand. From the ring, make 4–5 sc in each round to shape the body. When you reach the tail tip, switch to the tail strand and make 3–4 sc per round until it tapers. For legs, attach the tail strand again at the base and work 2 sc per round until the feet are defined.
Keep the tail slightly longer than the body for a playful look.
Finishing Touches
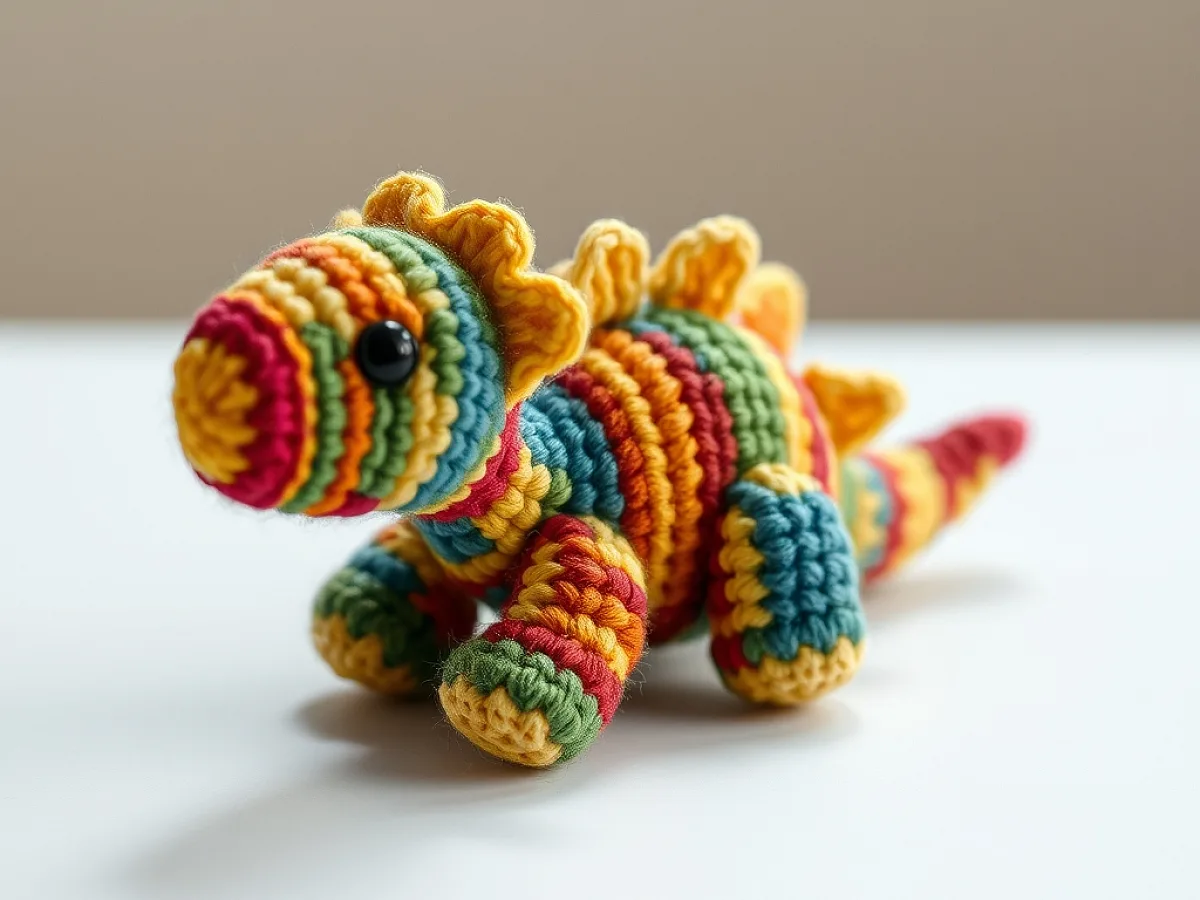
Fasten off the yarn and weave in the ends with a yarn needle. If desired, add a small embroidered eye using a contrasting yarn color. The dinosaur should now sit at about 6 cm tall.
Check symmetry before finishing; a quick side view ensures the tail and legs look balanced.
Common Mistakes and Fixes
Too tight stitches make the dinosaur stiff; too loose and it sags. Aim for a medium tension. If the tail curls inward inadvertently, open the tail stitches carefully and rework them into a straight line. Missing a slip stitch may leave a visible gap; simply re‑thread the yarn and stitch again.
Practice a single round on a spare yarn to get the tension right.
Packaging and Display
Wrap the finished dinosaur in a clear cellophane bag. Attach a small tag with the yarn brand and hook size, so the gift giver knows how to repair it. Place it on a tiny wooden block or a desk coaster for a charming display.
Use a natural wood block for a rustic aesthetic.
Step
Make the Magic Ring
Create a loop with yarn, pull the tail through, and pull tight to form a ring. This is the base for the head and body.
Build the Body
Work 6 single crochets into the ring, join with a slip stitch. Continue rounds to reach the desired body length.
Add Tail and Legs
Switch to the tail yarn. Make tapered rounds for the tail. Attach the tail yarn again at the base to form legs with 2 stitches per round.
Finish and Weave
Fasten off the yarn, use a needle to weave in ends. Add an eye if you like.
Wrap and Present
Place the dinosaur in a clear bag, add a tag, and display on a small block.
Ways to change it
Different Dinosaur Species
Swap colors or add a small tail fin to mimic a T‑rex or stegosaurus
Chunky Yarn Variation
Use a 6‑mm hook and bulky yarn for a larger, plush dinosaur
Seasonal Color Themes
Choose pastel shades for spring, neon for summer, or earth tones for fall.
The short version
- Use a 4‑mm hook for the best size and detail.
- Keep tension medium to avoid stiffness or sagging.
- The finished dinosaur measures about 6 cm tall.
Questions people ask
Can I use any yarn weight?
Light‑weight yarn works best; heavier yarn will make the dinosaur too bulky.
What if I lose a stitch?
Re‑thread the yarn and stitch the missing piece in the same round; keep the pattern tight.
Start your tiny dinosaur today
Your micro crochet dinosaur is now ready to brighten any space. Store it safely or gift it to a fellow crochet lover. Happy hooking!



