
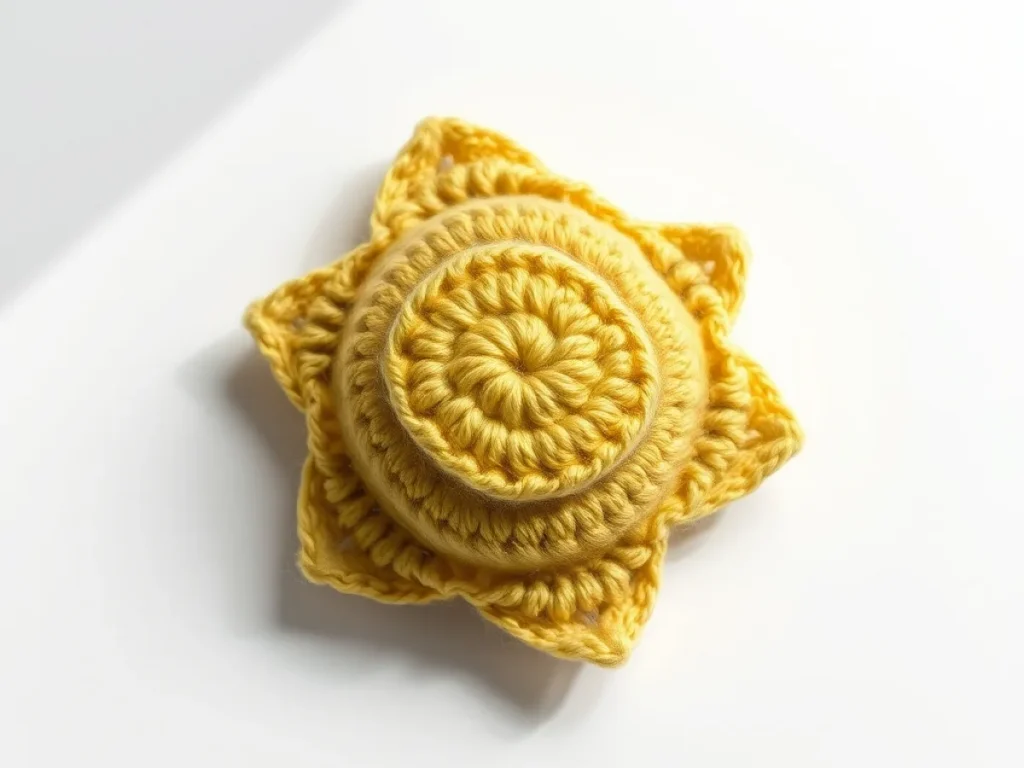
Surrealist Crochet: How to Make Strange, Dreamlike Pieces That Still Hold Together
By the end you will know how to plan, build and finish a crochet piece that looks like a dream and still keeps its shape.
A crocheted mouse with its belly opened like a school diagram sounds impossible, but it is just single crochet, a colour change and a frame.
Surrealist crochet is not a new stitch. It is a way of planning. You use single crochet, half double crochet and slip stitches like always, then you arrange them so the finished object surprises people.
The mouse dissection panel is the clearest example. It is a small amigurumi body, flattened, with the inside parts crocheted separately in bright colours and stitched on top. Then it goes in a frame.
This guide walks you through the supplies, the planning, the actual stitching order and the finishing. No art degree needed.
Surrealist crochet means taking a normal crochet shape and putting it somewhere it does not belong. You keep the same stitches, the same hook and the same yarn. What changes is the plan, the colour choices and how you mount the finished piece.
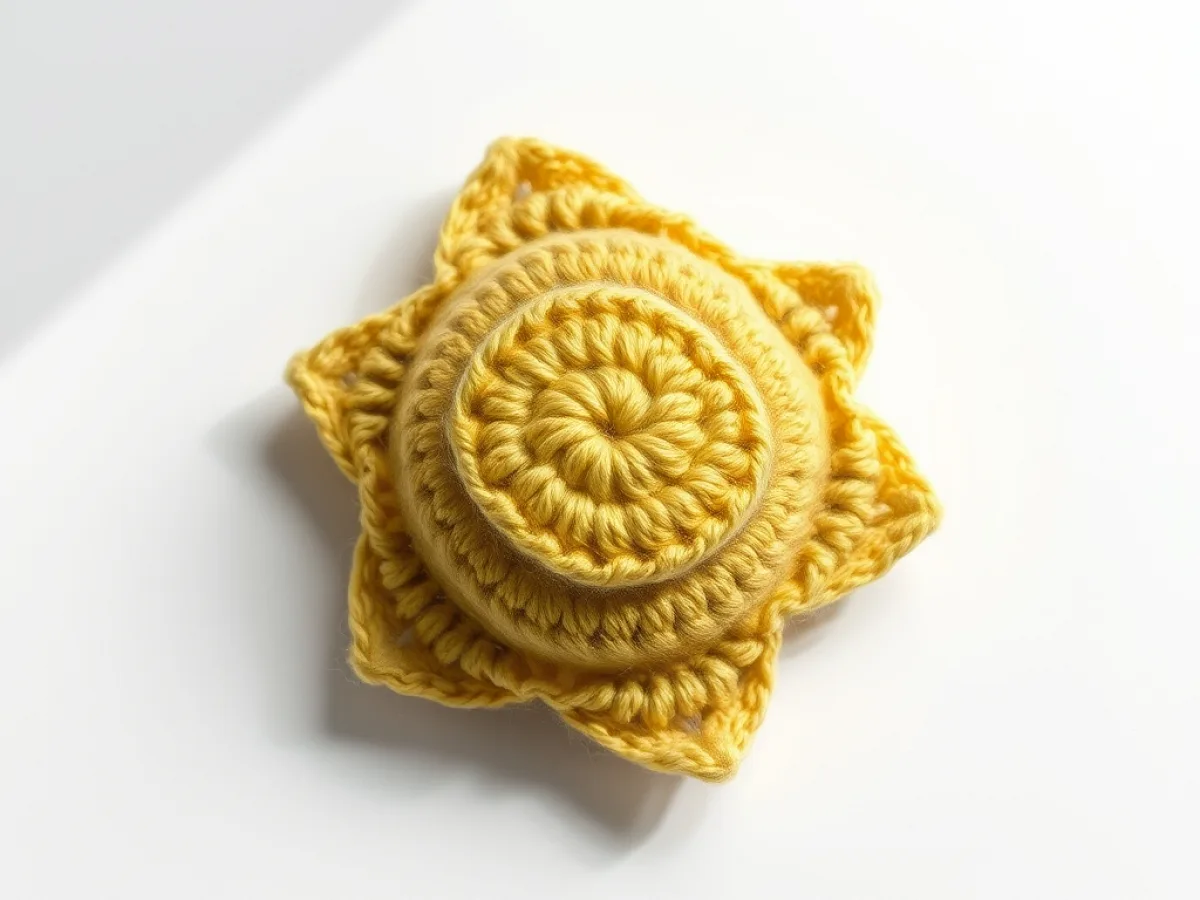
What you need
DK weight yarn
About 11 wraps per inch. Five colours: one pale for the body, four bright ones for the inside parts. One 50 g ball of each is plenty.
3.5 mm crochet hook
Use this size for DK. If your fabric looks holey, drop to 3 mm.
Polyester stuffing
A small handful is enough. Use less than you think, or the piece will not lie flat.
Tapestry needle
Blunt tip, large eye. It needs to take the yarn without splitting the stitches.
Embroidery floss
Two strands for fine lines. Cotton floss sits flatter than yarn for small details.
Shadow box frame
15 cm by 20 cm or larger. Leave a small gap behind the glass so the yarn does not touch it.
Card stock and craft glue
Cut the card to the frame size. A thin line of glue holds the crochet flat.
What Makes a Crochet Piece Surreal
Surrealism in yarn comes from one simple move: put a soft, familiar object into a hard, unfamiliar setting. A crocheted heart is normal. A crocheted heart pinned inside a specimen box with a paper label is surreal.
The trick is contrast. Soft yarn against a rigid frame. Bright organs against a pale body. A tiny scale next to a big empty background.
You do not need to draw well. You need to notice what looks out of place, then build that on purpose.
Take a photo of your work in progress on a plain table. The photo shows you what the viewer will actually see, not what you hoped for.
Choosing Yarn and Hook for Small Strange Shapes
Use DK weight yarn, about 11 wraps per inch, with a 3.5 mm hook. That combo gives you a firm fabric that holds a shape without gaps.
For the mouse body, DK in a pale grey or cream works well. For the organs, use the same weight in red, pink, blue and yellow so the scale stays consistent.
If you only have worsted weight, go down to a 3.5 mm hook anyway. The fabric will be dense but the small parts will keep their form.
Gauge matters here only if you are framing to a fixed size. A 10 cm square in single crochet at this gauge is about 22 stitches and 24 rows. If your square is bigger, your mouse will be bigger, and you may need a larger frame.
- DK yarn, 11 wraps per inch, in 5 colours
- 3.5 mm hook
- Polyester stuffing, a small handful
- Tapestry needle with a blunt tip
- Embroidery floss for the fine lines
- A shadow box frame, 15 cm by 20 cm or larger
If your stitches look loose and you can see the stuffing through them, drop one hook size. That fixes it faster than changing yarn.
Planning Your Surrealist Design Before You Stitch
Draw the outline on paper first. For the mouse, that is a simple oval about 8 cm long and 5 cm wide. Add two small circles for ears.
Then draw the inside parts as separate shapes on the same paper. A heart, two lungs, a stomach, a spine. Keep each one no bigger than a coin.
Number the shapes on your paper in the order you want to crochet them. Small parts first is usually easiest, because you can match colours while the yarn is already out.
This paper plan is your map. Without it, you will crochet a body and then guess at the organs, and they will not fit.
Photograph your paper plan. If you lose the paper, you still have the layout on your phone.
How to Crochet the Body and the Inside Parts
Everything here is made from a few basic stitches. Here are the abbreviations you will see: ch means chain, sc means single crochet, sc2tog means single crochet two stitches together, sl st means slip stitch.
Work in a spiral unless the pattern says to join. Mark the first stitch of each round with a scrap of yarn so you do not lose your place.
The body starts as a magic ring of 6 sc. That gives you 6 stitches in round one. From there you increase to about 30 stitches around, then work straight for a few rounds, then decrease back down.
The organs are flat shapes. A heart is two small circles joined at the bottom. A lung is a teardrop made by increasing on one side only.
Stuff the body lightly. Too much stuffing and the panel will not sit flat in the frame.
- Round 1: magic ring, 6 sc into the ring
- Rounds 2 to 4: increase by 6 stitches each round until you reach 30
- Rounds 5 to 10: sc in each stitch around, no increases
- Rounds 11 to 13: sc2tog 6 times per round until 12 stitches remain
- Stuff lightly, then close with sc2tog until the hole shuts
If your circle turns into a bowl, you increased too fast. Undo two rounds and add one plain round between the increase rounds.
Joining, Framing and Finishing
Flatten the body with your hands and pin it to a foam block. Pin the organs on top in the arrangement from your paper plan.
Sew each organ down with a matching thread and tiny stitches. Do not sew through to the front of the body. Catch only the top layer of the body fabric.
Use embroidery floss to add the fine lines: the outline of the body opening, small veins, a few labels if you like. Two strands of floss and a sharp needle work best.
Mount the piece on card stock cut to the frame size. Glue the back of the crochet to the card with a thin line of craft glue, then press it flat under a book for twenty minutes.
Set it in the frame with a small gap behind the glass. Crochet touching glass can trap moisture and leave marks.
If a sewn organ puckers the body, you pulled the thread too tight. Snip it and sew again with looser stitches.
Common Mistakes and How to Spot Them
The most common problem is a body that will not lie flat. That usually means too much stuffing or too many increase rounds. Take out some stuffing first, since that is the faster fix.
The second problem is organs that are too big for the body. Lay them on the flat body before you sew anything. If they hang over the edge, remake them one size smaller.
The third is colour bleed in the frame. Cheap red yarn can rub off on pale yarn over time. Test by rubbing a wet white cloth on a scrap of the red yarn. If colour comes off, use a different red.
A gap between stitches is a gauge problem. Go down one hook size and the holes close up.
Keep your first attempt small. A 10 cm piece teaches you the same lessons as a 40 cm one and takes a quarter of the time.
Test Your Work Before You Frame It
Hold the finished piece up to a window. If you can see the frame card through the body, your stitches are too loose or the stuffing is too thin.
Run your thumb over the surface. Every organ should feel flat against the body, with no ridges catching your skin.
Lay it on a table and let go. It should stay flat on its own for a full minute. If a corner lifts, pin it and steam it lightly with an iron held 5 cm above the yarn. Never touch the iron to acrylic.
If it passes all three checks, frame it. If not, fix the one thing that failed and check again.
Step
Draw the plan on paper
Sketch the body outline at 8 cm by 5 cm. Draw each inside part as a separate shape no bigger than a coin. Number them in the order you will make them.
Crochet the body
Start with a magic ring of 6 sc. Increase by 6 stitches each round until you reach 30. Work straight for 6 rounds, then decrease back down. Stuff lightly and close.
Make the inside parts
Work each organ as a flat shape in a bright colour. Keep them small enough to sit inside the body outline with a small border of pale yarn showing.
Lay out and pin
Flatten the body on a foam block. Pin the organs on top in the arrangement from your paper plan. Adjust before you sew anything.
Sew the parts down
Use matching thread and tiny stitches. Catch only the top layer of the body fabric so the back stays clean.
Add fine lines
Use two strands of embroidery floss for outlines, veins and small labels. Keep the stitches short and even.
Mount and frame
Glue the piece to card stock, press it flat under a book for twenty minutes, then set it in the frame with a small gap behind the glass.
Ways to change it
Smaller study
Make the body 5 cm long and use one colour for all organs. Good for a first try and fits a small 10 cm frame.
Cotton instead of acrylic
Cotton holds a flatter shape and takes embroidery better. It has less stretch, so your stitches will feel firmer.
Worsted weight version
Use worsted with a 4 mm hook for a bigger panel. Expect the finished body to be about 12 cm long.
Botanical version
Swap the mouse for a leaf shape and crochet the veins as separate lines. Same method, easier outline to draw.
Mounted on fabric
Sew the crochet onto a linen background instead of card. The soft texture behind the yarn changes the whole look.
Colour study
Make the same body three times in three colour palettes. Frame them side by side as a set.
The short version
- Surrealist crochet uses ordinary stitches, not special ones. The surprise comes from placement and framing.
- DK yarn at 11 wraps per inch with a 3.5 mm hook gives a firm fabric that holds small shapes.
- A 10 cm square at this gauge is about 22 stitches and 24 rows. Change the gauge and the frame size changes too.
- Draw the plan on paper before you crochet. Without it, the inside parts will not fit the body.
- Stuff lightly. Too much stuffing is the main reason a panel will not lie flat.
- Sew organs with tiny stitches that catch only the top layer of the body.
- Leave a small gap behind the glass so the yarn does not touch it.
Questions people ask
Do I need to know how to draw to design surrealist crochet?
No. You need simple shapes: an oval, a circle, a teardrop. Trace a coin or a jar lid if you want a clean curve. The crochet does the rest.
How do I stop my crochet panel from curling at the edges?
Curling usually means uneven tension or too many increases near the edge. Work one plain round between increase rounds, then pin the piece flat and steam it lightly from 5 cm above.
What yarn is best for framed crochet art?
DK weight in cotton or acrylic both work. Cotton lies flatter and takes embroidery better. Acrylic is cheaper and comes in brighter colours for the inside parts.
Can I wash a framed crochet piece?
Take it out of the frame first. Hand wash in cool water with a drop of mild soap, press it flat in a towel, and let it dry fully before framing again. Acrylic can be steamed but never touched with a hot iron.
How long does one small surrealist panel take?
About four to six hours for an 8 cm body with four or five inside parts. Most of that time is the small parts and the sewing, not the body.
Pick one shape, draw it on paper, and start your first strange little panel.
Surrealist crochet works because the stitches are simple and the idea is not. Start with an 8 cm body, four bright organs and a cheap frame. If it looks odd in a good way, you did it right. Happy hooking!



