
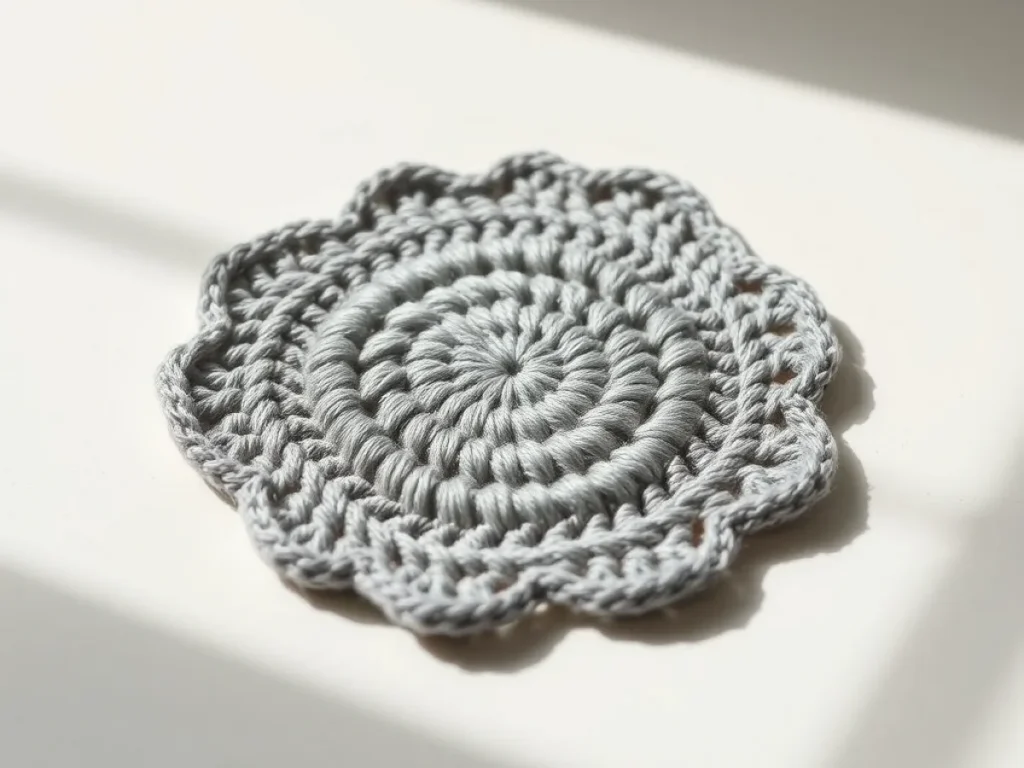
Blocking Crochet aesthetic ideas
Block your crochet so stitch texture, corners, and shape look crisp on purpose.
If your crochet looks wavy right off the hook, blocking can make the stitches look even within 30 to 60 minutes of drying time.
Blocking turns a flat, bumpy swatch into clean lines you can build with, like squares that line up for a neat join.
You do not need fancy tools. You need patience while it dries, and a method you can repeat on every project.
Blocking is how you shape wet or steamed crochet so it dries in the size and outline you want. The look comes from three things: the right moisture, gentle shaping, and letting it dry fully.
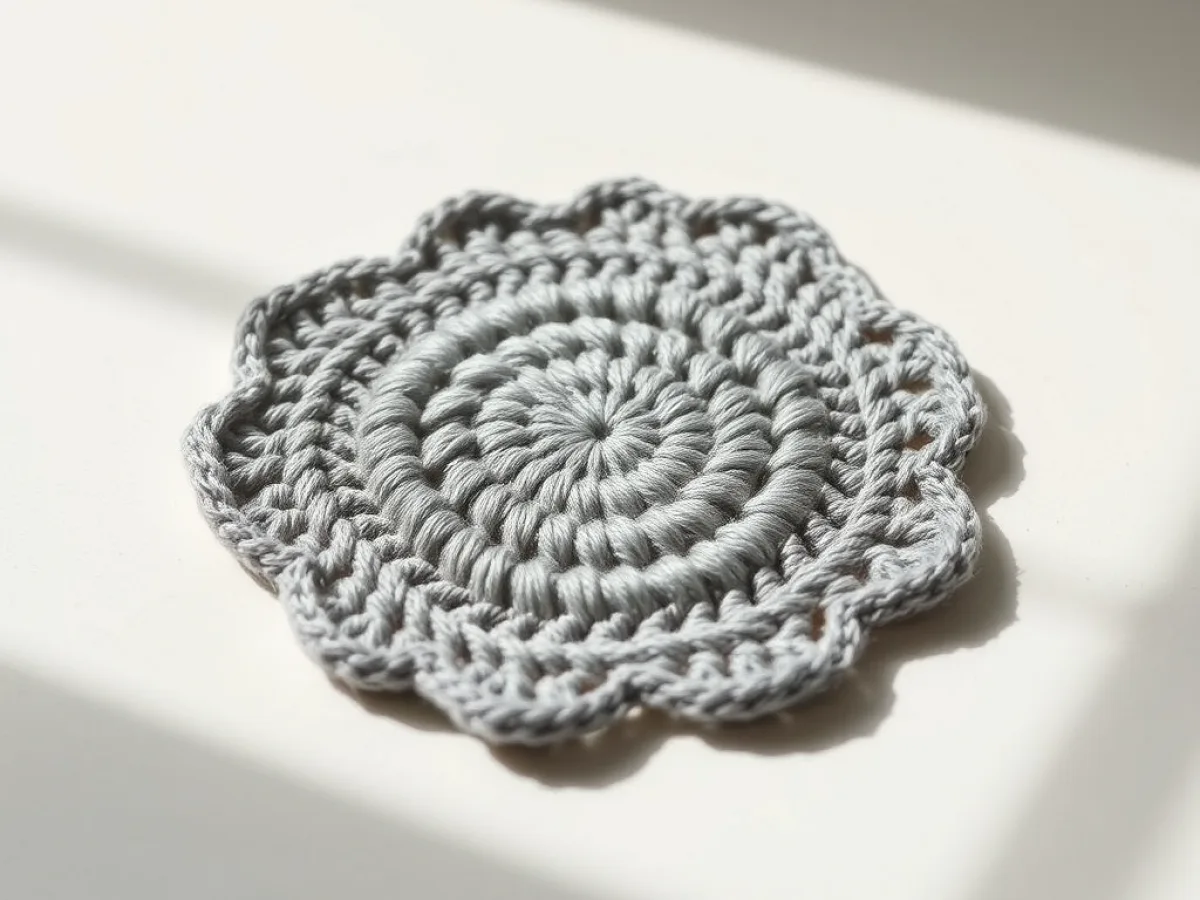
What you need
Blocking mat or foam board
Helps you keep lines straight. If you do not have one, use a thick towel on a flat surface and pin gently.
Rustproof T-pins or blocking pins
You will push pins through yarn layers. They usually cost about the price of a small craft pack.
Spray bottle or hand steamer
Steam works for fast shaping. For wet blocking, use a basin and cool water.
Yarn and hook setup
Use your project yarn and hook size so your blocking matches your gauge and stitch height. Many acrylics respond well to steam; cotton often needs wet blocking.
Measuring tape or ruler
Measure widths and corner placement once, so you can repeat the same look.
How to choose the right blocking style for your aesthetic
Blocking can mean wet blocking, steam blocking, or dry reshaping. Wet blocking is best when your yarn holds shape loosely, like cotton blends or heavily textured stitches.
Steam blocking can be faster for acrylics and other yarns that bounce back. You still shape the piece, then let it cool so the new shape sets.
Dry reshaping works when a piece is already close, but edges curl. You dampen lightly, stretch just a little, and pin only the parts that need help.
- Wet blocking: soak, remove excess water, reshape, pin, dry.
- Steam blocking: mist or steam lightly, shape, cover, cool, then dry out fully.
If you are unsure, start with dry reshaping on a small corner. If it relaxes too much, switch to steam instead of soaking next time.
Wet blocking for crisp edges on granny squares
Wet blocking is what gives that polished, square look many people love. It makes corners angle into shape and evens out stitch height across the whole piece.
Start by making a swatch that matches your project, especially if your stitch uses tall posts or shell-like clusters. Measure the stitch grid before you block so you know what “right” looks like.
Soak time matters. For most projects, 10 to 20 minutes in cool water is enough, then you squeeze out water by pressing in a towel.
- Squeeze method: lay on a towel and press, not wring.
- Shape method: stretch to the measured width and align corner points.
- Dry method: lay flat on a blocking mat and pin through the stitches at the edges.
Do not pin through raised stitches in the middle. Pin the outer rounds where you want the outline to be straight.
Steam blocking to sharpen texture without flattening it
Steam blocking gives a crisp look while keeping a little lift in the stitches. It is great for lace panels and post stitches that look crushed after wet blocking.
Use a hand steamer or an iron with steam, but do not press down. Move the steam across the fabric 2 to 4 seconds at a time, then reshape and hold in place.
If your yarn is wool, steam often relaxes fibers and keeps structure. If your yarn is acrylic, steam works too, but you must let the piece cool while it is shaped.
- Mist method: spray lightly with water, then steam over it.
- Heat control: keep your iron on steam only, no direct dry ironing.
- Cooling: let it cool on the mat before you unpin.
If the stitch pattern loses definition, you steamed too long. Shorten your steam passes and use lighter pressure when you shape.
Pinning and measuring: the easiest way to control the final look
Your aesthetic comes from edges and corners, not from “hoping.” Pin to a grid so each side hits the same width and each corner sits at a right angle.
Use stitch counts to guide your pin spacing. For a granny square, count your rounds and place pins at the end of each corner chain space, then add a pin at the midpoint of each side.
Finished size stays consistent when you measure once before blocking. Measure the unblocked width and length, then decide the target size for your join.
- Granny square corner check: corner points should sit evenly, not rounded.
- Side check: stitch rows should look level, not stretched taller in one area.
- Repeat check: compare opposite sides after pinning.
If you cannot measure, use a simple guide. Mark a paper template with the target square size and pin to the corners of the template.
Stitch diagram chart for consistent blocking of square joins
Blocking is easier when you know where you want the shape to sit. Use this small written chart to plan pin points on a square before you wet or steam.
Think of each round as a line. You pin the outline at corner chain spaces, then you pin midpoints so the sides dry straight.
For any square that curls, pin only the corners first. Then add side pins if the curl still pulls at the edges while it dries.
Common blocking mistakes and what to do instead
The biggest mistake is unpinning too early. If you remove pins while the fabric is still damp, the stitches relax back and your shape turns soft within hours.
Another common error is stretching unevenly. You might pull one side harder, and the square will look bigger on one edge and smaller on the other.
Pinning through bulky areas can leave dents. It looks like stitch “bumps” that do not go away until you re-block.
- If it is still damp: keep it pinned, and wait for full dry.
- If sides are uneven: loosen pins and re-pin with a grid or template.
- If you see dents: pin to outer edge chain spaces, not into the raised texture.
When you do not have time, lay the piece flat and weigh it lightly with a towel. Do not pile heavy objects directly on lace.
Step
Make a matching swatch
Work a small square or panel in the exact stitch you use. Measure it before blocking so you know how much shape you want.
Choose wet, steam, or dry reshaping
Wet block when stitches look loose. Steam block when you want sharp texture. Dry reshaping fixes small edge curl.
Add moisture safely
For wet blocking, soak 10 to 20 minutes in cool water. For steam, mist lightly and pass steam for a few seconds at a time.
Pin to your target size
Align corners first, then add midpoint pins on each side. Use a grid or template so opposite sides match.
Wait for full dry
Leave it pinned until it feels fully dry to the touch. If you unpin while damp, the shape eases back.
Unpin and check edges
Look along both sides for even stitch height. Compare opposite corners to catch any uneven stretch early.
Ways to change it
More sculpted look
Steam block for a crisp outline, then pin tighter at corners only.
More drape look
Use lighter pinning pressure and stop stretching when edges just line up.
Different yarn choices
Try wool blend for springy shape, cotton for crisp definition, or acrylic for easy steam shaping.
Different project sizes
For larger blankets, block in sections if you cannot fit the whole piece on your mat.
Budget tools
Use foam insulation board as a substitute for a blocking mat and dressmaking pins for temporary shaping.
The short version
- Wet blocking relaxes stitch height and sharpens square corners.
- Steam blocking keeps texture defined, but cooling time matters.
- Pin corners first, then match side midpoints to keep sides even.
- Do not unpin until the piece is fully dry, even if it feels “mostly dry.”
- If you get dents, move pins to corner chain spaces and re-block only the affected area.
Questions people ask
How do I know my crochet is fully blocked?
Feel the fabric in several spots. If any area feels cool or damp, leave it pinned longer and check again after 20 minutes.
Will blocking change the size of my project?
Yes. Blocking shifts your stitches into a new outline, especially for cotton and openwork. Plan a target size before you pin.
Can I block acrylic crochet?
Yes, steam works well for acrylic. Shape it, then let it cool while pinned so it holds the new shape.
Do I need to block every granny square?
Block at least the ones you will join first. If your first join looks uneven, block the rest the same way so edges match.
What if my edges still curl after blocking?
Curl usually means you under-shaped or under-dried. Re-pin the curled edges to a straight guideline and wait for full dry before unpinning.
Block one square today and notice how your joins line up.
Once you pick wet, steam, or dry reshaping, the look becomes repeatable. Keep it pinned until it is truly dry, then enjoy the crisp outline when you join your pieces. Stitch with ease.



