Crochet Beanie Tutorial: Step-by-Step for Beginners
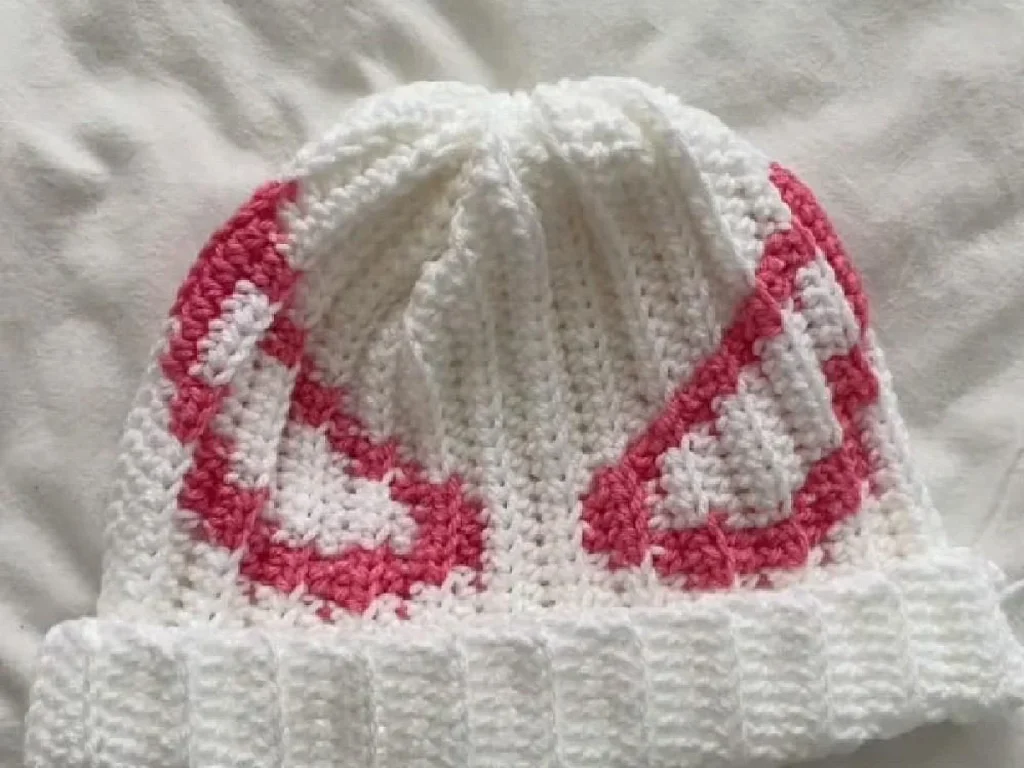
By the end, you'll have a cozy beanie that fits, with a ribbed brim and a smooth crown.
A crochet beanie is one of those projects that looks harder than it is – once you know how to work in the round and decrease, you can make one in an evening.
You don't need a pattern that tells you every stitch if you understand the simple math behind a beanie. The secret is that a beanie is just a flat circle for the crown, then straight sides. Once you get that, you can make any size, for any head.
Here, we'll make a beanie for an average adult head, about 21-23 inches around. You'll use worsted weight yarn and a 5 mm hook, which gives a snug, warm fabric. The whole thing takes about two hours if you're new to crochet.
This tutorial walks you through a basic beanie worked from the top down: you start with a magic ring, increase to the right width, then work even until it's long enough. You'll learn how to check fit as you go, and how to fix the most common mistakes.
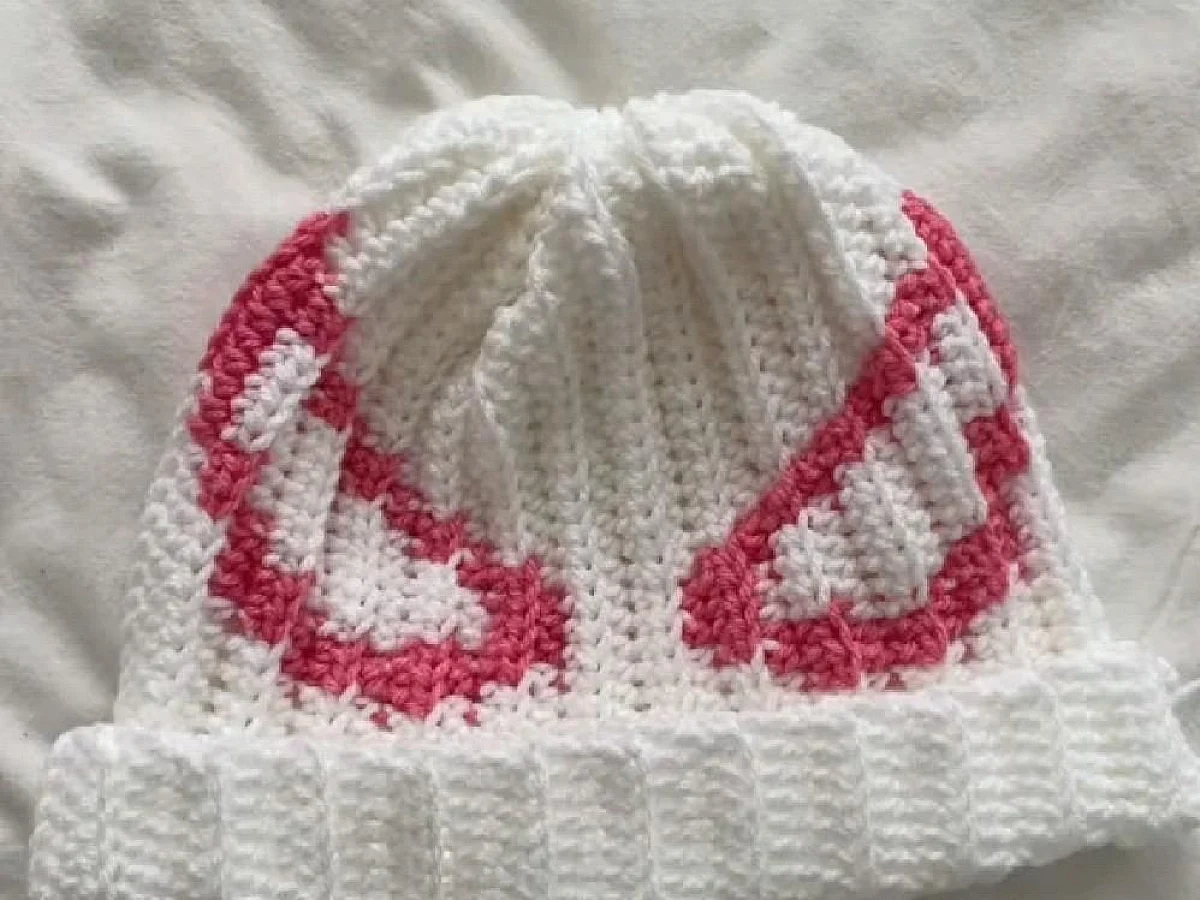
What you need
Worsted weight yarn
About 180-220 yards. Choose a smooth, light-colored yarn to see your stitches clearly.
5 mm crochet hook
Or adjust up or down a half size to match your tension.
Yarn needle
For weaving in ends and sewing the brim.
Scissors
Any sharp pair works.
Stitch marker
A safety pin or a piece of contrasting yarn works.
What You Need
You'll need worsted weight yarn – about 180-220 yards for an adult beanie. A smooth, medium-colored yarn is easiest to see your stitches. Acrylic or wool both work; wool is warmer but itchier, so choose what feels good against your forehead.
A 5 mm (H-8) hook is the standard match for worsted weight. If you crochet tightly, go up to 5.5 mm. If you crochet loosely, go down to 4.5 mm. The goal is a fabric that's firm but not stiff.
You'll also need a yarn needle to weave in ends, a pair of scissors, and a stitch marker – a safety pin works fine.
Measure your head before you start. Wrap a tape measure around where the hat will sit – just above your ears. Write that number down; you'll need it for the fit check.
How to Start: The Magic Ring
The magic ring gives you a closed circle with no hole in the top. If you've never done one, it's easier than it looks. Wrap the yarn around two fingers, insert your hook, and pull up a loop – then chain one and work your first round of single crochets into the ring.
If the magic ring feels too fiddly, you can chain 4 and slip stitch to form a ring. Work your first round into that ring. You'll have a tiny hole, but you can cinch it shut with the tail when you weave it in.
Pull the tail to tighten the ring after the first round. That's what closes the center.
Practice the magic ring once or twice before you start the beanie. It's a skill you'll use in many projects.
Increasing for the Crown
For an adult beanie, you'll work single crochet in the round, increasing evenly. Start with 6 stitches in the magic ring. In round 2, put 2 single crochets in each stitch – that gives you 12. Round 3: 1 single crochet in the first stitch, 2 in the next – repeat around, for 18.
Keep going this way: each round adds one more single crochet before the increase. Round 4 is 1, 1, 2. Round 5 is 1, 1, 1, 2. You'll see the circle flatten out.
Stop increasing when the circle's diameter is about 6.5 to 7 inches for an adult. That translates to a circumference of about 20-22 inches – which is the size of a head. If you measure across the circle, it should be about half your head measurement.
To measure the circle, lay it flat and measure across the middle. Don't stretch it. If it's smaller than 6 inches, keep increasing one more round.
Working Even: The Body
Once the circle is the right size, you stop increasing. Now you just work 1 single crochet in every stitch, round and round, until the hat is long enough.
How long? Try it on as you go. The hat should cover your ears but not your eyes. For most adults, that's about 7-8 inches from the crown to the bottom edge, measured straight down the side.
You can also measure from the center of the crown to the edge – that should be about 8-9 inches total, including the brim you'll add later.
Slip the hat on your head at this point. The body should feel snug but not tight. If it's too loose, you can add a ribbed brim that pulls it in a bit.
Adding the Ribbed Brim
The brim is what makes the hat stay on. You'll work back and forth in rows, not in the round. This creates a stretchy band that hugs your forehead.
To start, chain 8. Then single crochet in the second chain from the hook and across – that's 7 stitches. Chain 1, turn, and single crochet in the back loop only of each stitch. Repeat this row until the band is long enough to wrap around the bottom of the hat.
The band should be about 2-3 inches shorter than the hat's circumference, because the ribbing stretches. For a 22-inch hat, make the band about 19-20 inches long.
Once the band is long enough, fold it in half the long way, and slip stitch or sew the short ends together to form a circle. Then attach it to the hat with slip stitches or a simple whip stitch.
If you want a folded brim, make the band twice as long – about 4 inches – and fold it up when you wear it. That's a classic look.
Common Mistakes and How to Fix Them
If your hat is too small, you stopped increasing too early. If it's too big, you increased too much. The good news: you can frog (rip out) the top and redo it. That's the beauty of crochet – it's forgiving.
Another common issue is a wavy edge at the crown. That happens when you increase too many times. You should have about 42-48 stitches around for an adult. If you have more, the circle will ruffle.
If your hat has a hole at the top, you didn't pull the magic ring tight enough. You can weave the tail through the stitches to close it, or just leave it – it's on the inside.
Count your stitches every few rounds. It's easier to fix a mistake early than to rip out a whole hat.
Step
Make the magic ring
Wrap yarn around two fingers, insert hook, pull up a loop, chain 1. Work 6 single crochets into the ring. Pull the tail to close.
Increase for the crown
Round 2: 2 sc in each stitch (12). Round 3: 1 sc, 2 sc – repeat (18). Continue adding one sc before the increase each round until the circle measures about 6.5-7 inches across.
Work even
Single crochet in each stitch around, without increases, until the hat is about 7-8 inches from the crown to the edge. Try it on to check length.
Make the brim
Chain 8, sc in 2nd chain from hook and across (7). Ch 1, turn, sc in back loop only of each stitch. Repeat until the band is about 19-20 inches long.
Join the brim
Slip stitch or sew the short ends of the band together. Then attach the band to the bottom of the hat using slip stitches or a whip stitch.
Weave in ends
Use a yarn needle to weave in all loose tails. Trim any excess yarn.
Ways to change it
Child size
Use a smaller magic ring start (5 stitches) and increase until the circle is about 5.5 inches. Make the body 6-7 inches long.
Bulky yarn
Use a 6.5 mm hook and fewer increases – start with 6 stitches and increase to about 36 stitches. The hat works up faster.
Double crochet beanie
Work in double crochet instead of single for a looser, lacier fabric. You'll need more increases (start with 12 dc) and a shorter body.
Striped beanie
Change colors every few rounds. Carry the unused yarn up the inside or cut and weave in ends.
Slouchy beanie
Work the body 2-3 inches longer than the standard length. The brim still fits snugly.
The short version
- A beanie is a flat circle for the crown, then straight sides.
- Stop increasing when the circle measures about half your head circumference.
- The body length should cover your ears – try it on as you go.
- The ribbed brim is worked back and forth, not in the round, to create stretch.
- You can always frog and redo – crochet is forgiving.
- Choose a smooth, medium-colored yarn for your first hat to see your stitches.
Questions people ask
How many stitches do I need for an adult beanie?
For a typical adult, you'll have about 42-48 stitches around after the increases. That gives a circumference of about 21-23 inches with worsted yarn and a 5 mm hook.
How do I know when to stop increasing?
Measure the flat circle across the middle. When it's about 6.5-7 inches for an adult, or about half your head measurement, stop increasing and start working even.
Why is my beanie too small?
You probably stopped increasing too early. The circle needs to be about half your head circumference. Rip out the top and add another increase round.
Can I make a beanie without a magic ring?
Yes. Chain 4 and slip stitch to form a ring. Work your first round into that ring. You'll have a small hole you can close with the tail.
How do I attach the brim to the hat?
You can slip stitch the brim to the hat's edge, or use a yarn needle and whip stitch. Place the right sides together and work through both layers.
Now you're ready to make your first beanie
Once you've made one, you'll see how easy it is to change the size or the yarn. The next hat will go faster, and you'll start to understand how crochet shapes work. Stitch with ease.