
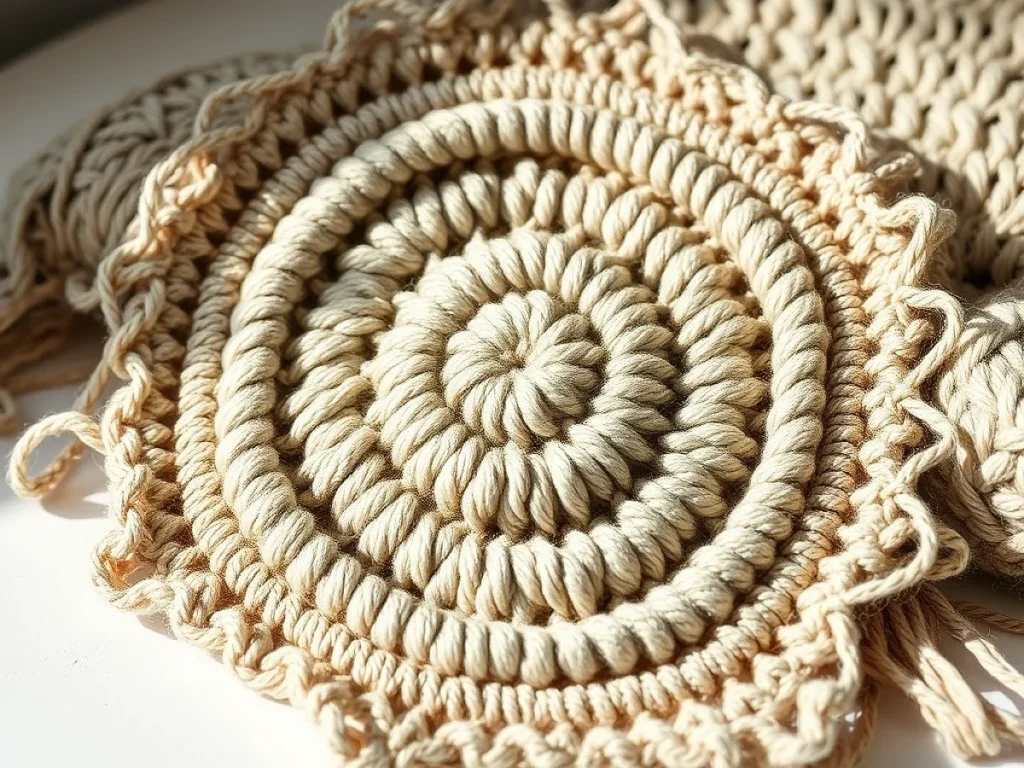
Crochet Wall Hanging Art: A Step‑by‑Step Guide
Create a 12‑inch square wall hanging with textured double crochet.
A 12‑inch square of tightly worked double crochet can turn a plain wall into a textured focal point.
This guide walks you through every stage, from choosing yarn to hanging the final piece. You’ll learn why each step matters and how to avoid common snags.
The result is a soft, three‑dimensional panel you can display proudly without costly framing.
You can crochet a 12‑inch wall hanging in about three hours using worsted weight yarn and a 5 mm hook; follow these steps for a smooth finish.
What you need
Yarn
Worsted weight, 200 g skein; about $8, or any similar weight yarn you already have
Crochet hook
5 mm (H‑8) aluminum or bamboo; inexpensive and comfortable
Scissors
Sharp enough to cut yarn cleanly
Darning needle
Large eye for weaving in ends
Choosing yarn and tools
Select a worsted weight yarn that feels soft to the touch; a light pastel works well for a subtle look, while a bold hue adds drama.
A 5 mm (H‑8) crochet hook gives even tension; if your hands tire quickly, a slightly larger hook can reduce strain.
- Yarn weight: worsted (4)
- Hook size: 5 mm (H‑8)
- Darning needle for weaving ends
If you prefer eco‑friendly fibers, a recycled cotton blend behaves like worsted weight and costs about the same.
Casting the foundation chain
Chain 31 stitches; this length yields a 12‑inch square when worked in double crochet.
Count the chains twice before starting to ensure you haven’t missed or added a stitch.
A loose chain makes the first row easier; tighten slightly as you work the first round.
Working the textured stitch
Row 1: Double crochet in each chain, turning your work.
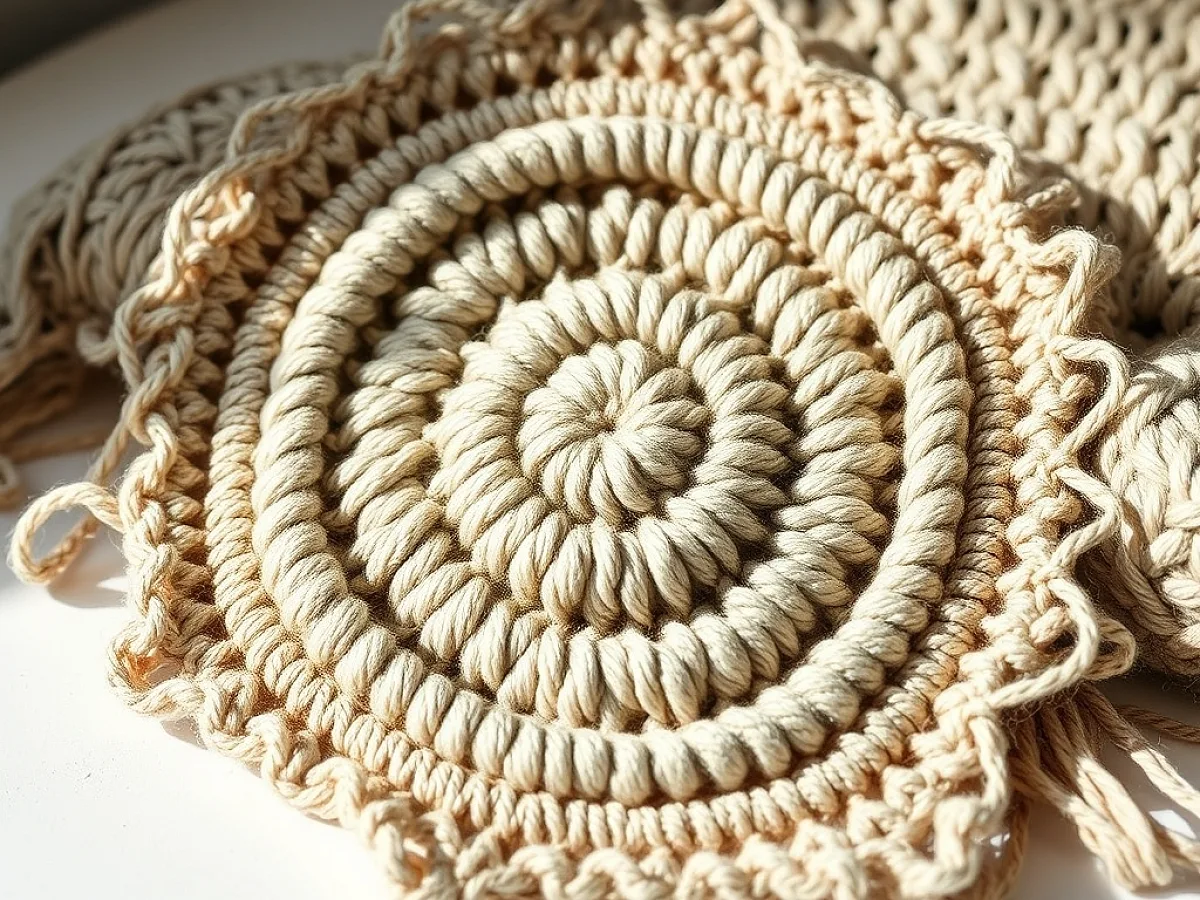
Row 2: *Double crochet two stitches, skip two stitches, double crochet two stitches* across the row; this creates a raised pattern that catches light.
- Repeat Row 2 for the desired texture
- Maintain even tension to keep the surface smooth
If a stitch slips, pause, pull the yarn gently, and re‑insert the hook before continuing.
Shaping the edges
When you reach the final row, work a single crochet border around the entire piece; this prevents fraying and adds a clean finish.
The border adds roughly ¼ inch to each side, keeping the overall size close to 12‑inch square.
Use a contrasting yarn for the border if you want a subtle frame effect.
Blocking and hanging
Lay the piece flat on a towel, spray lightly with water, and pin the corners to a blocking board; let dry for 30 minutes.
Attach a small piece of felt to the back and thread a picture‑hook through the center for easy hanging.
Avoid direct sunlight while drying to preserve yarn color.
Step
Cast on the foundation chain
Chain 31 stitches, then join with a slip stitch to form a ring; this ensures the piece stays flat.
Create the first double crochet row
Double crochet into each chain, turn, and pull the yarn tight enough to keep rows even.
Establish the textured pattern
Work the *2 dc, skip 2, 2 dc* repeat across the row; the raised sections form a subtle 3‑D effect.
Repeat texture rows
Continue the textured row until the piece measures about 11 ¾ inches, leaving space for the border.
Add a single crochet border
Single crochet evenly around the entire edge, working 3 stitches into each corner for a neat finish.
Block the piece
Spritz lightly, pin to shape, and let dry; this sets the dimensions and smooths the texture.
Finish and hang
Weave in all ends, attach felt backing, and thread a picture‑hook through the center.
Ways to change it
Larger size
Add 10 chains and increase each repeat; suitable for a statement wall piece
Finer yarn
Use sport weight yarn with a 3.5 mm hook for a delicate texture
Single crochet base
Replace the first row with single crochet for a denser fabric, ideal for heavy fringe
Color gradient
Change yarn color every 5 rows to create a subtle ombre effect
Add fringe
Leave a 2‑inch tail on each side and trim into fringe after blocking
The short version
- A 12‑inch square uses 31 chains and 30 rows of textured double crochet
- The *2 dc, skip 2, 2 dc* repeat creates a raised pattern without extra stitches
- A single crochet border prevents fraying and defines the edge
- Blocking sets dimensions and smooths the surface
- Weaving in ends and adding a felt backing makes hanging easy
Questions people ask
What hook size works best for worsted weight yarn?
A 5 mm (H‑8) hook gives even tension; a 5.5 mm hook can be used if you prefer a looser fabric.
Can I use acrylic yarn instead of cotton?
Yes, acrylic behaves similarly in weight; just check the label for a worsted‑weight classification.
How do I know when the piece is the right size?
Measure the fabric after the last textured row; it should be just under 12 in before adding the border.
What if a stitch drops in the middle of a row?
Insert the hook into the dropped stitch, pull the yarn through, and continue; the texture will still look even.
Try the pattern and share your result
Enjoy the soft texture and vibrant color of your new wall art, and feel free to experiment with sizes or yarns. Stitch with ease.



