
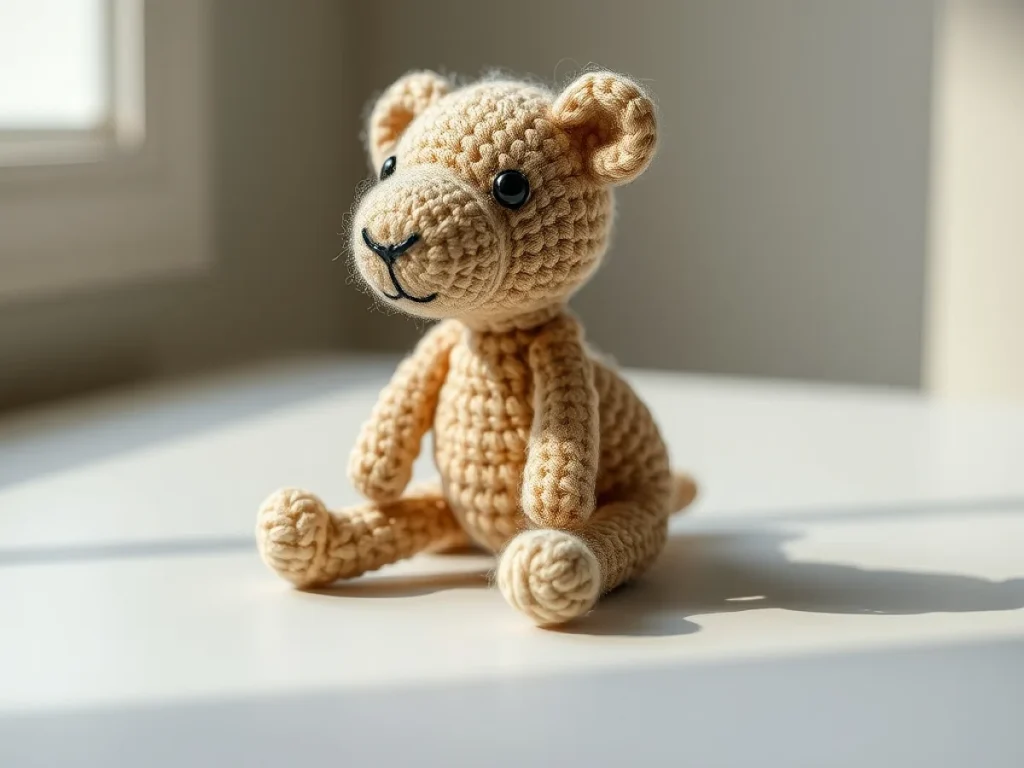
How to Make a Hyperrealistic Crochet Animal Figurine
Create lifelike animals with yarn using this detailed guide
The secret to hyperrealistic crochet animals is in the tight stitches and careful color changes.
Hyperrealistic crochet animals take patience, but the results are worth it. They make perfect gifts or display pieces.
This guide walks you through each step, from choosing materials to finishing touches.
You'll learn to make crochet animal figurines that look almost real. We'll cover yarn choices, stitch tension, and adding tiny details like whiskers.
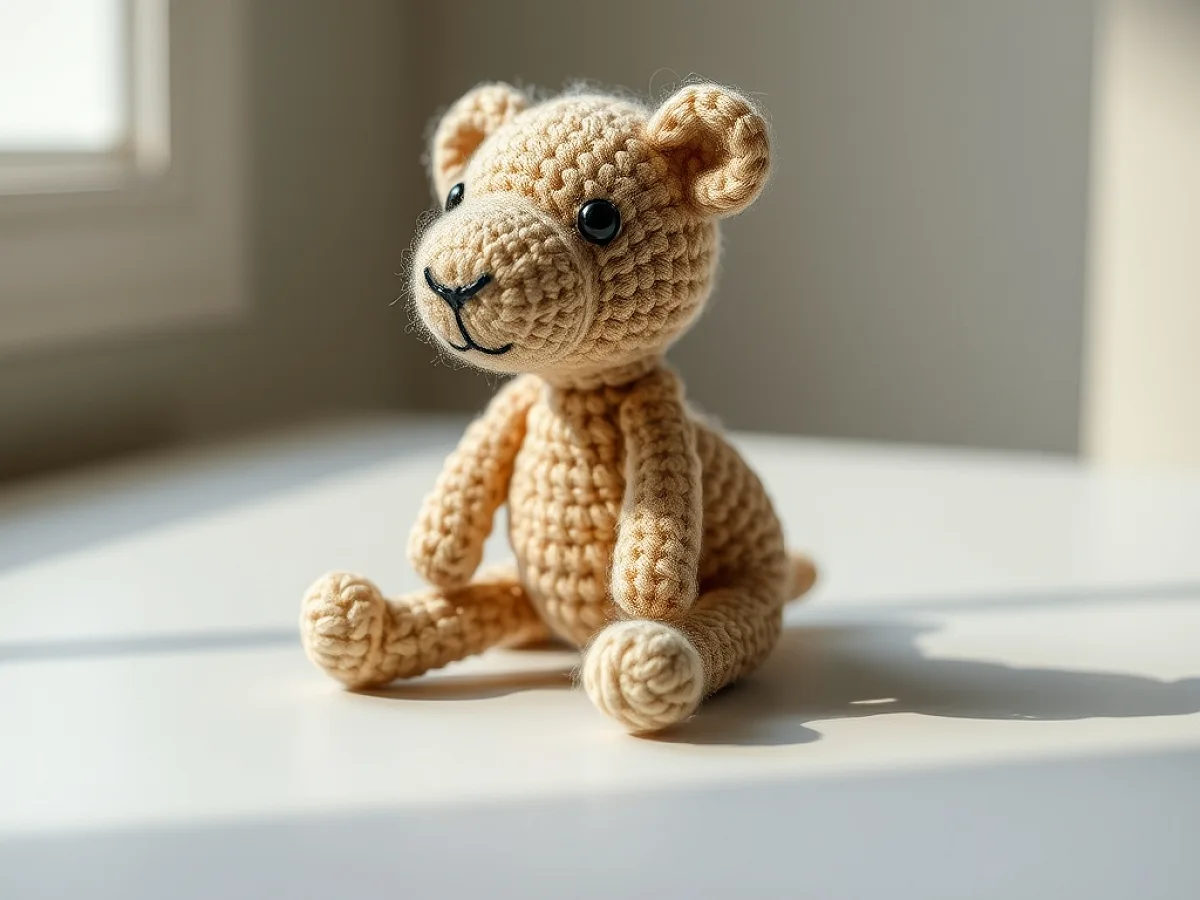
What you need
Fingering weight yarn
About 50g per small animal. Choose natural animal colors.
1.75mm steel hook
The small size creates tight stitches that hold shape well.
Polyester stuffing
A small bag will last for many animals.
Safety eyes
1.5-3mm size looks most realistic for small animals.
Choosing your materials
Use fingering weight yarn for small details. It lets you make tighter stitches than thicker yarns.
A 1.75mm or 2mm steel hook works best. The small size helps create dense fabric that holds its shape.
- Fingering weight yarn in animal colors
- 1.75mm steel crochet hook
- Polyester stuffing
- Small safety eyes (1.5-3mm)
- Fabric glue for whiskers
- Wire for poseable limbs (optional)
Test your yarn by crocheting a small swatch first. The fabric should be firm with no gaps.
Working the body
Start with the largest body part, usually the torso. Work in continuous rounds to avoid seams.
Increase and decrease stitches gradually to create smooth curves. Mark each round's start with a stitch marker.
Stuff firmly as you go, especially in narrow areas like necks. Use a chopstick to push stuffing into small spaces.
Adding realistic details
Change colors where the animal's coat changes. Carry unused yarn inside the work to minimize ends.
For markings like spots, embroider after finishing or change colors mid-round.
Finishing touches
Attach safety eyes before closing the head. Position them slightly cross-eyed for realism.
Use frayed embroidery floss or fishing line for whiskers. Dab a bit of glue at the base to secure them.
Step
Start the body
Chain 2, then make 6 sc in the second chain from hook. Work in continuous rounds, increasing every other stitch in round 2.
Shape the form
Increase or decrease every 3-4 stitches to create curves. Stuff firmly as you go, especially in narrow areas.
Add color changes
Change yarn colors where the animal's coat changes. Weave in ends as you work to save time later.
Attach the head
Position the head slightly forward for a natural look. Sew through both layers securely.
Finish details
Add eyes, nose, and whiskers last. Use small stitches to shape ears and paws.
Ways to change it
Larger version
Use DK weight yarn and a 3mm hook for 8-inch animals. Easier for beginners.
Wire frame
Insert thin wire in legs and tail before stuffing for poseable animals.
Miniature version
Use crochet thread and a 0.75mm hook for 2-inch animals. Challenging but striking.
The short version
- Tight stitches with small hooks create realistic texture.
- Color changes should follow the animal's natural markings.
- Position eyes slightly cross-eyed for a lifelike look.
- Stuff firmly as you go to maintain shape.
- Small details like whiskers make a big difference.
Questions people ask
How do I make the fur look real?
Use a small hook and tight tension. For shaggy fur, add surface crochet loops after finishing.
Can I use acrylic yarn?
Yes, but cotton or wool blends hold shape better. Acrylic can look too shiny.
How do I prevent gaps when stuffing?
Use a smaller hook than recommended for the yarn. Stuff in small bits with a chopstick.
Try making your first hyperrealistic animal today
With practice, you'll develop an eye for animal proportions and details. Start with simpler shapes like rabbits before tackling complex animals. Happy hooking!



