
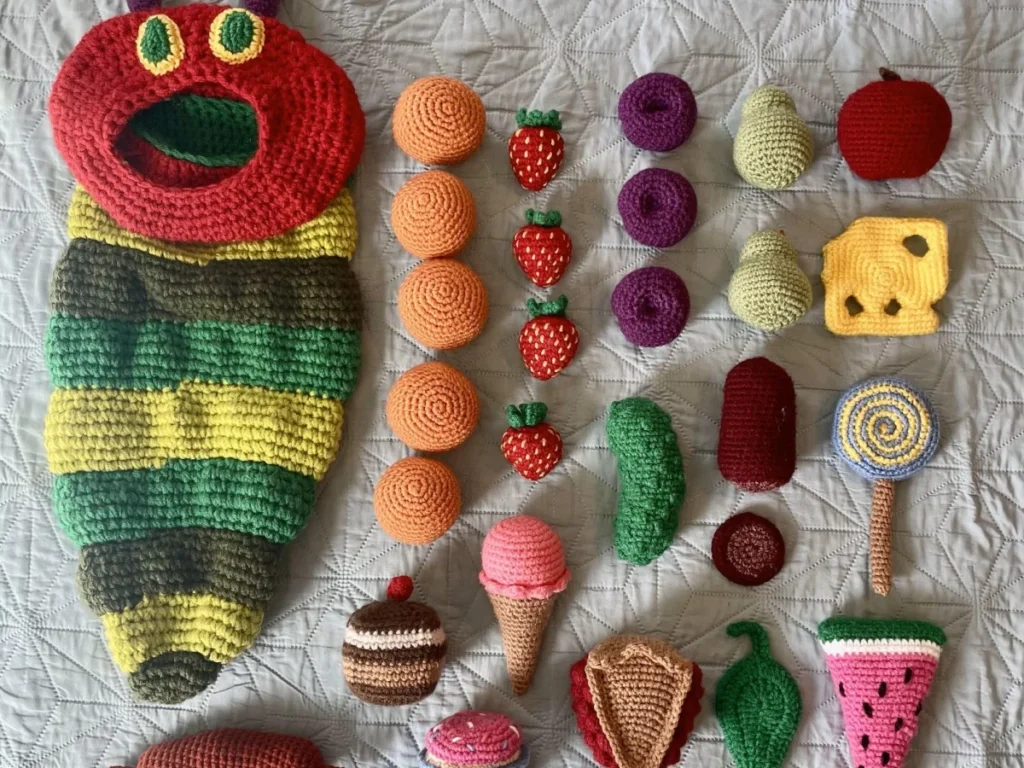
Interactive Crochet: The Very Hungry Caterpillar Pattern
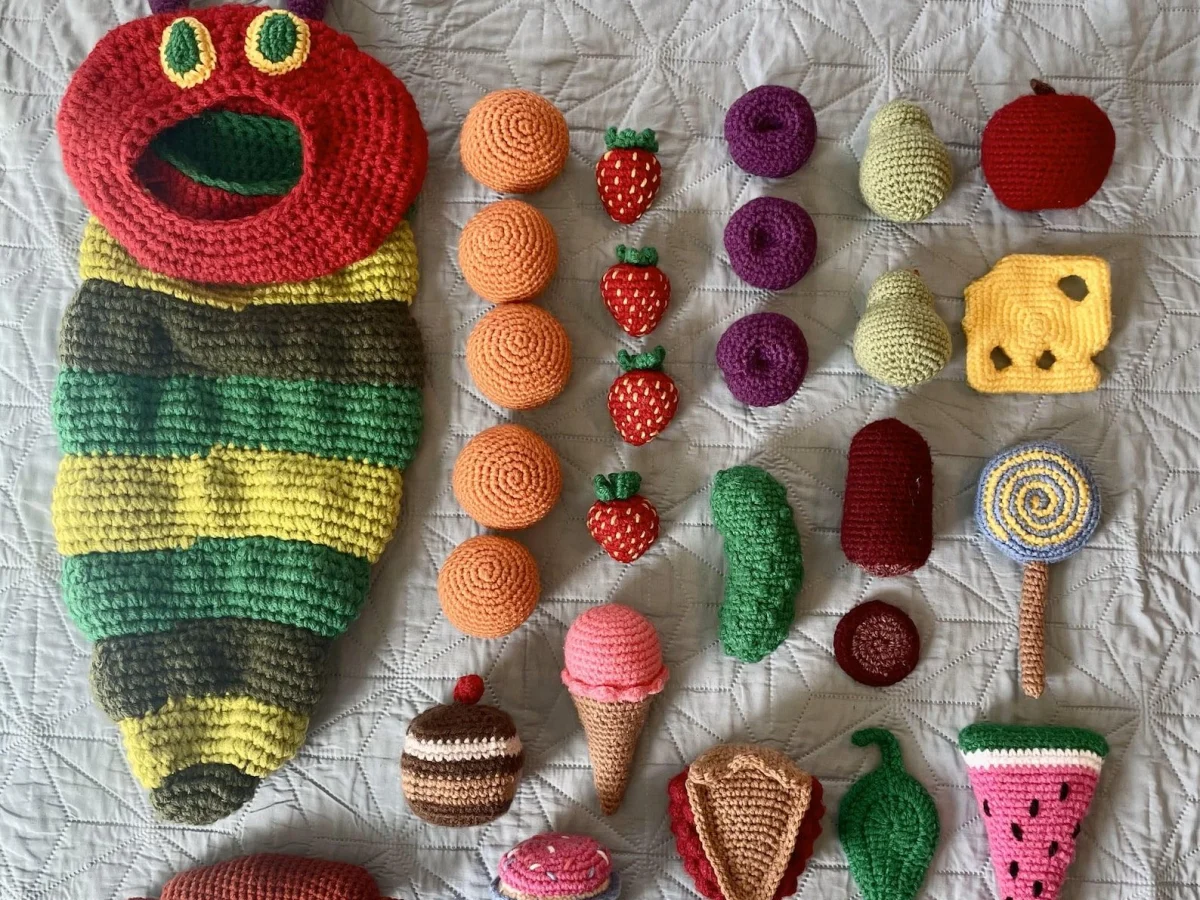
Make a soft, interactive caterpillar with a hidden zipper mouth that opens and closes as the story goes.
A crochet caterpillar that actually eats through a leaf is more fun than any stuffed animal you can buy.
This pattern makes a caterpillar about 12 inches long, perfect for little hands. The zipper mouth is the star – it really opens and closes, so you can feed it felt leaves or even a tiny apple.
You don't need to be an expert. If you can make a magic ring and single crochet, you can make this caterpillar. I'll walk you through each part slowly.
This interactive crochet caterpillar pattern uses basic amigurumi techniques and a zipper to create a mouth that opens and closes. You'll work in continuous rounds, change colors often, and attach a zipper as the final step.
What you need
Worsted weight yarn
Small amounts of red, green, yellow, purple, black, and white. Acrylic is best for easy care.
4mm crochet hook
Or a size that gives a firm fabric. Adjust if you crochet loosely.
Zipper
A 4-inch separating zipper. You can cut it to size.
Fiberfill stuffing
About 2 ounces, or enough to fill the body firmly.
Yarn needle
For sewing parts together and weaving ends.
Safety eyes
8mm size, or embroider eyes if making for a baby.
What makes it interactive?
The mouth is a zipper. You sew a zipper into the head opening, and when you pull the tab, the mouth opens. This is great for storytelling – the caterpillar can eat through the leaf, and you can even put small toys inside.
It's a simple idea, but it changes how you play. The child isn't just holding a toy; they're moving the story along.
Use a separating zipper so you can open it fully and turn the head inside out if you need to.
Yarn and hook choices
Worsted weight yarn (weight 4) works best. It's thick enough to hide the zipper tape and soft for a child. You'll need small amounts of red, green, yellow, and purple for the body, plus a little black and white for the eyes.
A 4mm hook (G) gives a firm fabric that won't show stuffing. If you crochet loosely, go down to 3.5mm.
Acrylic yarn is machine washable and cheap. Choose a soft brand like Red Heart Soft or Lion Brand Vanna's Choice.
How to sew a zipper into crochet
This is the trickiest part. First, crochet the head as a tube, leaving the front open. Then pin the zipper inside, with the teeth facing out. Use a whip stitch with matching thread, going through the zipper tape and the crochet fabric.
Take your time. It's okay if it's not perfect – the first one never is. You can always unpick and try again.
Use a zipper that's 4 inches long. Cut it to fit, and sew the ends closed with a few stitches so the slider doesn't come off.
Putting it all together
Once the head is done, sew the body segments together in a line. The head goes on one end, and the tail on the other. The legs are simple chains with a slip stitch at the end.
Stuff as you go. Don't overstuff the head, or the zipper won't close smoothly.
Use a yarn needle to weave in all ends. It makes the toy last longer.
Step
Make the head
Start with a magic ring and work 6 sc. Increase to 12, then 18, and keep working in rounds until the head is about 3 inches long. Leave the front open.
Sew in the zipper
Pin the zipper inside the head opening, then whip stitch it in place. Make sure the slider moves freely.
Crochet the body segments
Make 5 small balls (spheres) in different colors. Each one is worked in continuous rounds, starting with 6 sc and increasing to 18, then decreasing.
Attach the legs
For each leg, chain 6 and slip stitch in the second chain from the hook. Make 6 legs and sew them to the underside of the body.
Assemble the caterpillar
Sew the head to the first body segment, then attach the segments in a line. Add eyes and embroider a smile.
Ways to change it
Smaller version
Use DK weight yarn and a 3mm hook to make a caterpillar about 8 inches long.
Different character
Change the colors to make a different insect, like a bee or a ladybug.
Button mouth
Instead of a zipper, sew on a button and a loop for a simpler interactive feature.
Baby toy
Skip the safety eyes and embroider the face for a safe option for infants.
The short version
- Use worsted weight yarn and a 4mm hook for the best texture.
- A separating zipper makes the mouth fully functional.
- Work in continuous rounds for a smooth finish.
- Sew the zipper in carefully – it's the key to the interactivity.
- Stuff firmly but not too much, or the zipper won't close.
- You can adapt the size by changing yarn weight.
Questions people ask
Can I use a regular zipper instead of a separating one?
Yes, but a separating zipper is easier because you can open it fully and turn the head inside out if needed.
How do I make the mouth open and close?
The zipper acts as the mouth. When you pull the zipper down, the mouth opens; pull it up to close.
What if my zipper is too long?
You can cut it to size and sew the ends closed to stop the slider from coming off.
Start crocheting your interactive caterpillar today
Once you finish, you'll have a toy that's more than just a stuffed animal. It's a story prop, a teaching tool, and a friend. And when the zipper wears out, you can replace it – just unpick the stitches and sew in a new one. Stitch with ease.



