Learn to Crochet
You will make your first simple crocheted swatch in under an hour.
Want to make something cozy and cute with your own hands, fast?
Crochet opens up a world of handmade items. Forget complicated patterns for now. You just need a hook, some yarn, and a few simple moves.
We will walk through the very first stitches. By the end, you will have a small practice swatch, ready for bigger projects. Let's get that yarn flowing!
Learning to crochet is easier than you think. You only need to master a few basic skills to start creating scarves, blankets, or even simple plushies. This guide will get you making your first piece in minutes.
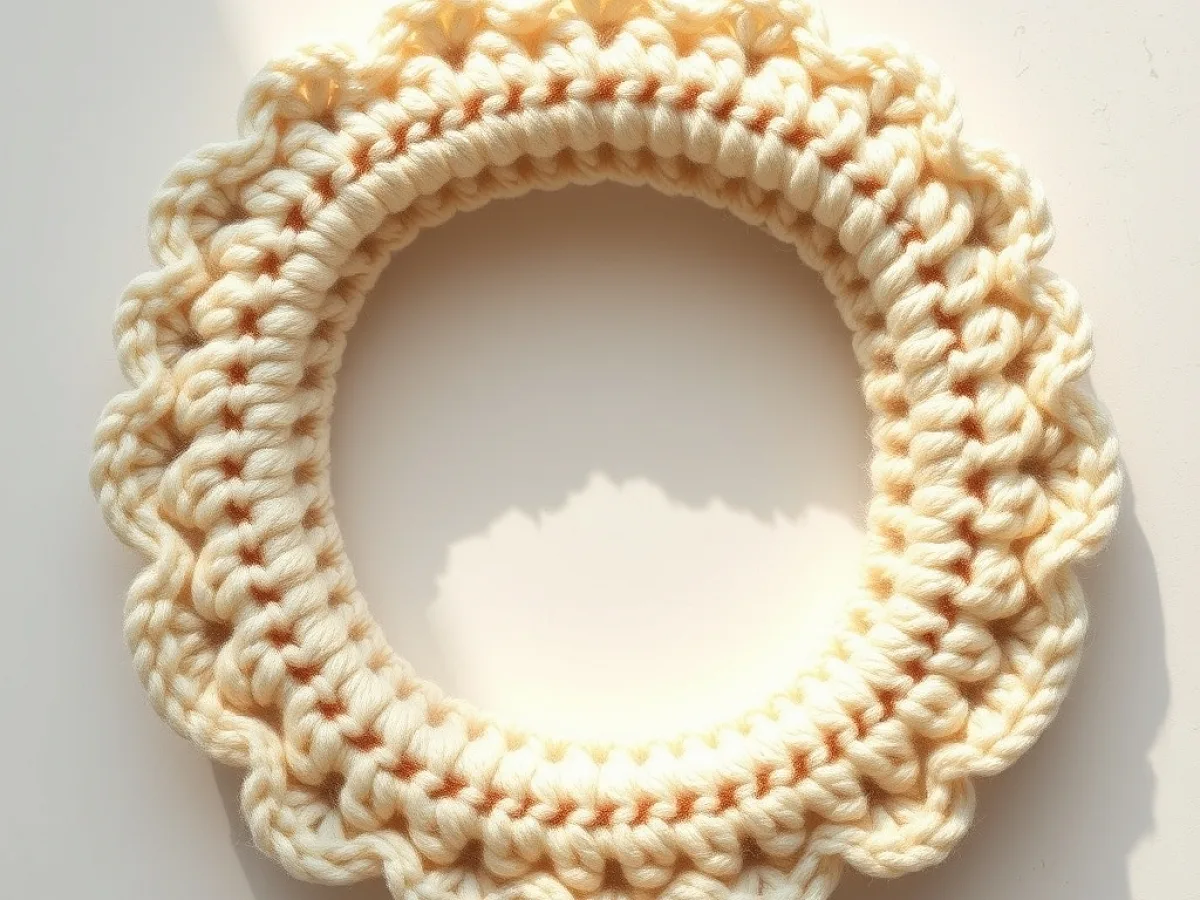
What you need
Yarn
Start with a medium weight (worsted or '4') yarn. Acrylic is great for beginners; it is inexpensive and easy to work with. Choose a light color so you can see your stitches clearly.
Crochet Hook
A size H/5.0mm or I/5.5mm hook is a good starting point for worsted weight yarn. Metal hooks slide smoothly, which is helpful for beginners.
Scissors
Any small pair of sharp scissors will do for cutting yarn. Keep them handy!
Tapestry Needle
This is a blunt needle with a large eye, perfect for weaving in yarn ends. You will need one to finish your projects neatly.
Your First Loop: The Slip Knot
Every crochet project begins with a slip knot. This creates the first loop on your hook, ready for stitches. It is easy to make, and you can adjust its size.
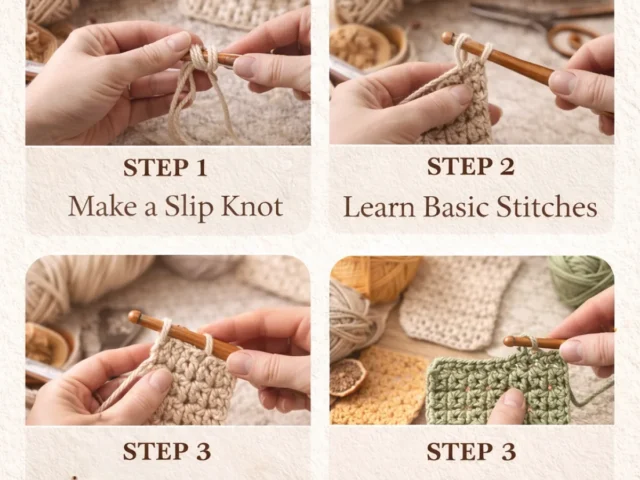
Hold the yarn tail over the working yarn to form a loop. Insert your hook into this loop from front to back. Catch the working yarn with your hook and pull it through the loop. Tug the tails gently to tighten the knot around your hook, but not too tight. It should slide easily.
Speed hack: Wrap the yarn around two fingers, cross the working yarn over the tail, then pull a loop through with your hook. Fast and neat!
Chain On: Building Your Foundation
The chain stitch (ch) is your base. It is a series of loops that form a flexible starting line for your work. This is the first stitch you will learn after the slip knot.
With your slip knot on the hook, wrap the yarn over your hook from back to front (this is called 'yarn over' or 'yo'). Pull that wrapped yarn through the loop already on your hook. That makes one chain stitch. Repeat this motion for as many chains as you need.
Count your chains carefully as you go. It is harder to count them later, especially when you are just starting.
Single Crochet: Your First Stitch
The single crochet (sc) is a fundamental stitch. It creates a dense, sturdy fabric and is used in countless patterns. Master this, and many projects become possible.
Skip the first chain from your hook. Insert your hook into the center of the next chain stitch. Yarn over, and pull a loop through that chain. You now have two loops on your hook. Yarn over again, and pull the yarn through both loops on your hook. One single crochet stitch is done.
Speed hack: Keep your tension even but not too tight. Loose stitches are easier to work into for the next row.
Turning and Working Rows
Most crochet projects are worked in rows. You finish one row, then turn your work to start the next. A turning chain helps keep your edges straight and even.
When you finish a row of single crochet, make one chain stitch (ch 1). This is your turning chain. Then, turn your entire piece over, so the back of the last row faces you. Now you are ready to work back across the stitches you just made, starting in the very first single crochet stitch of the previous row.
Always work into the first stitch of the previous row, right below your turning chain. This keeps your edges from shrinking.
Finishing Your Piece
Once your swatch is the size you want, it is time to fasten off. This secures your work so it does not unravel. Weaving in ends makes your project look neat and finished.
After your last stitch, yarn over and pull the yarn through the loop on your hook. Cut your yarn, leaving a tail about six inches long. Pull this tail completely through the loop on your hook and tug gently to secure it. This locks your last stitch.
Thread the yarn tail onto a tapestry needle. Weave the needle through several stitches on the back of your work. Change directions once or twice to make sure the end is secure. Trim any excess yarn close to your work. No one will ever see it!
Fixing Common Crochet Oopsies
Everyone makes mistakes when learning. Do not worry about a few skipped stitches or an uneven edge. Knowing what went wrong helps you fix it next time.
If your piece gets wider or narrower, you are either adding or skipping stitches. Count your stitches at the end of each row. If you have too many, you likely worked into the turning chain or twice into one stitch. Too few means you missed a stitch or the very last stitch of the row.
Uneven tension is also common. Some stitches might be tight, others loose. Practice helps a lot here. Just keep going. Your hands will find their rhythm.
Step
Make a Slip Knot
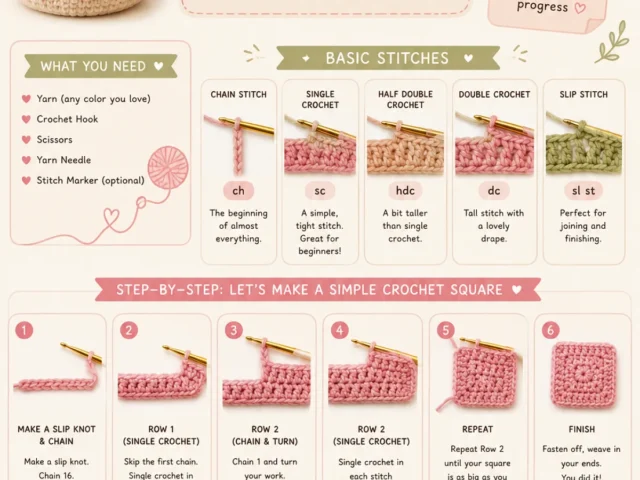
Form a loop with your yarn, insert your hook, pull a loop through, and tighten. This should be snug but slide easily on your hook.
Chain Your Foundation
Yarn over, pull through the loop on your hook. Repeat this 15 times. You will have a line of 15 chain stitches. Make sure they are not too tight.
Work Your First Row (Single Crochet)
Skip the first chain from your hook. Insert your hook into the next chain. Yarn over, pull up a loop (two loops on hook). Yarn over, pull through both loops. Repeat this into each of the remaining 13 chains. You should have 14 single crochet stitches.
Start Your Second Row
Chain 1 (ch 1) and turn your work. Insert your hook into the first single crochet stitch of the previous row (right below your turning chain). Work a single crochet stitch. Repeat across the row, making 14 single crochet stitches.
Continue Building
Repeat Step 4 for 8 to 10 more rows, or until your swatch is a square. Practice keeping your edges straight and your tension even.
Fasten Off and Finish
After your last stitch, chain 1, cut your yarn leaving a 6-inch tail, and pull the tail completely through the loop on your hook. Tug to secure. Thread the tail onto a tapestry needle and weave it through your stitches on the back of your swatch to hide it. Trim any extra yarn.
Ways to change it
Different Yarn Types
Once you are comfortable, try cotton yarn for dishcloths or wool for warmer items. Each fiber feels and behaves a little differently.
Bigger Hooks, Thicker Yarn
Using a larger hook with thicker yarn (like a chunky '5' or '6' weight) makes projects grow much faster. This is great for quick scarves or blankets.
Color Play
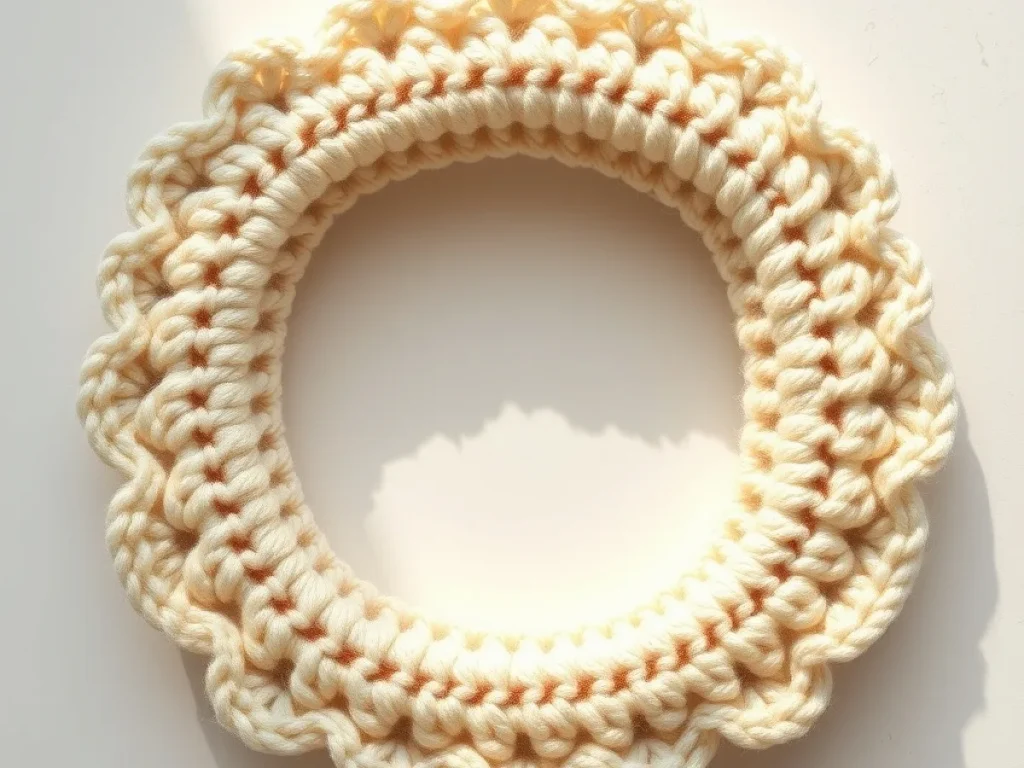
Experiment with different yarn colors in your swatch. You can change colors every few rows to make stripes, which adds a fun visual touch.
Practice Squares
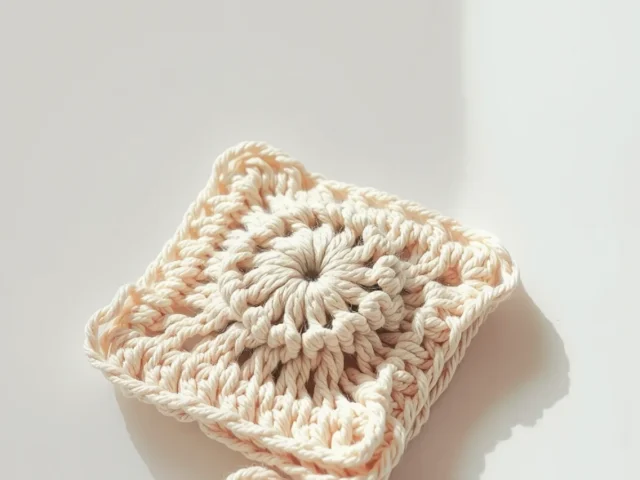
Make several small swatches in different colors. You can stitch them together later to form a simple blanket or scarf, turning practice into a finished piece.
The short version
- A slip knot starts every crochet project, creating the first loop on your hook.
- The chain stitch forms the foundation row, a flexible line of loops.
- The single crochet stitch builds a dense, sturdy fabric.
- Always make a turning chain and turn your work at the end of each row.
- Count your stitches at the end of each row to keep your edges straight.
- Fasten off your work by cutting the yarn and pulling the tail through the last loop.
- Weave in all loose ends with a tapestry needle for a neat finish.
Questions people ask
Is crochet hard to learn?
Crochet is quite easy to learn with practice. The basic movements are repetitive, so your hands quickly get the hang of it. Most people can make their first basic stitch in less than 30 minutes.
What is the easiest thing to crochet first?
The easiest first projects are flat, rectangular items. Think simple dishcloths, coasters, or small scarves. These projects only use basic stitches and help you practice straight edges.
What do I need to start crocheting?
You need a crochet hook, a skein of medium-weight yarn, and a pair of scissors. A tapestry needle is also helpful for weaving in ends, but you can start without it.
How do I hold the hook and yarn?
There are two main ways to hold the hook: like a pencil or like a knife. Try both to see what feels best for you. For the yarn, drape it over your non-dominant index finger to control tension, wrapping it around other fingers as needed.
Ready to make your first project?
You have just learned the absolute basics of crochet. With these simple stitches, you can create so many things. Keep practicing, and you will be amazed at what you can make. Keep it quick and cute!