
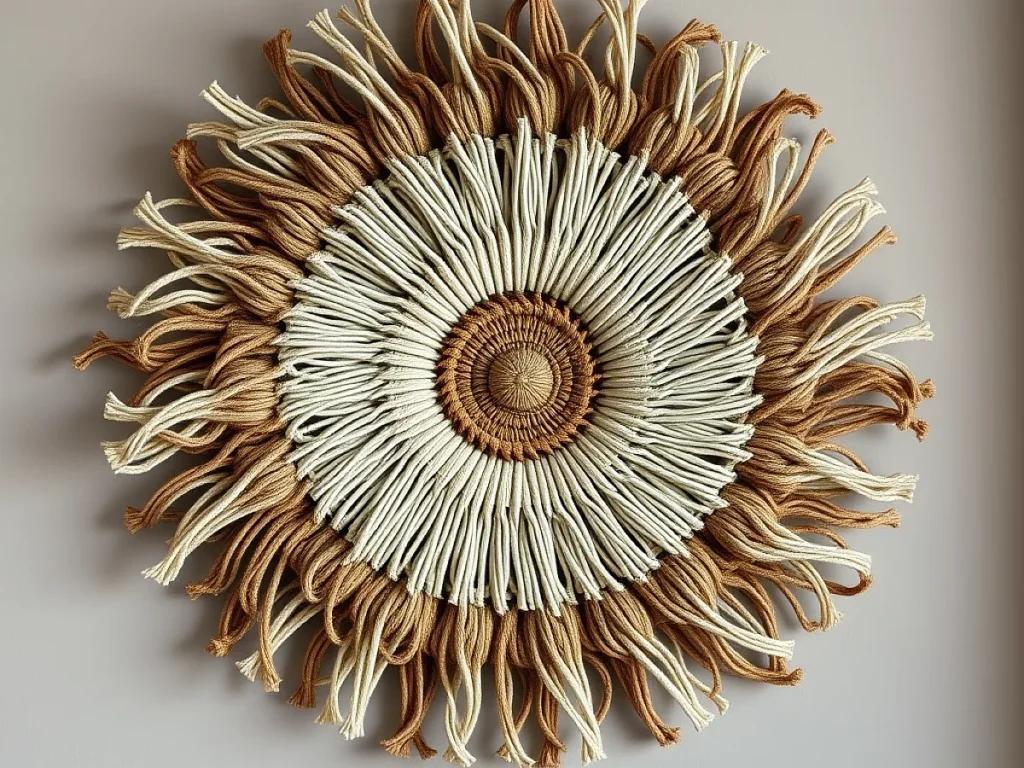
Organic Woven Fiber Art Wall Sculpture: A Step‑by‑Step Guide
Create a textured wall piece using natural fibers in under three hours.
A single strand of jute can hold up to 30 grams when tightly twisted.
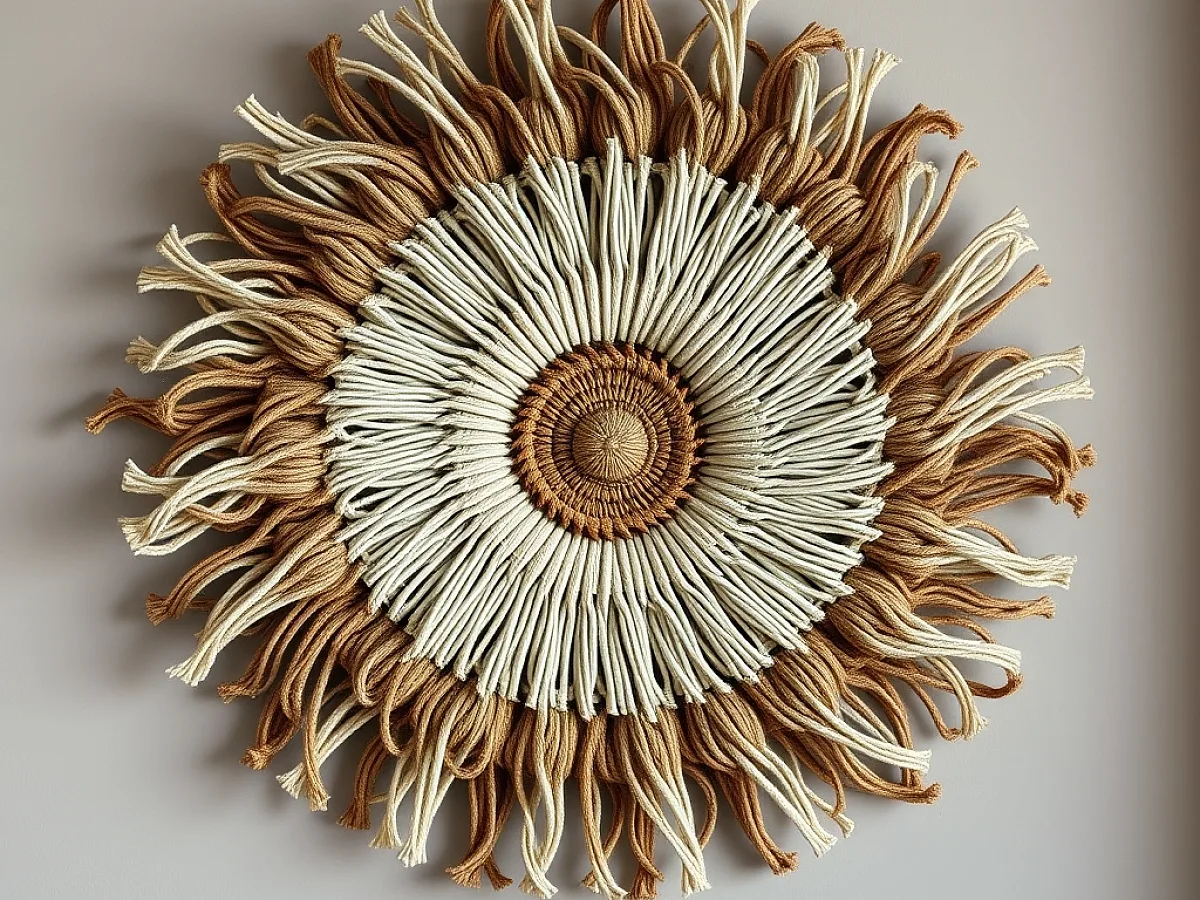
Organic woven fiber art combines the softness of natural threads with the boldness of a wall sculpture. The result feels earthy and modern at the same time.
This guide walks you through every step, from picking the right fibers to hanging the finished piece.
You can make a wall‑mounted organic woven fiber sculpture with basic supplies in about two and a half hours. The process uses natural fibers, a simple frame, and a few hand techniques that anyone can learn.
What you need
Natural fibers (jute, hemp, sisal)
Choose 3‑mm thick strands; a 10‑meter bundle costs about $8
Wooden frame (24 × 30 in)
A simple pine frame works; you can reuse an old picture frame
Scissors
Sharp kitchen scissors are sufficient
Measuring tape
A 150‑cm tape helps keep dimensions accurate
Glue or staple gun
Use non‑toxic craft glue or a staple gun for the backing
Linseed oil (optional)
A small bottle adds protection and a warm glow
Choosing Materials
Pick fibers that are sturdy yet flexible. Jute, hemp, and sisal work well because they are strong and have a natural texture.
If you prefer color, look for fibers that have been dyed with plant‑based pigments. They keep the eco‑friendly vibe.
- Consider recycled denim for a softer look
- Use untreated bamboo strips for added contrast
Test a small piece by pulling it; it should resist stretching but not snap.
Preparing the Frame
A simple wooden frame of 24 × 30 inches provides a good size for most living spaces. You can buy a ready‑made picture frame and remove the backing.
Secure a thin strip of plywood or hardboard inside the frame; this will be the base you weave onto.
- A 1‑inch thick board adds stability
Make sure the frame is square; measure diagonally to check.
Weaving the Design
Start by anchoring a long fiber at the bottom left corner of the board. Pull it up to the top left and secure it.
Weave horizontally, alternating over‑and‑under the vertical strands. Keep the tension even; you’ll feel it in your hands.
- Count four vertical strands before changing direction for a balanced pattern
If a weave looks loose, add a short piece of fiber and tie it tightly before continuing.
Finishing Touches
Trim excess fibers with sharp scissors so the edges are clean.
Apply a thin coat of natural linseed oil if you want extra durability and a subtle sheen.
- Oil dries in about 30 minutes
Test a hidden spot first to see how the color changes.
Displaying Your Sculpture
Attach two D‑ring hangers to the back of the frame, spaced evenly.
Hang the piece at eye level for the best visual impact. Light from a side window will highlight the texture.
- Avoid direct sunlight to prevent fading
Rotate the sculpture after a month to keep the look fresh.
Step
1. Gather and cut fibers
Measure and cut lengths of about 120 cm; you will need 20 pieces for a medium‑sized piece. Check each cut for clean ends.
2. Build the base board
Place the plywood inside the frame and secure it with small nails. The board should sit flush with the frame edge.
3. Anchor the first vertical strand
Tie one end of a fiber to the bottom left corner of the board, then pull it to the top left and knot it securely.
4. Create the first horizontal row
Lay a new fiber across the vertical strands, weaving over‑under in a consistent pattern. Pull tight enough to feel resistance.
5. Continue weaving rows
Repeat the horizontal weave, moving upward. After every four rows, shift the starting point to keep the pattern even.
6. Trim and tidy edges
When the top edge is reached, cut excess fibers close to the board. Tie off any loose ends.
7. Apply finish and hang
Brush on a thin layer of linseed oil, let dry 30 minutes, then attach hangers and display.
Ways to change it
Larger frame
A 36 × 48 in frame creates a statement piece for big rooms
Mixed color fibers
Combine natural beige with dyed orange for contrast; works well for boho décor
Recycled denim strips
Use denim for a softer texture; ideal for children’s rooms
Bamboo accent strips
Add thin bamboo pieces every third row for visual interest
No‑oil finish
Skip oil if you prefer a matte, raw look
The short version
- Natural fibers give strength and texture without synthetic materials
- A simple wooden frame provides a stable base for weaving
- Even tension is the secret to a neat, professional look
- Finishing with linseed oil protects the sculpture and adds subtle shine
- Hang at eye level and avoid direct sun to preserve color
Questions people ask
Can I use synthetic yarn instead of natural fibers?
Synthetic yarn will work but it loses the organic feel and may not hold the same weight as jute or hemp.
How do I know when the weave is tight enough?
When you run your fingers along a row, it should feel firm without gaps; a loose weave will sag over time.
Ready to start weaving your own sculpture
With the right fibers and a steady hand, you can create a unique wall piece that brings nature indoors. Follow the steps, adjust the size or color to suit your space, and enjoy the tactile result.



