
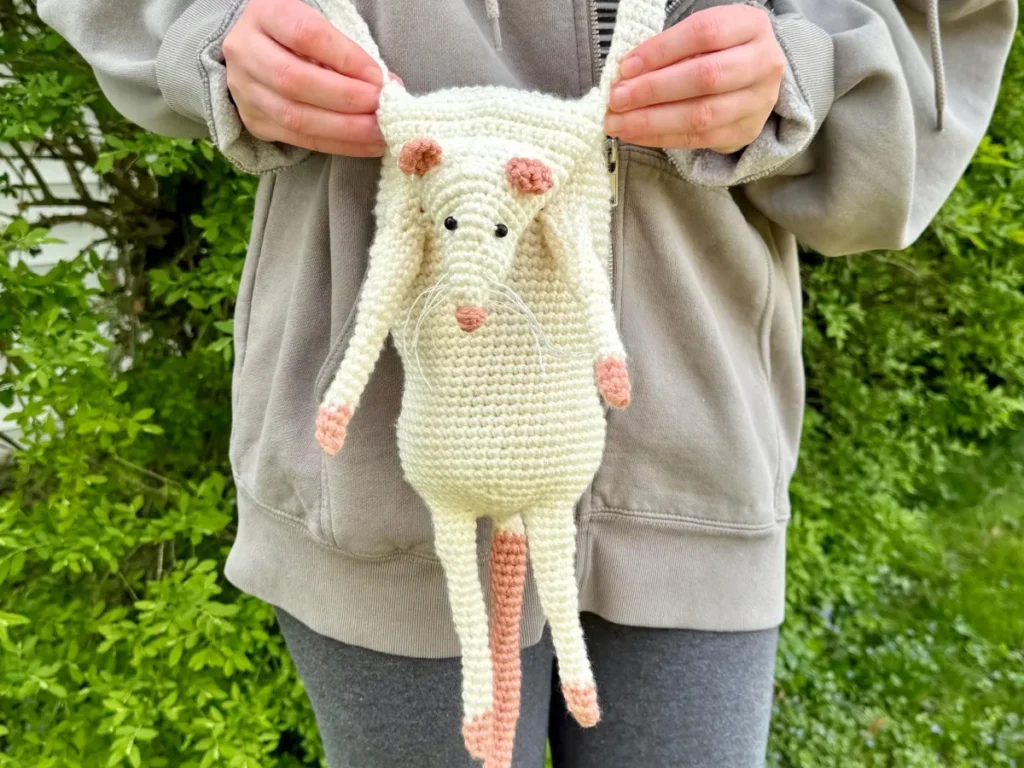
Rat Pouch Crochet Pattern – Step‑by‑Step Guide
Create a tiny rat pouch you can carry or gift in under three hours.
A single skein of worsted yarn can become a cute rat pouch in about two hours.
You’ll work in rounds for the body, then switch to rows for the lining. The pattern assumes basic crochet knowledge but avoids obscure abbreviations.
All measurements are given in centimeters, and a simple gauge check keeps the pouch the right size for a small key or a piece of jewelry.
This guide walks you through the exact stitches, shaping, and lining needed to crochet a functional rat pouch. You’ll finish a plush animal that holds tiny treasures and fits comfortably in a hand.
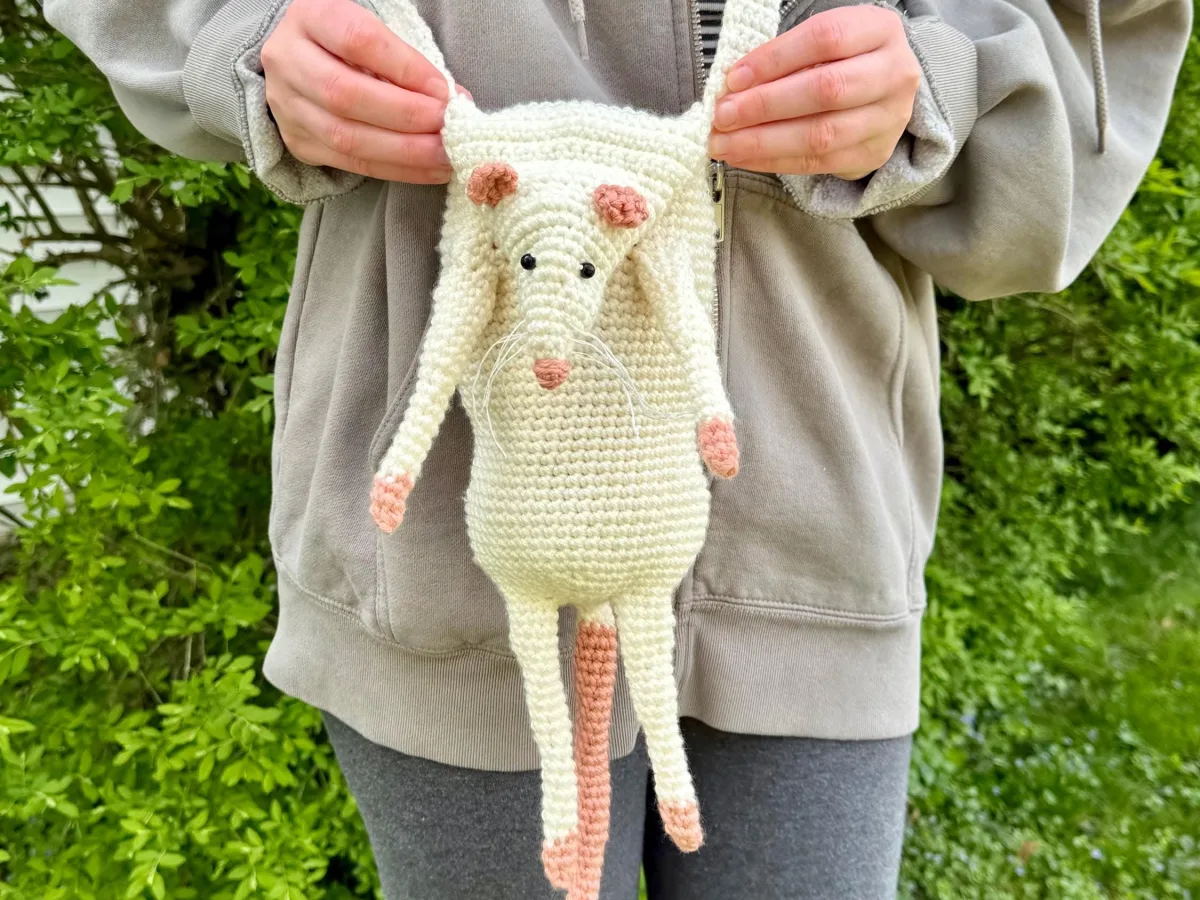
What you need
Worsted weight yarn
One skein (≈50 g) in any color; acrylic keeps cost low.
4.0 mm crochet hook
Standard size for worsted yarn; metal or bamboo works.
Stitch markers
Helps keep track of round counts; optional.
Tapestry needle
Large eye for yarn; used for sewing pieces together.
Polyester stuffing
Provides shape; use a small amount to keep the pouch light.
Scissors
Sharp enough to cut yarn cleanly.
Materials & Tools
Gather a skein of worsted weight yarn in your favorite color, a 4.0 mm (G/6) crochet hook, stitch markers, a tapestry needle, a pair of scissors, and polyester stuffing.
- Yarn: 50 g worsted weight
- Hook: 4.0 mm
- Stitch markers: optional but helpful
Choose a yarn with a smooth texture to avoid snagging the zip.
Gauge & Size
Swatch a 10‑cm square using single crochet and double crochet; aim for 18 stitches and 24 rows per 10 cm. Adjust hook size if the gauge is off.
A tighter gauge yields a sturdier pouch, while a looser gauge makes it softer.
Crocheting the Body
Begin with a magic ring, 6 single crochets (sc) and pull tight. Increase by 6 sc each round until the diameter reaches 8 cm, then work even for 4 rounds. Decrease symmetrically to close the top, leaving a small opening for the lining.
- Rounds: work in spirals or join each round with a slip stitch
Count stitches each round; a missed increase will distort the shape.
Making the Lining & Assembly
Create a smaller rectangle of the same yarn, 12 cm long by 6 cm wide, using rows of half double crochet. Fold, seam with a tapestry needle, and insert into the body through the opening. Sew the opening closed and add a small zip or button if desired.
Press the lining flat before inserting to avoid bulk.
Finishing Touches
Sculpt the ears by crocheting two tiny triangles and sew them onto the head. Add a tiny tail with a few stitches. Weave in all ends and fluff the stuffing for a round shape.
A gentle tug on the ears confirms they are securely attached.
Step
1. Start the magic ring
Make a magic ring, work 6 sc into it, and pull tight. You should see a neat, closed center.
2. Increase the body
Increase 6 sc each round: 12, 18, 24, 30, 36 stitches. Stop when the diameter measures about 8 cm.
3. Build the walls
Crochet even rounds of sc for 4 rounds. The side should be firm but not too stiff.
4. Decrease to close top
Work decreases of 6 sc each round until 6 stitches remain, then leave a 2‑cm gap for the lining.
5. Crochet the lining rectangle
Chain 20, then work rows of half double crochet for 12 rows. Fold in half, seam three sides, leaving the top open.
6. Insert and close lining
Push the lining through the gap, align edges, and sew the opening closed with a tapestry needle.
7. Add ears and tail
Crochet two small ear triangles (4 sc each) and a tail strip (5 sc). Sew them onto the head and back respectively.
8. Attach closure
Sew a tiny zip or stitch a button and loop. Test that it opens and closes smoothly.
9. Finish off
Weave in all yarn ends, fluff the stuffing, and shape the pouch by gently pressing.
10. Test your work
Place a small key inside; the pouch should hold it without stretching too much.
Ways to change it
Cotton yarn
Gives a firmer feel, good for kids' toys.
Larger size
Add 2 cm to each dimension for a phone‑sized pouch.
Button closure
Swap the zip for a button if you prefer a classic look.
Pastel palette
Soft colors suit baby showers or nursery decor.
Embroidered eyes
Add tiny embroidered stitches for a personalized face.
The short version
- A magic ring starts a tidy center.
- Increase rounds until the body reaches 8 cm diameter.
- Use a simple lining to keep the pouch from stretching.
- Close the top with a small opening for the lining insertion.
- Add ears, tail, and a closure for functionality.
Questions people ask
Can I use a different hook size?
Yes, a 3.5 mm hook makes the pouch tighter, while a 4.5 mm hook creates a softer, larger shape; just adjust your gauge.
Is the pattern suitable for beginners?
The pattern expects comfort with basic rounds and joining; beginners may want to practice those skills first.
Ready to crochet your own rat pouch?
Enjoy the soft companion and the tiny space it offers; it makes a sweet personal gift or a playful stash.



