
Easy Granny Square Crochet for Beginners
Make your first granny square in about 20 minutes, even if you've never held a hook.
You can make a granny square with just one stitch: the double crochet.
If you've seen those colorful squares on Pinterest and thought they look complicated, here's the good news: they're not. The whole thing is just double crochet stitches and chains, repeated in a simple pattern.
The classic granny square is the first thing many people learn after the basic stitches. It's forgiving, quick, and uses very little yarn. Once you make one, you'll know how to make a hundred.
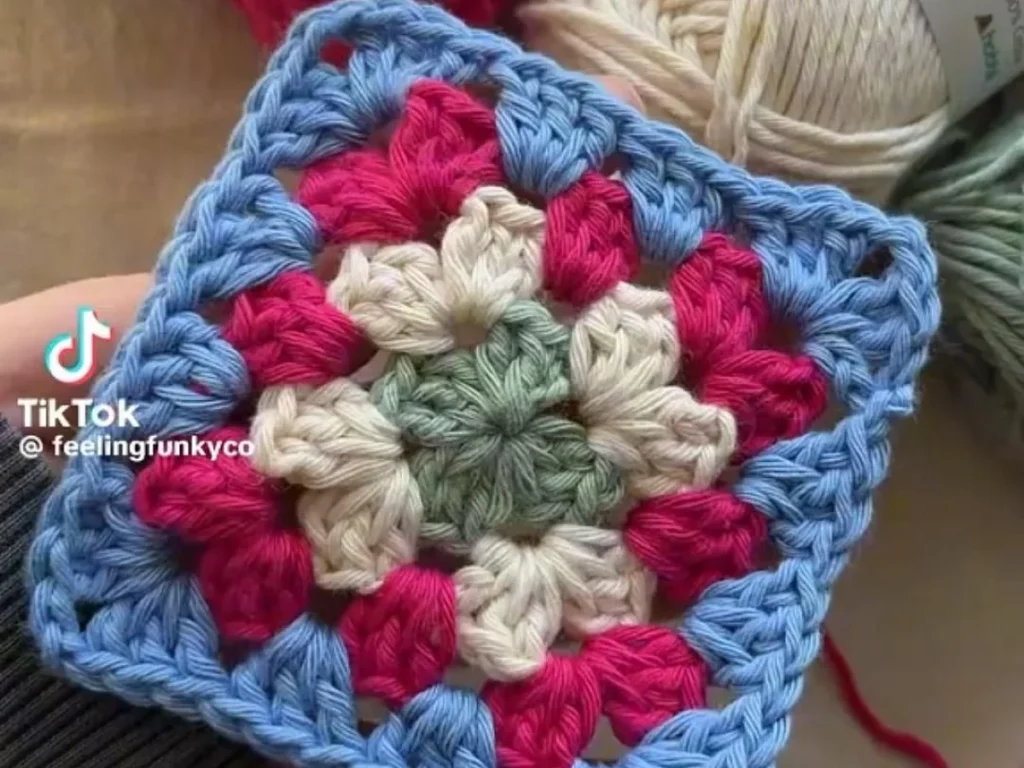
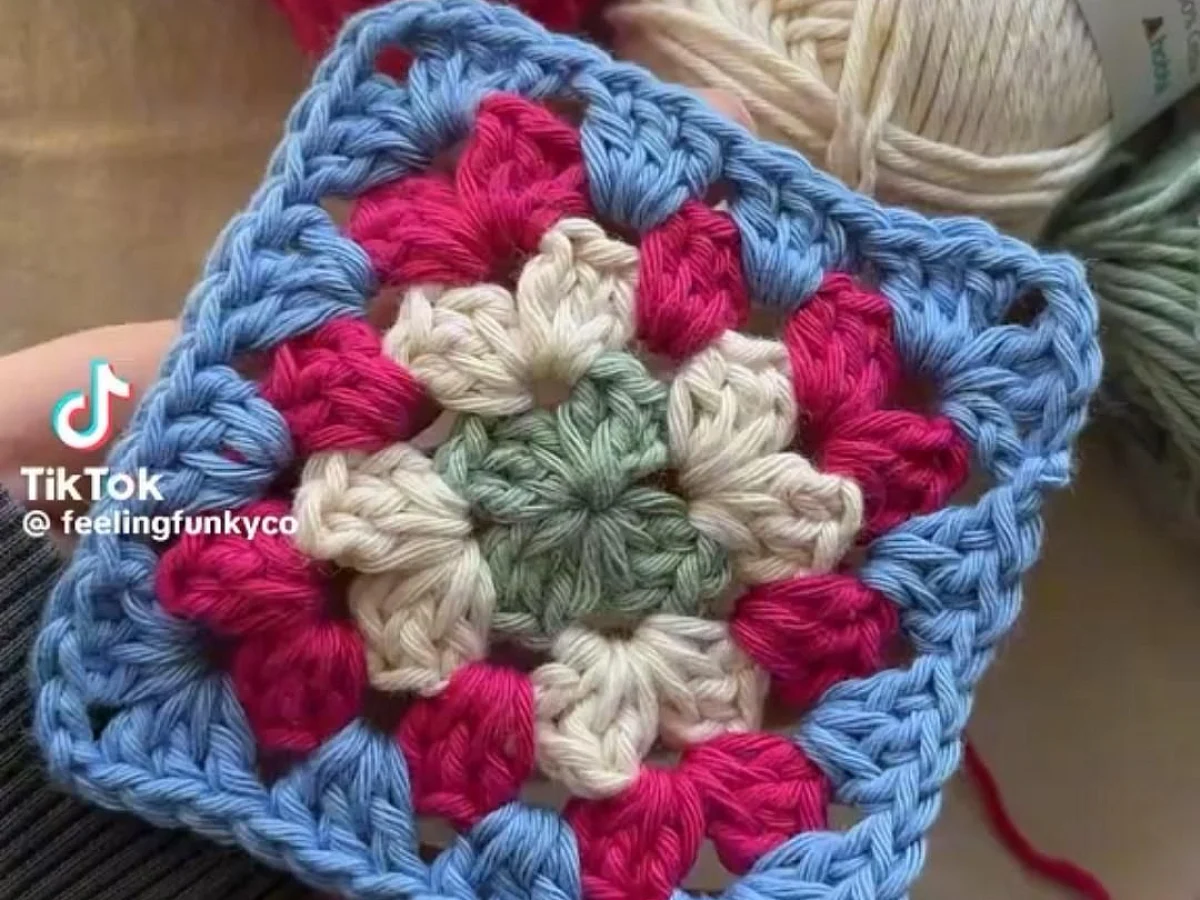
A granny square is a crochet motif worked in the round, using clusters of double crochet stitches separated by chain spaces. You start with a magic ring, work three rounds, and you have a square that's about 4 inches across.
What you need
Worsted weight yarn
About 20 yards per square. Choose a smooth, light color for your first try.
Crochet hook size 5mm (US H-8)
Matches worsted weight yarn. If your yarn label suggests a different size, use that.
Scissors
Any small scissors work.
Yarn needle
For weaving in ends. A blunt-tip needle is safer and easier.
What You Need to Start
You need three things: yarn, a hook, and a pair of scissors. That's it. No fancy tools, no special gadgets.
For your first square, pick a smooth, light-colored yarn in worsted weight. That's the medium thickness you see in most stores. A dark color makes it hard to see your stitches. A fuzzy or textured yarn hides mistakes but also hides your loops, which is frustrating when you're learning.
Use a hook that matches your yarn. The yarn label will suggest a size, usually between 4.5mm and 5.5mm for worsted weight. If you're not sure, start with a 5mm hook. It works for most people.
- Worsted weight yarn, about 20 yards for one square
- Crochet hook, size 5mm (US H-8)
- Scissors and a yarn needle for weaving in ends
A stitch marker is helpful but not required. You can use a paperclip or a short piece of contrasting yarn to mark the start of each round.
The Basic Granny Square Pattern
The pattern is the same for every round. You make groups of three double crochet stitches, called clusters, and you separate them with chain stitches. In the corners, you chain two or three to make the square turn.
Here's the rhythm: cluster, chain one, cluster, chain one, and in the corners, cluster, chain three, cluster. Repeat that four times and you have a square.
- Round 1: Magic ring, chain 3 (counts as first dc), 2 dc in ring, chain 3, 3 dc in ring, chain 3, 3 dc in ring, chain 3, 3 dc in ring, chain 3, slip stitch to top of starting chain. You should have 4 clusters and 4 corner spaces.
- Round 2: Slip stitch into the next corner space. Chain 3, 2 dc, chain 3, 3 dc in same space (corner made). Chain 1, work 3 dc in next corner space, chain 3, 3 dc in same space. Repeat around, slip stitch to join.
- Round 3 and beyond: Work a corner in each corner space, and a cluster in each chain-one space along the sides. Chain 1 between side clusters.
If your square is curling into a bowl, your chains are too tight. If it's ruffling, your chains are too loose. Adjust your tension and try again.
How to Start: Magic Ring vs. Chain Ring
Most patterns start with a magic ring because it lets you pull the center hole shut completely. It looks neat and professional.
If the magic ring feels too fiddly, you can chain 4 and join with a slip stitch to form a ring. Then work your first round into that ring. The hole will stay open, but that's fine for a first attempt.
The magic ring takes about two minutes to learn. There are many short videos online. Once you get it, you'll use it for almost everything you make.
When you pull the magic ring closed, pull gently. If you pull too hard, the yarn can snap or the ring can bunch up.
Common Mistakes and How to Fix Them
Most beginners make the same three mistakes. The first is losing count of your clusters. If you end up with five clusters on one side, you've added one by mistake. Count your clusters at the end of each round: four corners, and in round 2, eight clusters total.
The second mistake is skipping the chain-one between side clusters. That chain is what gives the square its open, lacy look. If you forget it, the fabric gets tight and wavy.
The third mistake is working into the wrong loop. When you look at a double crochet from the top, you'll see a V shape. Insert your hook under both loops of that V, not just one. If you only catch one loop, the stitch looks stretched and the square doesn't lie flat.
If you make a mistake, don't rip out the whole square. Just pull out the stitches back to the error, and redo them. It's easier than starting over.
How to Change Colors
Changing colors is easy. When you're about to finish a round, you work the last slip stitch with the new color. Then you chain 3 to start the next round in the new color.
You can change colors at the start of any round. You can also change in the middle of a cluster, but that's more advanced. For your first squares, change at the corners.
When you finish a color, leave a tail about 6 inches long. You'll weave it in later with a yarn needle.
Carry your yarn tails along the back of the work as you go, instead of cutting and weaving each one. That saves time and makes the back tidier.
How to Finish and Weave in Ends
When your square is big enough, cut the yarn, leaving a tail of about 6 inches. Pull the tail through the loop on your hook and pull tight. That's called fastening off.
Thread the tail onto a yarn needle and weave it through the back of several stitches. Go in one direction, then double back in the opposite direction. That locks the tail in place so it won't come out.
Trim the yarn close to the fabric, but not too close. Leave a tiny bit so it doesn't unravel.
Weave in ends as you go, not all at once at the end. It takes less time and you won't have a pile of tails to deal with.
Step
Make a magic ring
Wrap the yarn around your fingers twice, then pull a loop through to make a sliding ring. Chain 3 to count as your first double crochet.
Work the first round
Work 2 double crochet into the ring, chain 3, then 3 double crochet, chain 3, three more times. Pull the tail to close the ring. Slip stitch to the top of the starting chain.
Start the second round
Slip stitch into the next corner space. Chain 3, then work 2 double crochet, chain 3, 3 double crochet in that same space to make the first corner.
Complete the second round
Chain 1, then work a corner in each of the next three corner spaces: 3 double crochet, chain 3, 3 double crochet. Chain 1 between corners. Slip stitch to join.
Continue for more rounds
For each new round, slip stitch to the corner, work a corner, then work clusters in the chain-one spaces along the sides. Chain 1 between side clusters.
Finish and weave in ends
When your square is the size you want, cut the yarn, pull through the loop, and weave in all tails with a yarn needle.
Ways to change it
Solid color
Use one color for the whole square. It shows your stitches clearly and is great for practicing.
Scrap yarn
Use leftover yarn from other projects. Each round a different color makes a fun, scrappy square.
Thicker yarn
Use bulky yarn and a larger hook, like 8mm. Your square will be bigger and work up faster.
Larger square
Keep adding rounds until the square is the size you want. You can make a full blanket this way.
Cotton yarn
Cotton is stiffer and holds its shape well, good for washcloths or placemats.
The short version
- A granny square uses only double crochet and chain stitches.
- The magic ring lets you close the center hole completely.
- Count your clusters at the end of each round to catch mistakes early.
- Chain spaces in the corners make the square turn.
- Change colors at the start of a round for a clean look.
- Weave in ends with a yarn needle, going back and forth to lock them.
- One square takes about 20 minutes once you get the rhythm.
Questions people ask
How many double crochet stitches are in a granny square cluster?
Three. A cluster is three double crochet stitches worked into the same space.
Why is my granny square curling?
Curling usually means your chains are too tight. Try chaining more loosely or using a larger hook.
How do I join granny squares together?
You can sew them with a yarn needle, or crochet them together with slip stitches or single crochet. The most common method is to hold two squares wrong sides together and single crochet through both edges.
What can I make with granny squares?
Blankets, pillows, bags, scarves, and even cardigans. Join them in rows or arrange them in a pattern.
Now grab your hook and make your first square
The granny square is one of those skills that opens up a whole world of projects. Once you've made one, you can make them in any color, any size, and join them into anything. Start with a single square tonight, and you'll have a blanket before you know it.



