Wearable Crochet Patterns Illustration: How to Draw Your Own Designs
Learn to sketch a wearable crochet pattern from a simple body outline to a finished garment drawing.
You do not need to be an artist to draw a crochet pattern that you can actually use.
When you design your own crochet wearables, a clear illustration saves you from guesswork. You can see where increases happen, how the sleeves attach, and how long the body should be before you pick up a hook.
This guide shows you how to draw a wearable crochet pattern illustration, even if your last art class was years ago. You will use simple shapes and a few crochet symbols to create a drawing that is both pretty and practical.
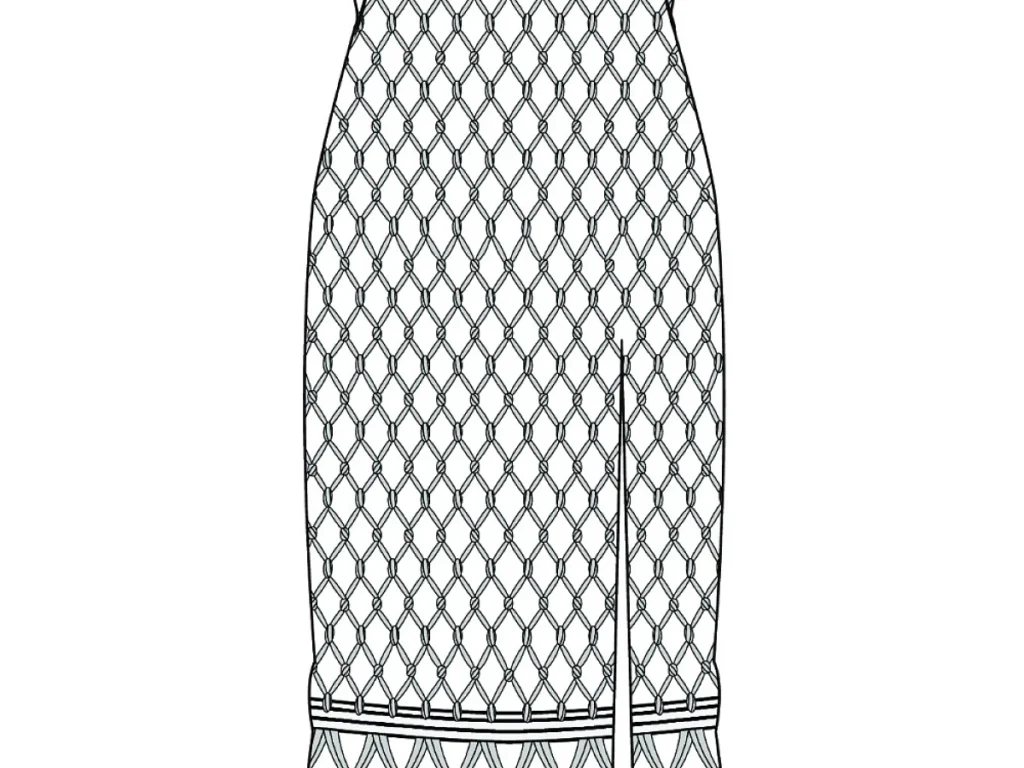
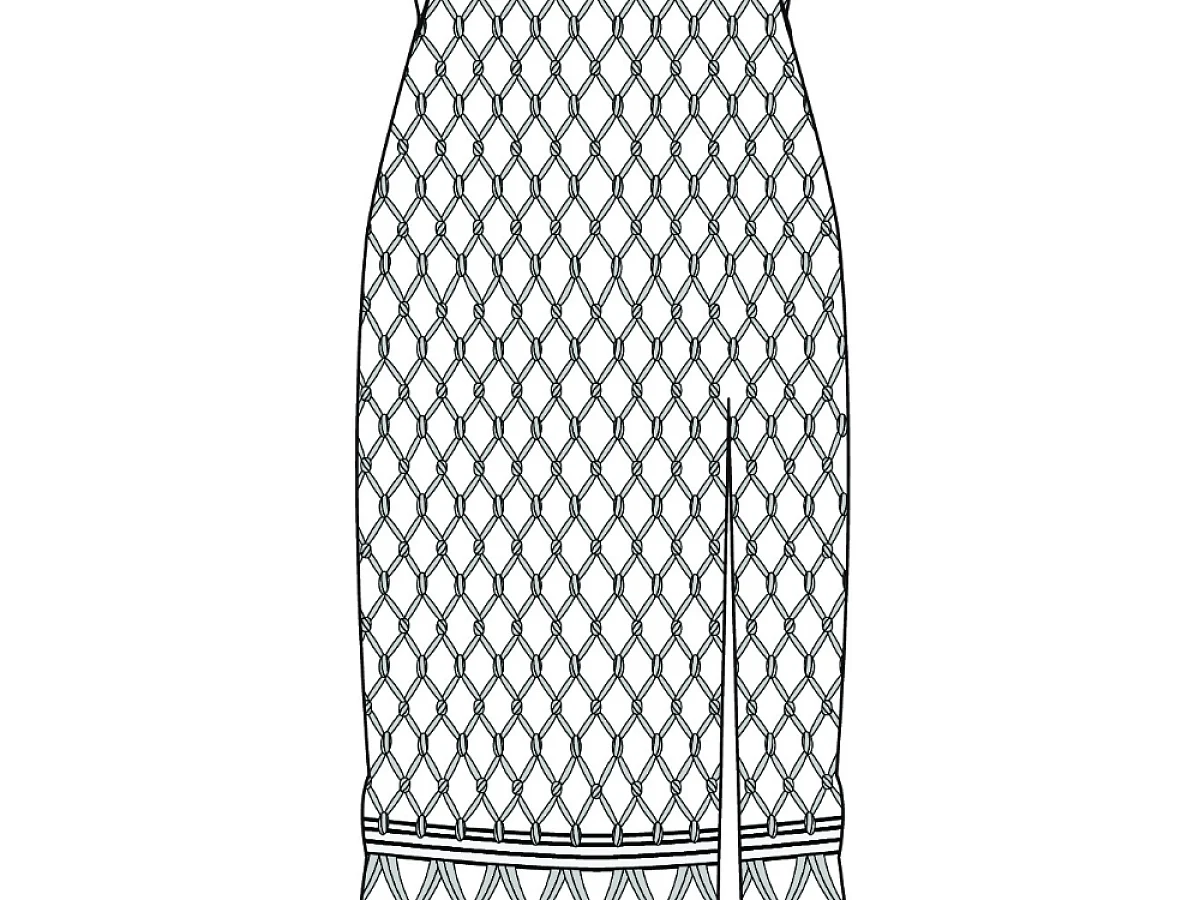
You can illustrate a wearable crochet pattern by starting with a simple body template, drawing the garment shape over it, and then adding stitch symbols or texture lines. This guide walks you through the process step by step, from choosing your supplies to adding the finishing touches that make your drawing useful for crocheting.
What you need
Graph paper
Use 4-square-per-inch paper for clear stitch spacing.
Pencil and eraser
A soft HB pencil is easy to erase and does not smudge much.
Ruler
A clear 12-inch ruler helps you draw straight lines and measure accurately.
Fine-tip pen
Use a 0.5 mm black pen for clean final lines.
Colored pencils (optional)
Use them to mark different stitch types or shaping.
What You Need to Start Drawing
You do not need fancy software. A pencil, a ruler, and graph paper are enough. Graph paper helps you keep your lines straight and your proportions right.
A fine-tip black pen is useful for the final lines. Erasable colored pencils are nice for marking stitch types, but you can also just use a regular pencil and a good eraser.
- Graph paper – the 4-square-per-inch kind works well for garments.
- Pencil and eraser – a soft HB pencil is easy to erase.
- Ruler – a clear 12-inch ruler is easiest to see through.
- Fine-tip pen – for inking your final lines.
- Optional: colored pencils to highlight different stitches.
If you do not have graph paper, print a free grid template from the internet. The grid lines keep your stitches even.
Start with a Body Template
Every wearable pattern drawing starts with a body shape. You can trace a simple outline of a torso or use a template from a sewing pattern. The key is to get the proportions right so your garment fits when you crochet it.
For a top, draw a simple rectangle for the torso, then add shoulder slopes and a neckline. For a cardigan, you will also need to sketch the arms separately.
If you are drawing a sweater, use a front view for the body and a separate side view for the sleeve. That way you can see the shape clearly.
Draw the Garment Over the Template
Once your body template is ready, lightly sketch the shape of your garment over it. For a fitted top, the outline should follow the body closely. For an oversized sweater, draw the outline a few inches away from the body line.
Decide on the length. Mark the hemline with a horizontal line. Mark where the sleeves will attach with small dots or dashes.
Keep the garment outline simple. You can always add details later.
Add Stitch Details
Now comes the part that makes your drawing a crochet pattern. Use standard crochet stitch symbols to show what happens in each row. For example, use a vertical line for a single crochet, a 'T' shape for a half double, and a 'V' for a double crochet.
Draw these symbols inside the garment outline. If you are working in rows, draw them in horizontal lines. If you are working in the round, draw them in circles.
Do not draw every single stitch. That would take hours. Instead, draw a few rows to show the pattern, then write 'repeat this row' with an arrow.
If you are not comfortable with stitch symbols, you can write the stitch name in the margin and draw a simple texture line, like a wavy line for a ribbed pattern.
Show Shaping and Seams
Shaping is what turns a rectangle into a wearable garment. Mark decreases with a small 'V' pointing inward. Mark increases with a 'V' pointing outward. Draw a dotted line where you will sew seams or join pieces.
If your pattern has armhole shaping, draw a curved line that dips in under the arm. For a neckline, draw a gentle curve or a 'V' shape, depending on the style.
Use a different colored pencil for the shaping marks so they stand out from the stitch symbols.
Include Measurements and Notes
A drawing without measurements is just a picture. Write the finished bust size, length, and sleeve length directly on the drawing. Use arrows to point to the exact spot.
Add notes like 'work 10 rows of single crochet for the ribbing' or 'increase every 3rd row' near the relevant part. These notes will guide you when you are crocheting.
Write the yarn weight and hook size on the drawing too, so you remember what you planned.
Finish and Use Your Drawing
Once you are happy with the sketch, go over the final lines with a fine-tip pen. Erase the pencil lines and the body template if you do not want them visible.
Now you have a clean illustration you can follow as you crochet. Keep it in a plastic sleeve so it stays clean while you work.
If you make changes while you crochet, note them directly on the drawing. That way you can repeat the project later without guessing.
Take a photo of your finished drawing before you start crocheting. That way you have a backup if you spill coffee on it.
Step
Sketch the body template
On graph paper, draw a simple rectangle for the torso. Add shoulder slopes and a neckline. Use a ruler to keep lines straight.
Outline the garment
Lightly draw the shape of your garment over the template. Keep it simple and mark the hem and armholes.
Add stitch symbols
Inside the garment outline, draw rows of stitch symbols. Use standard symbols like 'V' for double crochet. Draw only a few rows and write 'repeat' for the rest.
Mark shaping
Draw 'V' shapes for increases and decreases. Use dotted lines for seams. Indicate the armhole and neckline curves.
Write measurements
Add finished measurements and notes about rows and stitch counts. Use arrows to point to specific areas.
Ink and erase
Trace over the final lines with a fine-tip pen. Wait for the ink to dry, then erase the pencil lines.
Ways to change it
Software drawing
Use a tablet and drawing app to create a digital illustration that you can easily edit and share.
Simplified sketch
Skip stitch symbols and just draw the garment shape with notes. Good for quick planning.
Detailed schematic
Include every stitch and row for a complex pattern. Takes longer but leaves no questions.
Different garment types
The same method works for hats, scarves, and socks. Adjust the body template to fit the item.
Use a crochet chart
For flat pieces, you can draw a traditional crochet chart on grid paper instead of a garment outline.
The short version
- Start with a body template to keep proportions realistic.
- Use standard crochet stitch symbols to show the fabric.
- Mark shaping clearly with V shapes and dotted lines.
- Always include measurements and hook size on the drawing.
- Keep the drawing simple; you can add notes instead of every stitch.
- Ink the final lines for a clean, usable pattern.
Questions people ask
What is a wearable crochet pattern illustration?
It is a drawing of a crochet garment that shows the shape, stitch details, and measurements so you can crochet from it.
Do I need to be good at drawing to make one?
No. You only need to draw simple shapes and use a ruler. The drawing is for practical use, not art.
Can I use a template from a sewing pattern?
Yes, you can trace a sewing pattern piece, but remember that crochet fabric stretches more than woven fabric, so you may need to adjust the size.
What if I make a mistake on my drawing?
Use a pencil and eraser. If you are using pen, you can cover mistakes with white-out or start over on a new sheet.
Ready to sketch your next design?
Drawing your own wearable crochet patterns is a skill that gets easier with practice. Start with a simple top or scarf, and you will soon be sketching everything from cardigans to dresses. Stitch with ease.