Crochet Chart Archive Graphic Design: How to Read, Draw and Store Symbol Charts
Learn to read crochet symbol charts, draw your own clean grid, and file the whole set so you can find any chart again.
A crochet symbol chart is a drawing of your stitches, and one wrong symbol in the key can send a whole row off by six stitches.
A crochet symbol chart is a picture of a row. Each little mark stands for one stitch, and the grid under it stands for where that stitch goes.
Once you can draw and file those marks yourself, you stop hunting through screenshots for the chart you saved last month. You just open the folder.
Crochet chart archive graphic design means drawing stitch symbols on a clean grid, writing a key beside it, and storing every chart in one file system with a naming rule. Read the key first, count the grid squares, then work the symbols from the bottom up.
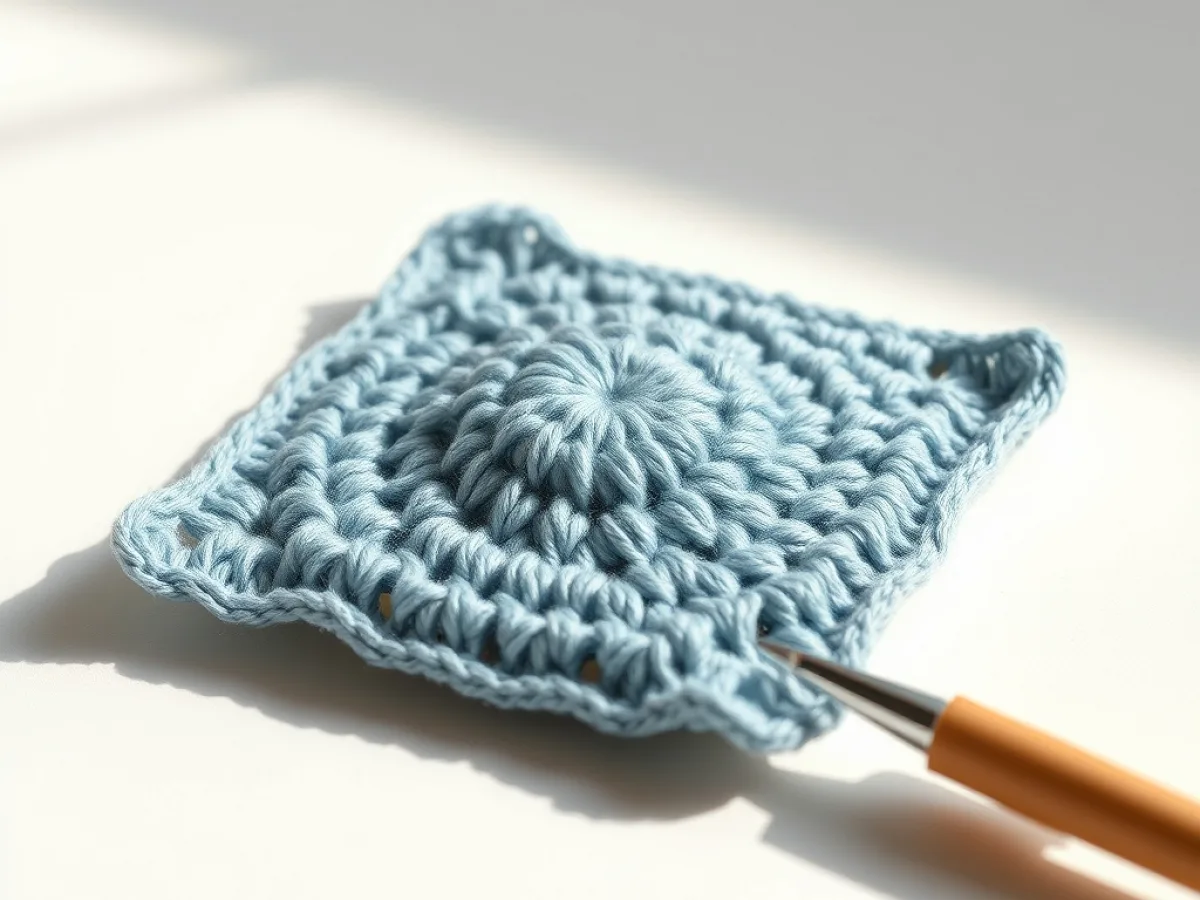
What you need
Graph paper
Pick squares per inch that match your stitch size. Four squares per inch suits worsted weight on a 5 mm hook.
Fine black pen
A 0.3 mm tip keeps dashed lines from filling in when you scan the page.
Pencil and soft eraser
Draw the grid first in pencil so you can fix a crooked row without starting over.
Yarn and hook for a test swatch
Worsted weight yarn with a 5 mm hook makes a swatch you can measure against your grid.
Folder or scanner
A ring binder for paper charts, or a phone camera set to 300 dpi for digital copies.
Why symbol charts beat written rows for some projects
Written patterns work fine for straight scarves. Charts win when the shape turns, curves, or repeats. A chart of an armored woman knight has shoulders, a helmet and a shield that all sit in different places, and a chart shows that placement at a glance.
Symbols are also language-free. A chart drawn in one country reads the same in another, which is why so many old pattern books kept the chart page and dropped the text.
If a pattern has both a written row and a chart, trust the chart for placement and the written row for stitch counts.
The symbols you will draw most
Learn eight marks and you can draw almost anything. Draw them at the same height every time, or the grid stops lining up.
- Chain: a small open oval
- Slip stitch: a solid dot
- Single crochet: a short vertical bar crossed by one dash
- Half double crochet: a tall bar crossed by one dash
- Double crochet: a tall bar crossed by two dashes
- Treble crochet: a taller bar crossed by three dashes
- Increase: two symbols sharing one base point
- Decrease: two symbols joined at the top
Keep a scrap page of your own symbols and redraw them until they match in size. Uneven symbols are the main reason a chart looks messy.
Drawing a chart that stays readable
Start with a grid of squares. One square equals one stitch. If your stitch is 4 mm wide and 5 mm tall, make the squares 4 mm by 5 mm so the chart keeps the real shape of the fabric.
Draw the foundation chain along the bottom, then build upward. Mark every tenth square with a light dot in the margin. Those dots are how you count when you lose your place at row 34.
Leave a margin wide enough for the key. A key that runs off the page is worse than no key at all.
Draw in pencil first, then ink only the symbols. Erasing ink smudges the grid lines and makes the chart hard to scan.
Filing a chart archive so you can find it again
A chart archive is only useful if the name tells you what is inside. Name every file with the shape, the yarn weight, and the hook size. Something like knight-figure-worsted-5mm-chart.png beats chart-final-2.png every time.
Keep one folder per project and one master folder for single charts you might reuse. Add a plain text note in each folder with the row count, the finished size and the yarn you used.
- Folder by shape: figures, borders, doilies, blankets
- Folder by yarn weight: lace, sport, worsted, bulky
- Folder by status: finished, in progress, ideas
- Keep a printed copy of any chart you have already worked once
Scan or photograph finished charts at 300 dpi. Lower than that and the thin dashed lines vanish when you zoom in.
How to read a chart you did not draw
Find the key first. Some designers use a dot for a slip stitch and others use a dot for a single crochet. Guessing here is the most common mistake.
Find the starting point. It is usually marked with a small arrow or a filled circle at the bottom right. If there is no mark, assume the bottom right corner and check the first row against the written count.
Count the grid before you pick up the hook. If the widest row has 48 squares and the pattern says 48 stitches, the chart is honest. If the numbers disagree, the chart is the one to question.
Photocopy the chart and cross off each row with a ruler as you finish it. You can reuse the clean copy later.
Common mistakes and how to fix them
The chart looks slanted. That usually means the squares are not the same height as the stitches. Redraw with taller squares.
The stitch count keeps growing. You are reading the increase symbols as single stitches. Each increase shares one base point, so two symbols go into one stitch below.
The rows drift sideways. Check whether the chart uses turning chains as a stitch. If the key does not say, work one test row both ways and compare the width.
When a chart and your fabric disagree, trust the fabric. Redraw the chart to match what your hands actually made.
Supplies for drawing and archiving charts
You do not need design software to start. Graph paper, a pencil and a fine black pen will do, and the paper version is easier to mark while you work.
- Graph paper, 4 squares per inch, for worsted charts
- A 0.3 mm black pen for symbols
- A soft pencil and eraser for the grid
- A folder or ring binder for printed charts
- A scanner or phone camera for digital copies
Step
Swatch first
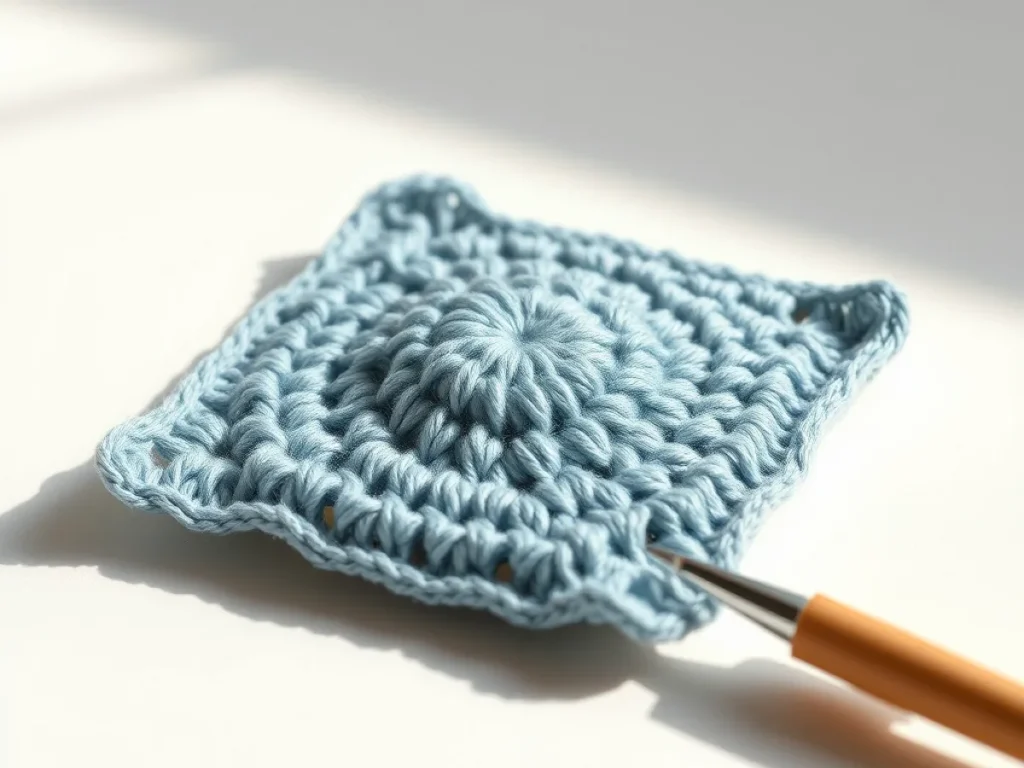
Work a 10 by 10 stitch swatch in your chosen yarn and hook. Measure the width and height of one stitch. Those two numbers set your grid spacing.
Draw the grid
Rule squares the size of one stitch. Count the widest row of your design and make that many columns. Check that the grid is square before you add any symbols.
Place the symbols
Work from the bottom right upward. Draw one symbol per square and keep every symbol the same height. Step back and check that the outline reads as the shape you wanted.
Write the key
List every symbol you used and what it means. Note whether turning chains count as a stitch. This line saves the chart for anyone else who reads it, including you in six months.
File and back up
Name the file with shape, yarn weight and hook size. Save one copy in the project folder and one in your master archive. Print the chart if you plan to work it.
Ways to change it
Single color chart
Black symbols on white grid. Easiest to scan and cheapest to print.
Two color chart
Use one color for the outline and one for the fill. Helps when a shape has a lot of internal detail.
Large print version
Scale the grid up 150 percent for readers who need bigger symbols. Keep the same proportions or the shape distorts.
Digital only
Draw in any vector app and export as PNG at 300 dpi. Skip the paper step if you always work from a screen.
Chart plus written rows
Add the row-by-row text under the chart. Useful when you want to hand the pattern to someone who does not read charts.
The short version
- One grid square equals one stitch, so square size must match your stitch width and height.
- Learn eight symbols and you can draw almost any figure chart.
- Always read the key before the chart, because dot meanings differ between designers.
- Name files with shape, yarn weight and hook size, or the archive becomes useless.
- Scan charts at 300 dpi or the dashed lines disappear when you zoom.
- If a chart and your fabric disagree, redraw the chart.
- Mark every tenth square in the margin so you can count long rows.
Questions people ask
What does a symbol chart show that a written pattern does not?
It shows where each stitch sits in the row above. Written rows give you counts, but a chart gives you placement, which matters for curves, shoulders and shaped figures.
How do I know which way to read a crochet chart?
Start at the bottom right and work upward, row by row. If the chart has an arrow or a filled dot, that marks the true start. Check the first row against the written count to confirm.
Can I draw a crochet chart without design software?
Yes. Graph paper, a pencil and a 0.3 mm pen are enough. Draw the grid in pencil, ink the symbols, then scan or photograph the finished page.
Why does my chart look slanted?
The squares are not the same height as your stitches. Measure one stitch in your swatch and redraw the grid to match those two numbers.
How should I name chart files?
Use shape, yarn weight and hook size, like knight-worsted-5mm-chart. That one line tells you everything you need without opening the file.
Draw one small chart this week and file it before you start the next.
Start with a ten stitch swatch, draw the grid to match it, and file the chart under a name you will still understand next year. The archive grows on its own after that.