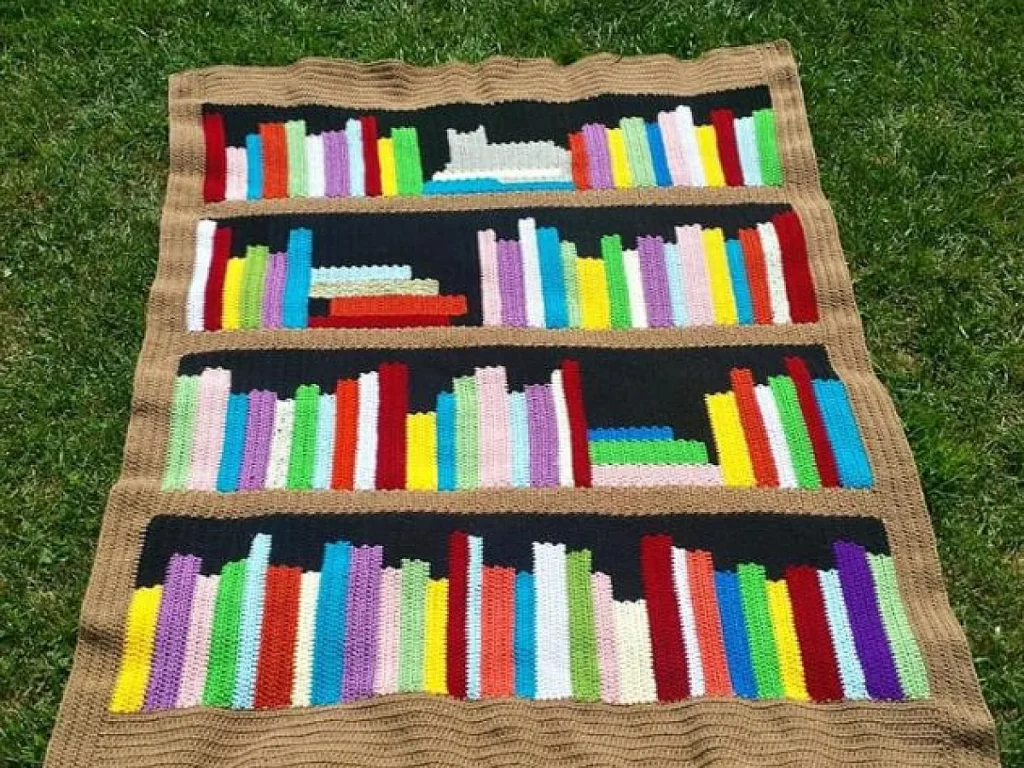
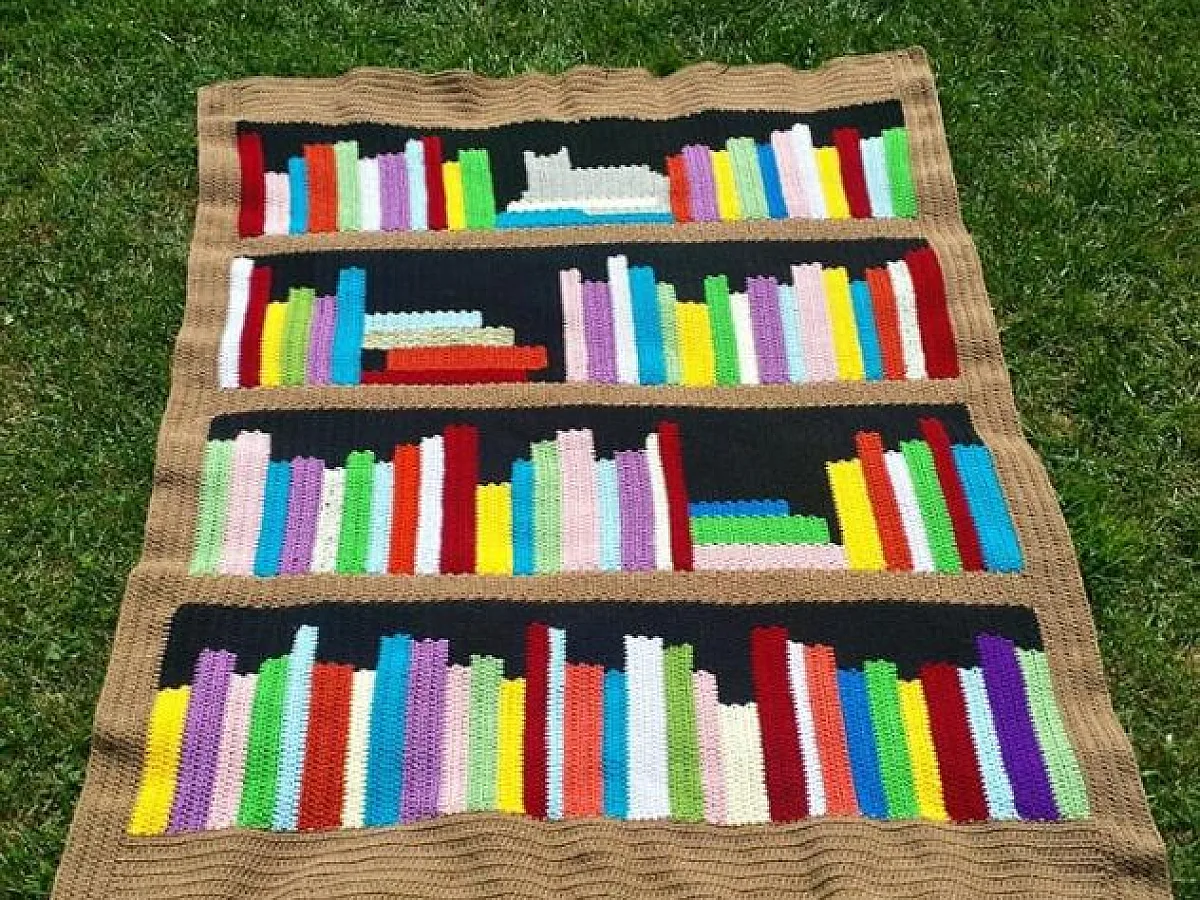
Crochet Blanket Library: A Bookshelf Blanket on Green Grass
Make a cozy bookshelf blanket with crochet book spines, perfect for reading nooks and picnics on the grass.
Imagine a blanket that looks like a shelf full of your favorite books, but it's soft and crocheted.
You've seen those crochet blankets that look like bookshelves, right? They're all over Pinterest, and they're charming. But you might wonder: how do you actually make one?
This guide walks you through the process, from choosing yarn to sewing the books together. You'll end up with a blanket that's both cozy and a great conversation starter, especially when you lay it out on green grass for a photo.
This crochet bookshelf blanket is a fun project that uses simple stitches and color changes to create a row of book spines. You'll make a rectangle for the shelf and then add book-shaped panels, finishing with a border. It's perfect for a reading corner or a picnic.
What you need
Worsted weight yarn
Main color: about 1000 yards. Book colors: about 100 yards each. Acrylic or cotton works well.
Crochet hook size H (5.0 mm)
Or the size that gives you the gauge you need. Check your yarn label for recommendations.
Yarn needle
For sewing books to the background and weaving in ends.
Scissors
Any sharp pair will do.
Stitch markers
Helpful for counting rows and pinning books before sewing.
What You'll Need Before You Start
Before you hook your first stitch, gather your supplies. The best part? You can use scrap yarn for the book spines, so it's a great stash-buster project.
You'll need a main color for the background and shelf, plus several colors for the books. Choose worsted weight yarn for a sturdy blanket, or use a softer yarn if you want it snuggly.
For the books themselves, you can use any colors you like. Think about the titles you'd want on your shelf. You can even add embroidered letters or simple stitches to mimic book titles.
- Worsted weight yarn in a main color (about 1000 yards) and assorted colors for books (about 100 yards each).
- Crochet hook size H (5.0 mm) or size needed for gauge.
- Yarn needle for sewing pieces together.
- Scissors.
- Stitch markers (optional but helpful).
If you're using scrap yarn, make sure all the book yarns are similar weight so the blanket lies flat.
How to Crochet the Bookshelf Base
Start with the background and shelf. This is a simple rectangle that forms the back of the shelf and the shelf board itself.
Chain a width that you want for your blanket. For a lap blanket, chain about 36 inches wide. Work in rows of single crochet or double crochet until you have a rectangle about 24 inches tall. That's the back of the shelf.
Then, fold the bottom edge up to create a shelf ledge. You'll sew the sides later to make a pocket for the books to sit in. But first, let's make the books.
Use a stitch pattern like moss stitch or simple double crochet to give the background texture, but keep it flat.
Crocheting the Book Spines
Each book is a small rectangle. You'll make a row of books to sit on the shelf. The number depends on how wide you made the blanket.
For each book, chain a width that is about 1/3 of the shelf height. Work in rows until the book is as tall as the shelf height (minus the ledge). For example, if your shelf is 24 inches tall, make each book about 18 inches tall, leaving room for the ledge.
Make enough books to fill the width. You can vary the widths of the books for a realistic look. Just make sure they add up to the width of your shelf.
To add detail, use surface crochet or embroidery to create 'titles' on the spines. You can also use different stitch patterns for each book.
Assembling the Blanket
Once you have all the books crocheted, lay them side by side on the background rectangle, just above the folded ledge.
Sew the books to the background using a yarn needle and matching yarn. Make sure they are secure but don't pull too tight, or the blanket will pucker.
Then, sew the sides of the ledge to the books to form a pocket. This holds the books in place and gives the blanket structure.
Before sewing, pin the books in place with stitch markers to ensure they stay straight.
Adding the Border and Finishing Touches
A border helps the blanket look neat and prevents edges from curling. Work a round of single crochet around the entire blanket, then a round of reverse single crochet for a decorative edge.
Weave in all ends with a yarn needle. Trim any excess yarn.
Now your bookshelf blanket is ready. Lay it on the grass for a photo, and it will look like a real miniature library.
If you want a larger blanket, make more books and a wider shelf. You can also add a hanging loop at the top to display it on a wall.
Step
Make the background rectangle
Chain 100 (or your desired width) and work in double crochet rows until the piece is 24 inches tall. Fasten off.
Fold up the shelf ledge
Fold the bottom 4 inches of the rectangle upward to create a shelf. Pin the sides to form a pocket.
Crochet the book panels
For each book, chain 20 (or width you want) and work in single crochet rows until the book is 18 inches tall. Make as many as needed to fill the width.
Sew the books to the background
Place the books side by side on the background, just above the ledge. Sew them securely using a yarn needle and matching yarn.
Sew the shelf sides
Sew the sides of the folded ledge to the edges of the books to form a pocket. Ensure the books are snug.
Add a border
Work a round of single crochet around the entire blanket, then a round of reverse single crochet for a neat finish.
Weave in ends and block
Weave in all loose ends. Optionally, block the blanket to keep it flat and even.
Ways to change it
Baby blanket size
Make the shelf smaller, around 24 inches wide, and use fewer books. Perfect for a nursery.
Reading nook throw
Make it larger, about 48 inches wide, to snuggle under while reading.
Wall hanging
Skip the pocket and just sew the books flat. Add a sleeve on the back to hang it.
Personalized titles
Embroider the names of your favorite books or family members on the spines.
Seasonal colors
Use autumn tones or pastels to match your decor.
The short version
- The blanket is made from a simple background rectangle and separate book panels.
- Use worsted weight yarn and a 5.0 mm hook for best results.
- You can use scrap yarn to save money and reduce waste.
- The pocket formed by the shelf ledge holds the books in place.
- Add embroidered titles for a personal touch.
- Vary the widths of the books to make it look realistic.
- A border keeps the edges neat and prevents curling.
Questions people ask
What is a crochet blanket library?
It's a crochet blanket that looks like a bookshelf, with rows of colorful book spines. You can make it as a lap blanket or wall hanging.
How long does it take to crochet a bookshelf blanket?
For an average crocheter, it might take a weekend or a few evenings, depending on the size and your speed.
Can I use different yarn weights?
Yes, but you'll need to adjust your hook size and the number of stitches. Stick to one weight for the whole blanket to keep it even.
How do I make the books look like they are on a shelf?
You fold up the bottom of the background to create a ledge, sew the books above it, then sew the sides of the ledge to the books to form a pocket.
Try this bookshelf blanket for your next project
Now you have the know-how to create your own crochet bookshelf blanket. It's a fun way to use up yarn scraps and make something truly unique. Picture it on your lap with a cup of tea, or spread out on the grass for a sunny day read. Happy hooking!