
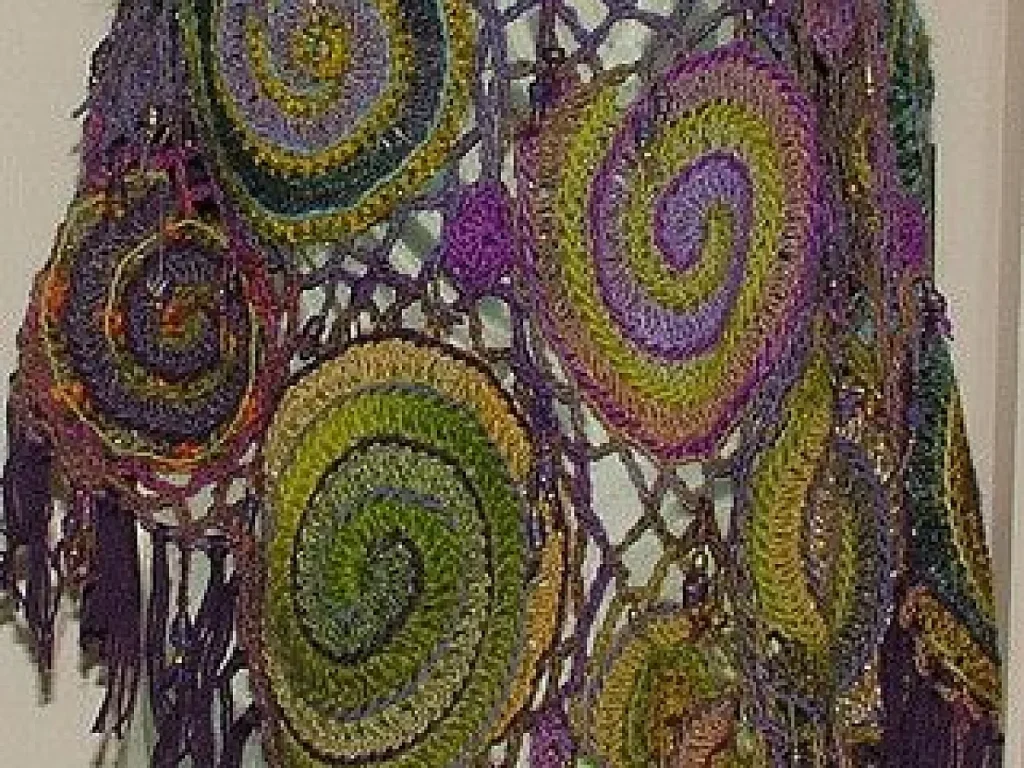
Freeform Crochet: Create Unique Shapes Without a Pattern
Turn loose yarn into colorful sculptures in a single sitting.
A 4‑mm hook and a ball of worsted yarn can turn into a playful animal in under 30 minutes.
Freeform crochet is a spontaneous way to build three‑dimensional forms directly from yarn. You decide the shape as you work, so each piece is truly one‑of‑a‑kind.
The method uses only the most common stitches, so you don’t need to learn new abbreviations. With a few supplies you can start creating cute animals, abstract blobs, or decorative accents right away.
Freeform crochet lets you shape yarn as you go, without a written pattern. Follow these steps and you’ll finish a whimsical figure using only basic stitches.
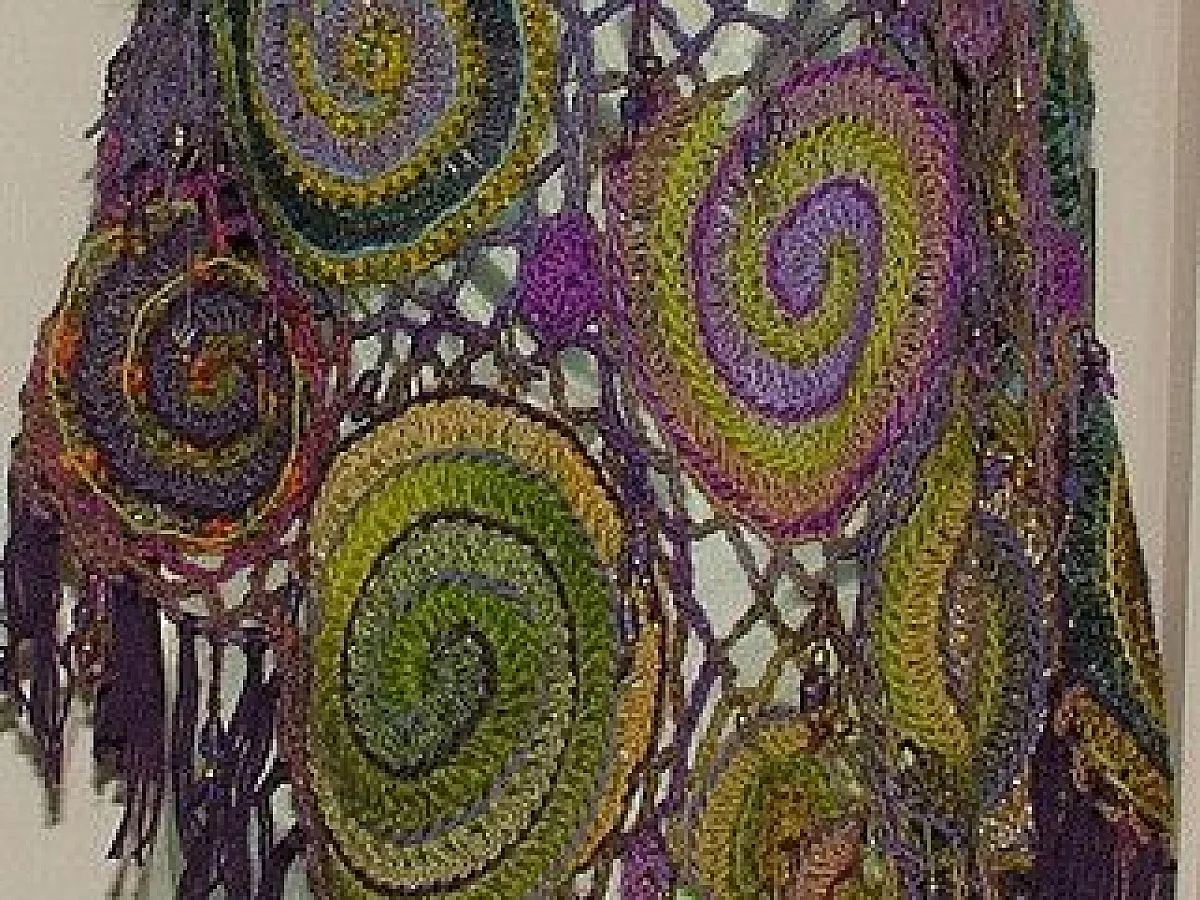
What you need
Yarn
Worsted weight, 100 g skein; soft enough for cuddly feel, affordable for beginners
Hook
4‑6 mm hook; steel for durability or bamboo for a warm grip
Scissors
Sharp household scissors work fine
Large yarn needle
Use a blunt‑tipped needle to weave ends securely
What is freeform crochet?
Unlike charted projects, freeform crochet has no grid or repeat. You follow your eye, adding rounds, increasing, or decreasing whenever the piece feels right.
The result is a soft sculpture that can be as simple as a ball or as detailed as a tiny dragon.
Pause often to step back and see the overall silhouette; it helps avoid accidental lopsidedness.
Choosing yarn and tools
A worsted‑weight yarn works well for most beginner pieces because it balances softness and stitch definition.
A 4‑6 mm hook gives you a sturdy loop without making the fabric too dense.
- Yarn: worsted weight, 100 g skein (about $8)
- Hook: steel or bamboo, 4‑6 mm
- Scissors: sharp enough to cut cleanly
- Large yarn needle: for weaving in ends
If you only have a 3.5 mm hook, use a sport‑weight yarn to keep the stitches visible.
Basic stitch foundation
Start with a slip knot, then make a magic ring or a simple chain of 6 stitches and join with a slip stitch.
Work single crochet (sc) into each stitch; this creates a firm base that holds shape well.
Count your stitches each round; an uneven number can cause a wobble later.
Building shape and adding details
Increase by adding 2 sc in a stitch whenever the piece feels too tight. Decrease by crocheting 2 sc together when it starts to bulge outward.
For ears, arms, or tails, attach a new strand of yarn and work a short tube of sc, then sew it on with the yarn needle.
- Increase: 2 sc in one stitch
- Decrease: sc 2 tog
Leave a tail of at least 10 cm when attaching limbs; it makes sewing easier.
Finishing and caring
When the sculpture feels complete, fasten off and pull the tail through the last loop to hide it.
Block the piece by gently steaming for 30 seconds; this relaxes the stitches and evens the surface.
Store finished items flat in a drawer to prevent stretching.
Step
1. Gather yarn, hook, and scissors
Make sure the yarn is untangled and the hook size matches the yarn weight.
2. Create a magic ring and work 6 sc
Pull the tail through the ring, tighten, and crochet 6 single crochets into the loop.
3. Join the ring with a slip stitch
Insert the hook into the first sc, yarn over, pull through both loops, and slip stitch into the same stitch.
4. Increase for the first round
Work 2 sc in each of the 6 stitches for a total of 12 stitches; the piece will begin to expand.
5. Shape the body
Continue crocheting rounds, adding increases when the fabric feels tight and decreases when it starts to balloon.
6. Add ears, limbs, or tail
Attach a new yarn tail, crochet a short tube of 4‑6 sc, then sew it onto the main body with the large yarn needle.
7. Finish and block
Fasten off, weave in all ends, and steam gently for 30 seconds to smooth the surface.
Ways to change it
Chunky yarn
Creates a larger sculpture in less time; ideal for statement décor
Variegated yarn
Adds natural color changes without needing extra yarn
Knitting needles instead of a hook
Produces tighter stitches, useful for small, detailed figures
Abstract shapes
Skip limb attachments and focus on organic blobs for a modern look
Embroidered details
Use a contrasting thread to stitch eyes or patterns after the piece is complete
The short version
- Freeform crochet requires no written pattern, only your eye for shape
- Start with a simple magic ring and single crochet base
- Increase and decrease as the fabric grows to control proportions
- Attach limbs by crocheting short tubes and sewing them on
- Blocking with steam smooths stitches and improves stability
Questions people ask
Do I need to know advanced stitches to try freeform crochet?
No, the method uses only single crochet, increases, and decreases, which are among the first stitches most crocheters learn.
How can I tell when the piece is the right size?
Step back and compare the silhouette to the intended object; if the height feels right and the proportions look balanced, stop adding rounds.
Try your own freeform piece today
With just yarn, a hook, and a willingness to experiment, you can craft charming sculptures that reflect your personal style. Happy hooking!



