Textile Sculpture: How to Make Soft Art That Stands Out
Learn to shape fabric, fiber, and stuffing into a freestanding sculpture that holds its form.
A piece of fabric can stand up on its own—if you give it the right bones.
Most people think sculpture means stone or bronze. But fabric, yarn, and stuffing can make forms that are just as bold. The trick is structure—an inner skeleton that gives the soft outside something to cling to.
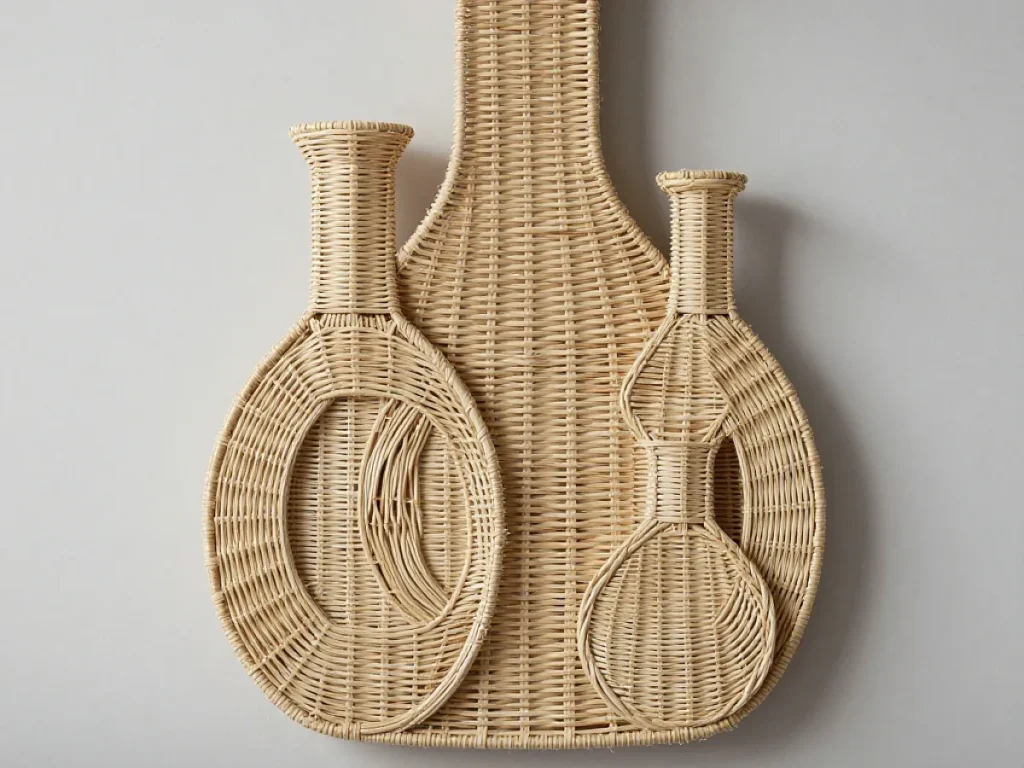
You can start with a simple shape like a flask or a pod. This guide walks you through the process step by step, from choosing materials to finishing the surface. No sewing machine required, though it helps.
Textile sculpture is the art of turning soft materials into three-dimensional forms. You can make one by shaping an armature, wrapping it with fabric, and stitching or gluing it in place. The result is a durable art piece that feels soft but holds its shape.
What You Need
Fabric scraps
Cotton or felt work best for beginners. You need enough to cover your armature, roughly half a yard for a small piece.
Wire
16-gauge wire or a coat hanger is easy to bend. You'll need about 3 feet for a flask-sized sculpture.
Stuffing
Polyester fiberfill is cheap and soft. You can also use cut-up old t-shirts or plastic bags.
Stiffener
Fabric starch or a mix of white glue and water (1:2) works. A bottle of glue costs about $3.
Basic sewing kit
Needle, thread, scissors, and pins. You probably have these already.
What Makes Fabric Stand Up?
Fabric is floppy by nature. To make it stand, you need three things: a rigid armature, a way to attach the fabric, and a stiffening finish. The armature can be wire, cardboard, or even a recycled plastic bottle.
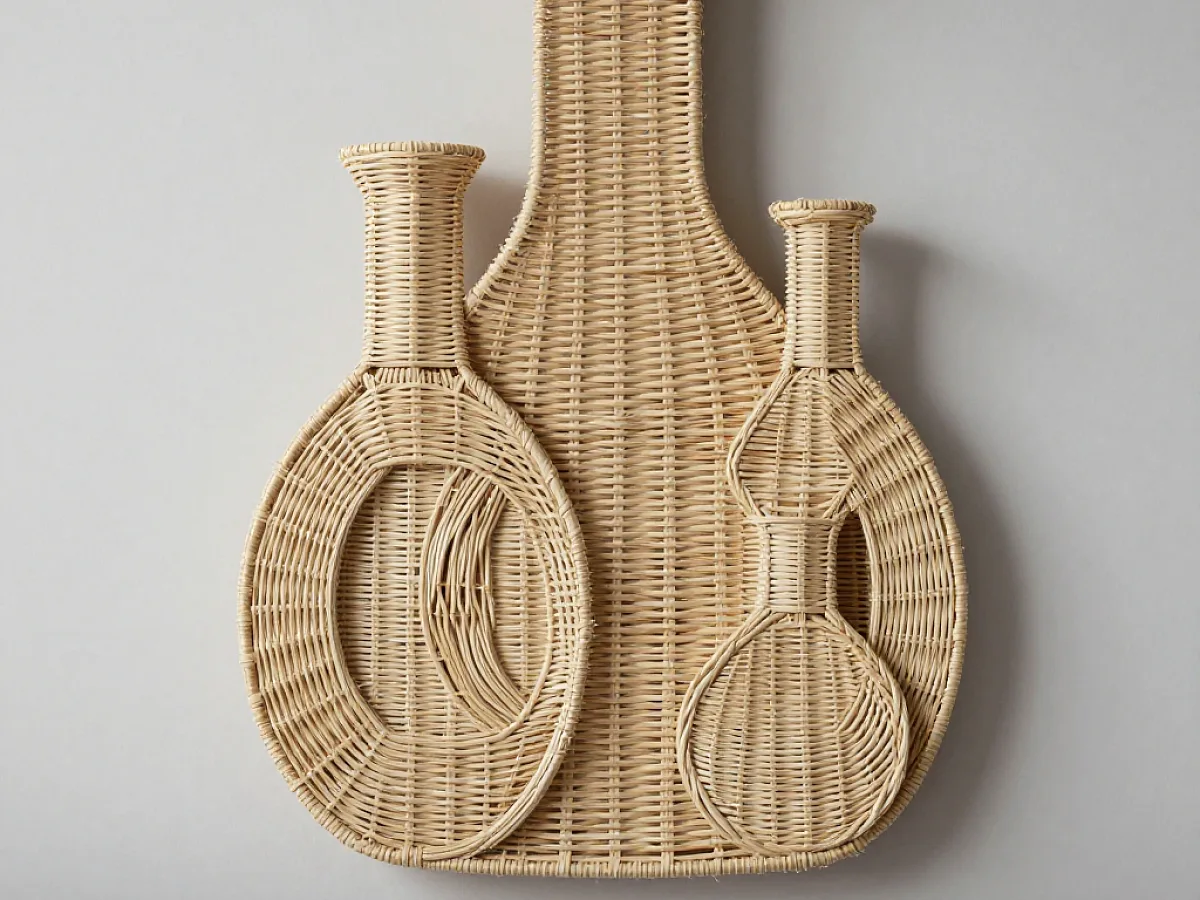
For a flask shape, a wire frame works well. Bend it into the outline, then wrap it with tape or batting to give it volume. The fabric goes on last, stretched tight and secured at the edges.
Use a hot glue gun for quick fixes, but for a cleaner look, hand-stitch the fabric seams.
Gathering Your Supplies
You don't need fancy equipment. Start with fabric scraps—cotton, felt, or old clothes. You'll also need a needle and thread, scissors, wire or a wire hanger, and stuffing like polyester fiberfill.
For stiffening, you can use fabric starch or a mixture of glue and water. These are cheap and available at craft stores.
- Fabric: cotton or felt for easy cutting
- Wire: 16-gauge or a coat hanger
- Stuffing: polyester fiberfill or old t-shirts cut into strips
- Stiffener: fabric starch or white glue mixed with water
- Basic tools: scissors, needle, thread
If you don't have wire, use a cardboard tube from a paper towel roll as a base for cylindrical shapes.
Building the Armature: Step-by-Step
The armature is your sculpture's skeleton. It determines the final shape and size. For a flask, bend the wire into two circles for the body and neck, then connect them with vertical wires.
Wrap the armature with masking tape to smooth out sharp edges. Then add batting or stuffing to create the volume you want. This is the stage to fix any lopsidedness.
Test the armature's stability by setting it on a flat surface. If it wobbles, adjust the base wire until it sits flat.
Covering the Form with Fabric
Now comes the fun part. Cut your fabric into shapes that cover the armature. You can sew a simple cover, or you can wrap and glue the fabric directly onto the form.
Work in small sections. Pull the fabric tight and secure it at the edges with pins or glue. Overlap pieces to create a smooth surface. Trim any excess as you go.
For a seamless look, use a single piece of fabric and dart it—fold and stitch the excess at the curves.
Stiffening the Surface
Once the fabric is on, apply a stiffener. You can brush on a mixture of one part white glue to two parts water, or use commercial fabric stiffener. This will make the fabric harden as it dries.
Apply two or three coats, letting each dry completely. The sculpture should feel firm to the touch. If it still feels soft, add another coat.
Use a spray bottle for an even coat. Work in a well-ventilated area.
Finishing Touches and Display
After the stiffener dries, you can paint the fabric or add embellishments like beads or embroidery. This is where your personality shows.
To display your sculpture, place it on a shelf or a small pedestal. You can also attach a wire loop to hang it on a wall like a piece of art.
If the sculpture tips over, add a small weight to the base, like a pebble, inside the armature.
Step
Bend the wire
Shape the wire into the basic outline of your sculpture. For a flask, make two circles and connect them.
Wrap the armature
Cover the wire with masking tape, then add stuffing to build up the volume. Secure with string or tape.
Cut and fit the fabric
Lay your fabric over the form and cut pieces that cover it. Pin them in place to test the fit.
Attach the fabric
Sew or glue the fabric onto the armature, pulling it tight. Overlap seams for a smooth look.
Apply stiffener
Brush or spray the stiffener over the entire surface. Let it dry completely, then add another coat.
Embellish and display
Once dry, paint or decorate. Place your sculpture on a flat surface or hang it.
Ways to Change It
Wall hanging
Flatten the back and add a loop to hang it like a plaque.
Organic shapes
Skip the wire and use a balloon or crumpled paper as a base for rounded forms.
Mixed media
Add beads, buttons, or yarn for texture and contrast.
Mini version
Use thinner wire and smaller scraps to make a tiny sculpture for a desk.
Color play
Dye your fabric first or paint the finished piece for a custom color palette.
Key Takeaways
- Textile sculpture uses an armature to give soft fabric a rigid structure.
- Wire, cardboard, or recycled items can form the inner skeleton.
- Fabric stiffener is essential for making the piece hold its shape.
- You can start with simple forms like a flask or a pod.
- Hot glue works for quick assembly, but stitching gives a cleaner finish.
- Test stability before finishing to avoid a wobbly sculpture.
- Embellishments and paint let you personalize the artwork.
FAQs
What is textile sculpture?
It's a three-dimensional art form made from fabric, fiber, and stuffing, often supported by an armature. Unlike soft dolls, these pieces are stiffened to stand on their own.
Do I need a sewing machine?
No. You can hand-stitch or use fabric glue. A sewing machine speeds things up, but it's not required.
How long does it take to make one?
Plan for 3 to 4 hours of active work, plus drying time for the stiffener, which can take overnight.
What materials can I use instead of wire?
Cardboard tubes, aluminum foil, or even a plastic bottle can serve as an armature. Just make sure it's sturdy enough to hold the fabric.
Try your hand at textile sculpture
Textile sculpture is a playful way to bring soft materials into the third dimension. With a little wire and some glue, you can create a piece that's both sturdy and full of personality. Start with a simple shape, and don't be afraid to experiment. Keep it quick and cute!