Easy Crochet Guide Design Inspiration: Build a Stitch Chart Beginners Can Follow
Plan a beginner stitch chart you can read at a glance, with the symbols, yarn and hook sizes that make it work.
A beginner stitch chart fails for one boring reason: the symbols are drawn at a size the eye can't sort out.
Most crochet charts you see online were drawn to look good in a photo, not to be followed with a hook in your hand. The symbols crowd together, the turning chain disappears, and you lose your place by row three.
This guide is about the design side of an easy crochet guide. What to draw, how big, in what order, and which mistakes to fix before you print a single page.
Design inspiration for an easy crochet guide starts with one idea: make the chart readable before you make it pretty. Pick a short repeat, draw each symbol at least 8 mm tall, and label the first row in words. Everything else follows from that.
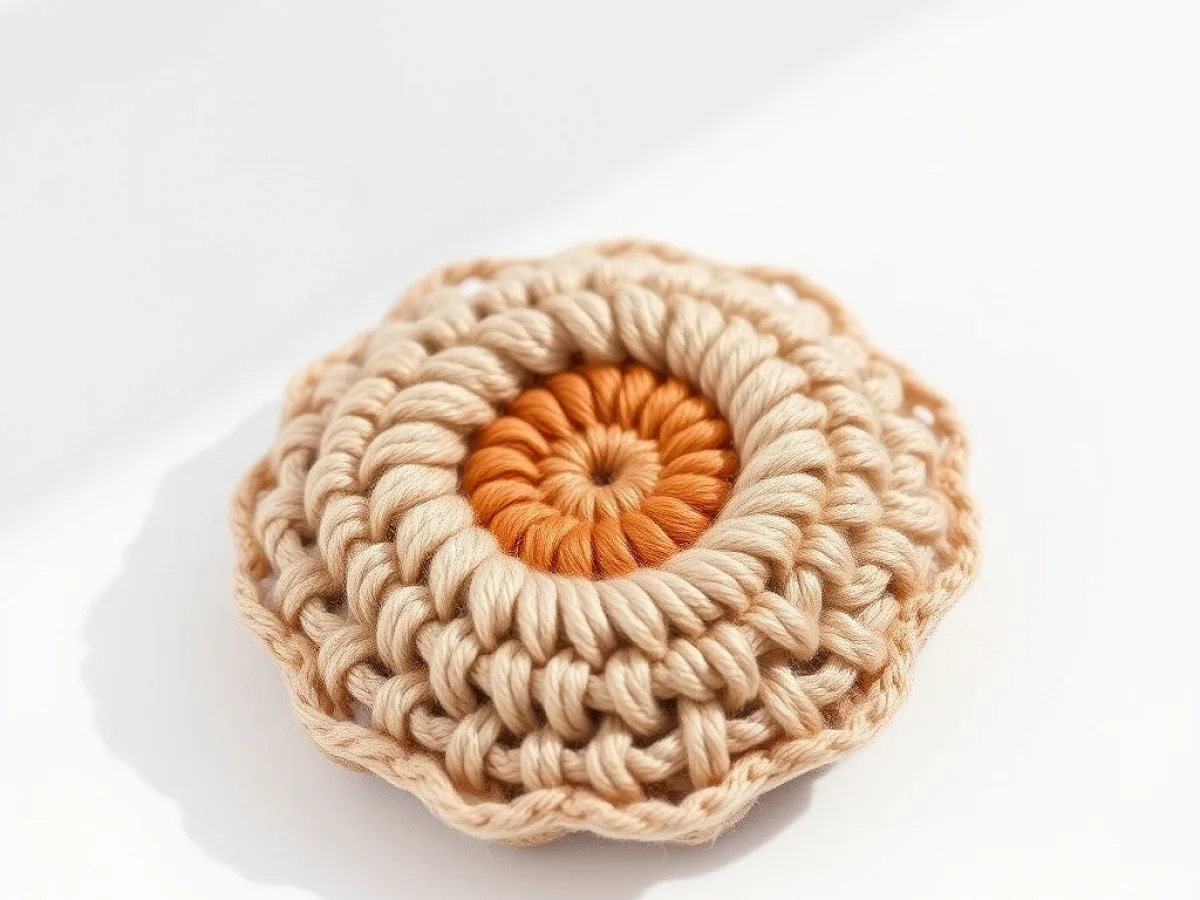
What you need
Worsted weight yarn
One pale, smooth ball is enough. Light colors show stitch tops clearly, and fuzzy yarn hides them.
5.0 mm to 5.5 mm hook
Match the size printed on the yarn band. If your swatch curls, go up one size.
Grid paper
About four squares per centimeter works well. Plain paper and a ruler are fine too.
Pencil and eraser
Sketch in pencil first. Symbols move around more than you expect.
Black pen
Ink the final symbols once the layout is settled, so the page scans cleanly.
Why a chart beats a written line for beginners
Words tell you what to do one stitch at a time. A chart shows you the whole shape at once. That difference matters most in the first ten minutes, when you are still learning what a double crochet looks like next to a half double.
A chart also survives mistakes better. If you drop a stitch, you can look at the drawing and see where the gap should be. In a written pattern, the same error means counting back through a paragraph.
If a chart feels confusing, cover every row except the one you are working with a strip of paper. Move the strip up as you go.
The symbols an easy guide actually needs
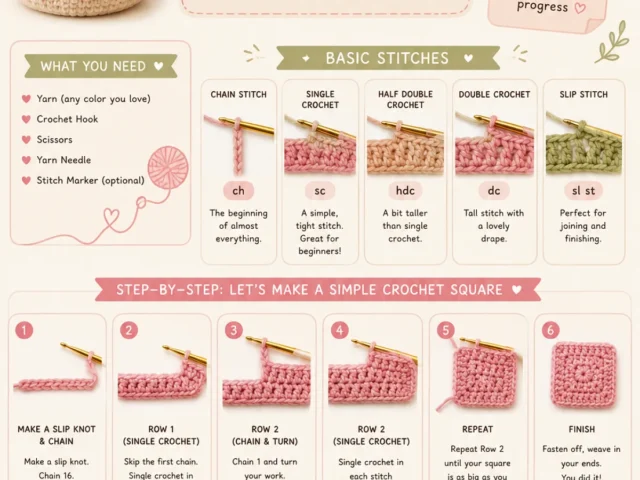
You do not need all thirty standard symbols in a beginner guide. Six cover almost every simple project. Draw them once, large, at the top of the page, and keep the same size everywhere else in the document.
Size is the part people get wrong. A symbol drawn at 4 mm looks tidy on a screen and turns into a smudge on paper. Aim for 8 mm to 10 mm tall, with a gap of about 3 mm between stitches.
- Chain: a small open oval
- Slip stitch: a solid dot
- Single crochet: a short cross or plus sign
- Half double crochet: a T with one crossbar
- Double crochet: a T with two crossbars
- Treble crochet: a T with three crossbars
Print one test page in black and white before you design the rest. If two symbols look the same without color, redraw one of them.
Laying out the page so the eye can follow
Start the chart at the bottom right if you are right-handed. That matches the direction your hook travels, so your eye and your hand move the same way. Left-handed readers can mirror the whole page, and it is worth offering both versions.
Number every row on the right edge, and mark the turning chain clearly. A small arrow at the start of each row costs you nothing to draw and saves a beginner a lot of unravelling.
Keep the written instructions beside the chart, not on a separate page. When both sit side by side, a reader can check one against the other without losing their place.
Choosing yarn and hook for a practice chart
A chart is easier to follow when the yarn is smooth and light in color. Fuzzy yarn hides stitch tops, and dark yarn hides the gaps between them. Worsted weight in a pale shade is the friendliest choice for a first swatch.
Hook size should match the yarn band, usually 5.0 mm to 5.5 mm for worsted. If your swatch curls at the edges, go up one hook size before you change anything else.
- Yarn weight: worsted, category 4
- Hook: 5.0 mm to 5.5 mm, or the size printed on the band
- Gauge: about 14 single crochet to 10 cm, though a practice swatch does not need to match
- Swatch size: 15 cm square is plenty to test a repeat
Drawing the chart step by step
Work in this order and the page builds itself. Skipping ahead usually means redrawing the whole thing.
Common mistakes and how to spot them
The most common error is uneven symbol spacing. You will notice it when a row looks longer than the one below, even though the counts match. Redraw that row on a fresh grid rather than patching it.
The second is a missing turning chain. Check the first stitch of every row. If the edge steps inward, the chain is gone.
The third is color. Two similar greens for two different stitches look fine on your screen and turn to mud on a phone. Use one color for all symbols and let shape do the work.
Ways to change the design
Once the basic layout works, small changes make the same chart suit different readers. Keep the symbol size fixed whatever else you change.
How to know the chart works
Hand it to someone who has never crocheted from a chart. If they can start row one without asking you a question, the design is done. If they ask where to begin, your starting arrow is not clear enough.
That test takes ten minutes and tells you more than any amount of redrawing. A chart is a set of instructions, not a picture. It should be plain before it is pretty.
Step
Sketch the grid first
Draw your stitch grid in pencil before any symbols. Count the squares against your stitch count. If the numbers do not match, fix it now, not later.
Place the symbols row by row
Start at the bottom right and work left. Draw one symbol per square. When you reach the end of a row, stop and check the count before starting the next.
Add the turning chain
Mark it with a small arrow and a number. A beginner who misses the turning chain usually loses one stitch per row, and the edge slants.
Label the first row in words
Write out row one in plain language under the chart. After that, symbols alone are enough.
Test it with a real swatch
Crochet the chart yourself before publishing it. If you have to guess at any point, so will your reader.
Ways to change it
Large print version
Same chart at 150 percent, one row per line. Good for anyone who reads without glasses nearby.
Two-color version
One color for the current row, grey for the rest. Helps a reader track where they are.
Left-handed mirror
Flip the chart horizontally and move the row numbers to the left edge.
Symbol-only page
Drop the written instructions for readers who already know the stitches.
Photo-matched page
Place a photo of each finished stitch next to its symbol. Slower to make, much easier for a total beginner.
The short version
- A chart is easier to follow than written lines because it shows the whole shape at once.
- Six symbols cover almost every beginner project, so keep the key short.
- Draw symbols 8 mm to 10 mm tall, with about 3 mm between stitches.
- Start the chart at the bottom right for right-handed readers and mirror it for left-handed ones.
- Worsted weight in a pale shade with a 5.0 mm to 5.5 mm hook is the easiest combination to learn from.
- An uneven row or a missing turning chain is the clearest sign a chart needs redrawing.
- If a new crocheter can start row one without asking a question, the design is finished.
Questions people ask
What size should crochet chart symbols be?
Draw them 8 mm to 10 mm tall with about 3 mm between stitches. Anything smaller looks neat on a screen but turns into a smudge when printed.
Do I need to know every crochet symbol to read a chart?
No. Six symbols cover most simple projects: chain, slip stitch, single crochet, half double crochet, double crochet and treble crochet. Learn those and you can read most beginner charts.
How do I read a crochet chart if I am left-handed?
Mirror the chart horizontally and move the row numbers to the left edge. The stitch order stays the same, only the direction flips.
Why does my swatch keep getting narrower?
You are most likely skipping the turning chain, which loses one stitch per row. Count the first stitch of each row and mark the turning chain on your chart.
Does chart gauge have to match the written pattern?
For a practice swatch, no. Gauge matters when you are making something that has to fit, like a hat or a garment. Then match the stitch count given in the pattern.
Sketch your first chart this week
Start with one short repeat, six symbols and a pale ball of worsted. Draw it, crochet it, and hand it to someone who has never read a chart. Their first question tells you what to fix. Stitch with ease.