Wearable Crochet Patterns Creative Poster: How to Design One That Sells the Pattern
Build a poster that shows the garment, the yarn and the stitch detail in one glance, so people understand the pattern before they read a word.
A crochet garment can be beautiful and still get scrolled past, because the photo shows a shape but not a stitch.
A crochet garment can be beautiful and still get scrolled past, because the photo shows a shape but not a stitch.
A wearable crochet patterns creative poster fixes that. It is one tall image that carries the garment, the yarn, the hook and the numbers, all in the space of a thumb swipe.
A wearable crochet patterns creative poster is a single tall image that shows the finished garment, names the yarn and hook, and proves the fit with a measurement or two. Build it at 1000 by 1500 pixels, keep the background plain, and let the stitch close-up do the selling.
What you need
A finished crochet garment
Any wearable works, but one with a visible stitch pattern photographs better than plain single crochet. Steam or wet block it first so the edges sit flat.
A phone camera
Any recent phone is enough. Shoot in daylight near a window, never with the flash, and turn off the beauty filter.
A plain background
A bare wall, a sheet or a large sheet of paper. Busy backgrounds compete with the stitch detail.
A layout app
Any free design app with a 1000 by 1500 pixel canvas. That ratio suits Pinterest and most phone screens.
Yarn label and a swatch
Keep the band from the yarn you used. It gives you the exact weight, fibre and yardage to print.
What a wearable crochet poster actually needs to show
Think of it as a pattern cover with the details baked in. The reader should be able to answer three questions without tapping anything: what does it look like worn, what yarn is it, and will it fit me.
That means one full-length shot of the garment on a body, one close-up where the stitch pattern is readable, and a small block of text with the yarn weight, hook size and finished measurements. Three images, one poster.
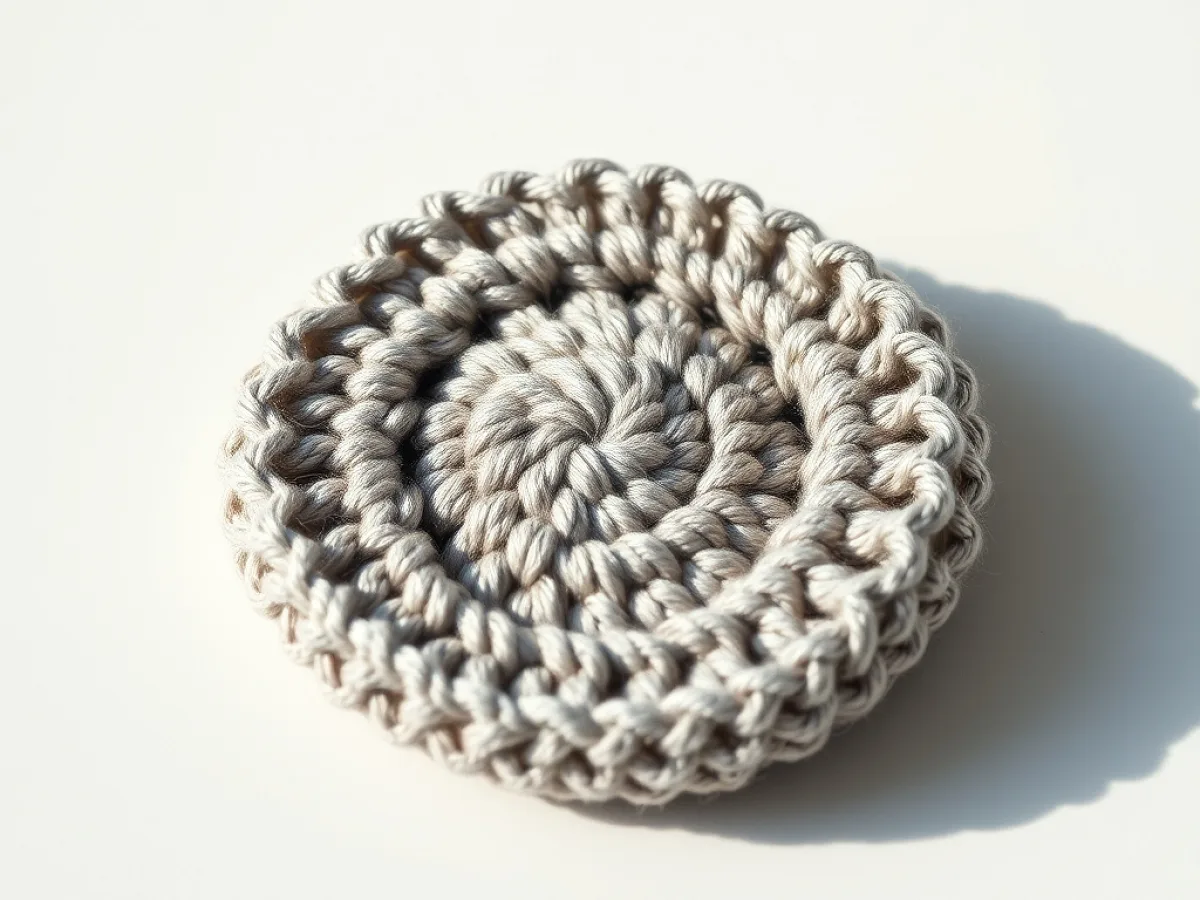
The stitch close-up matters more than people expect. A half double crochet in the third loop looks nothing like a standard half double, and that difference is often the whole reason someone wants the pattern. Show it at actual size if you can.
If you only have one good photo, crop it twice. A wide crop for the top and a tight crop on the shoulder seam gives you the two views a poster needs.
Sizes, gauge and the numbers to print on it
Gauge is the number that decides whether the garment fits, so it belongs on the poster, not buried in the pattern. Write it the way a crocheter reads it: 16 stitches and 12 rows in half double crochet to 10 cm, or the inch equivalent if your audience uses inches.
Then add the finished measurements for at least two sizes. Bust, length from shoulder, and sleeve length if there is a sleeve. Two sizes is enough to show the range without turning the poster into a spreadsheet.
Yarn weight and hook size go next to each other, because they only make sense as a pair. A 5 mm hook with DK weight is a normal combination. The same hook with worsted gives a denser fabric, and someone reading the poster should be able to guess which one they are looking at.
- Yarn weight, named the way it is sold, such as DK, worsted or aran
- Hook size in millimetres, plus the letter or number if your region uses one
- Gauge over 10 cm or 4 inches, with the stitch named
- Finished bust and length for two sizes
- Yarn quantity in metres or yards, not just skeins
Put the gauge in the same block as the hook size. Separating them is the most common reason people start a garment with the wrong tools.
Building the poster in six steps
You do not need design software. A phone camera, a plain wall and a free layout app will do the whole job.
Joining, blocking and the finishing details worth mentioning
Wearables live or die on the finishing, so the poster should hint at it. If the garment is blocked, say so. Blocking changes the drape of cotton and the softness of wool, and a reader who skips it will get a different garment from the one in your photo.
Mention how the pieces join if there is more than one. Seamed shoulders behave differently from a continuous yoke, and a reader choosing between two patterns cares about that.
Common stitch errors are worth one small line. A turning chain that counts as a stitch, or one that does not, changes the stitch count on every row. Getting that wrong is the usual reason a sleeve comes out too tight.
Photograph the wrong-side seam if it is neat. A lot of crocheters want to know the inside looks tidy too.
Where the clothesline idea comes from
The clothesline shot is popular for a reason. It shows several garments at once, it reads as handmade without saying so, and it works in bad light because the shapes are silhouetted.
Peg three or four pieces on a line against a plain wall, shoot straight on, and leave space at the top for your title text. If you only have one garment, peg it with a scarf or a swatch so the line does not look empty.
The catch is detail. A clothesline photo shows silhouette, not stitch, so it should be the top half of the poster, never the whole thing.
Making it readable on a phone
Most people will see this on a screen the size of a card. Text under about 30 pixels tall disappears at that size, so keep the type big and the words few.
Use one font for the title and one for everything else. Two is plenty. Dark text on a light background beats light text on a busy photo every time, unless you add a solid block behind it.
Leave a margin. Text that runs to the edge gets cropped by some apps and looks cramped in all of them.
Check it by shrinking the poster to thumbnail size on your own phone. If you cannot read the yarn weight, neither can anyone else.
Squint at the thumbnail. Whatever you can still read is what a scrolling reader will notice.
Step
Block the garment and let it dry
Lay it flat, pin the edges straight and leave it overnight. An unblocked garment photographs with curled hems and uneven sleeves, and no amount of editing fixes that.
Shoot the full-length view
Stand the garment on a hanger or a person, against the plainest wall you have. Shoot straight on, not from above. Check that the whole hem is in frame before you move on.
Shoot the stitch close-up
Get within 15 cm of the fabric and fill the frame with one repeat of the pattern. This is the shot that shows whether it is a shell stitch or a V stitch, so take three and pick the sharpest.
Lay out the canvas
Open a 1000 by 1500 canvas. Put the full-length shot across the top half and the stitch close-up in a square below it, leaving the bottom third clear for text.
Add the numbers
Type the yarn weight, hook size, gauge and two sets of finished measurements into the bottom third. Keep it to six short lines and check every number against the yarn label.
Shrink and check
Save the poster, then view it as a thumbnail. If the hook size is unreadable at that size, make the type bigger and cut a line of text.
Ways to change it
The clothesline version
Peg three or four pieces on a line and shoot straight on. Good for showing a colour range or a set of matching accessories.
The flat lay
Lay the folded garment on a plain surface with the yarn, hook and a tape measure beside it. Easier than styling a body and it suits hats and scarves.
The detail-only poster
Four close-ups in a grid, one per stitch or seam. Works well when the shape is simple and the texture is the point.
The two-size version
Photograph the same pattern in two sizes side by side. Useful for anything graded from small to plus.
The seasonal swap
Cotton and linen in summer light, wool and alpaca against darker tones in winter. Change the yarn, keep the layout.
The short version
- A wearable crochet poster needs three things: the garment worn, the stitch close-up and the numbers.
- Gauge, hook size and yarn weight belong together in one block, not scattered.
- Shoot in daylight against a plain wall and never use the flash.
- Text under roughly 30 pixels tall vanishes on a phone thumbnail.
- Blocking before the photo changes the drape, so the photo matches the finished garment.
- A clothesline shot shows silhouette, so pair it with a stitch close-up.
Questions people ask
What size should a wearable crochet poster be?
Use 1000 by 1500 pixels in portrait. That ratio fills a phone screen and fits Pinterest without cropping. Anything smaller gets soft when it is scaled up.
Do I need a model to photograph a crochet garment?
No. A wooden hanger on a hook against a plain wall works, and so does a flat lay. A body does show drape better, but a hanger with the sleeves arranged naturally is close enough for most patterns.
How do I show gauge on a poster without confusing people?
Write it as a full sentence with the stitch named, such as 16 stitches and 12 rows in half double crochet to 10 cm. Add the hook size right beside it so the two read as one instruction.
Why does my crochet look different from the photo in a pattern?
Usually gauge or yarn weight. A different hook size changes the fabric density, and a different fibre changes how the stitches sit. Swatching a 15 cm square before you start will tell you which one is off.
Can I make a poster for a pattern I did not design?
Only with the designer's permission. The photo and the written numbers are their work, so ask first and credit them if they agree.
Pick your best garment, block it tonight, and build the poster tomorrow in daylight.
Get the three shots, write down six numbers, and keep the type big. That is the whole poster, and it does more for a crochet pattern than any caption can.