Printable Crochet Patterns and Print Design: How to Choose, Print and Read Them
Learn how to pick a printable pattern, set up your printer and follow the chart without losing your place.
A crochet chart printed at 100 percent scale fits a 4 mm hook and worsted yarn exactly, but shrink it to 90 percent and every square shifts, so your stitch count stops matching the written rows.
A printed pattern you can hold in your hand beats scrolling a phone with yarn wrapped around your fingers. That is the whole point of printable crochet patterns. They sit flat, they take pencil marks and they do not lock the screen while you count stitches.
Print design matters here because a pattern is a working document, not a poster. Good ones give you large type, clear charts and a symbol key on the same page. This guide covers what to look for, how to print without shrinking the scale and how to read the chart beside the words.
Printable crochet patterns are PDF or image files you download and print at home. Print them at 100 percent, use the written instructions for stitch counts and the chart for shaping, and keep the pages in a folder so you can mark them up without losing your place.
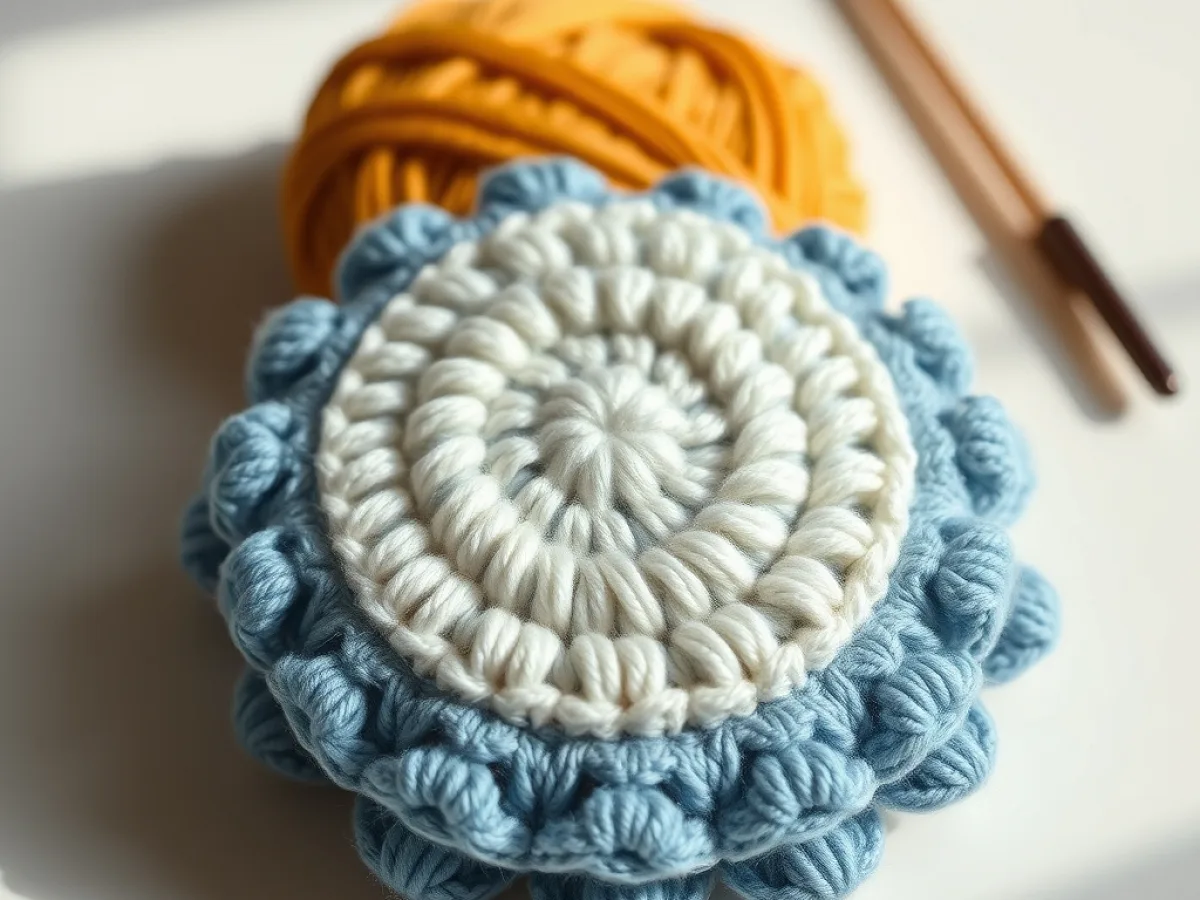
What you need
Printer and paper
Any home inkjet or laser printer works. Use 80 gsm copy paper for everyday patterns and 100 gsm if you plan to write on the pages.
Clipboard or binder
A clipboard keeps a single page steady. A three-ring binder holds multi-page patterns in order and lets you flip without losing your row.
Pencil and highlighter
Pencil marks come off. Highlighter marks the row you just finished so you can find your place after a break.
Ruler
A 15 cm ruler is enough to check the gauge square printed on the pattern.
Yarn and hook
Use the weight and hook size the pattern states. A worsted weight yarn with a 5 mm hook is a common starting point for many printable patterns.
What makes a printable crochet pattern easy to work from
The best printable patterns share a few habits. The type is large enough to read from arm's length. The stitch chart sits next to the written row it matches. The symbol key is on the same page as the chart, so you are not flipping back and forth.
A pattern that prints well also keeps its abbreviations consistent. If the first row says ch 3, the tenth row should not switch to chain three. That sounds small until you are on row 34 and second-guessing yourself.
Color matters more than people expect. Light gray grid lines print cleanly on a home printer. Dark backgrounds eat toner and blur the symbols. If a chart uses color to mark different stitches, check it still reads when printed in black and white.
- Type size around 11 to 12 point for the body text
- Chart symbols at least 6 mm apart so they stay separate on paper
- Row numbers printed on both sides of the chart, not just one
- A symbol key on the same page as the chart
Print one test page in draft mode first. If the symbols blur or the grid disappears, the full pattern is not worth the ink.
How to print a crochet pattern at the right scale
Open the PDF and look for the print settings before you hit print. In the page handling menu, choose Actual size or Scale 100 percent. Do not use Fit to page. That setting stretches or shrinks the pattern to match your paper, and it changes the size of every chart square.
If your pattern includes a gauge square, print that page first. Measure the square with a ruler. It should match the size stated in the pattern, often 10 cm or 4 inches. If it does not, your printer scaled the page and you need to fix the setting before printing the rest.
Most home printers handle 80 gsm copy paper fine. If you plan to write on the pattern a lot, 100 gsm paper takes pencil and highlighter without bleeding through. A clipboard or a three-ring binder keeps the pages from sliding off your lap.
Staple the pages in order in the top left corner. Loose sheets get shuffled the moment you set them down.
Reading a stitch chart beside the written rows
Charts and written instructions say the same thing in different ways. The chart shows you the shape. The words give you the exact stitch count. Use both. When they seem to disagree, the written count usually wins because it is easier to check.
Read a chart from the bottom up, and check which direction each row runs. Flat pieces often turn at the end of every row, so the second row reads right to left and the third reads left to right. Working in the round starts at the center and spirals outward.
Every chart needs a symbol key. Without it, you are guessing whether a tall line with one crossbar means a double crochet or a half double. Common symbols are consistent across most publishers, but not all of them.
- ch or chain: small open oval
- sl st or slip stitch: solid dot
- sc or single crochet: plus sign or X
- hdc or half double crochet: T shape with one crossbar
- dc or double crochet: T shape with two crossbars
What you need to print and work a pattern
You do not need much. A printer, paper and something to hold the pages will get you through most patterns. The yarn and hook come from the pattern itself, so check the gauge note before you start.
Step by step: from download to first stitch
Work through these in order and you will not have to reprint halfway through the project.
Common printing and reading mistakes
The most common mistake is printing with Fit to page turned on. The pattern looks fine on paper, but the chart squares are slightly smaller than they should be. You only notice when your stitch count drifts after row 20.
The second is losing the symbol key. If the key prints on a separate page and you leave it behind, you end up guessing at symbols. Print the key page twice and keep one copy beside the chart.
The third is working from a phone screen when you have a printed copy sitting right there. Screens lock, dim and scroll. Paper does not. If you already printed it, use it.
Write your hook size and yarn weight at the top of page one. Six months later, that note saves you a gauge swatch.
Ways to adapt a printable pattern
Once you can read a printed pattern, you can adjust it. Change the yarn weight and you change the size. Change the hook and you change the gauge. Both shifts are predictable if you check your gauge first.
Step
Check the pattern file
Open the PDF and scroll through every page. Make sure the chart, the symbol key and the written rows all printed. If a page is missing, download the file again before you print.
Set the print scale
In the print menu, choose Actual size or 100 percent. Turn off Fit to page. This keeps the chart squares at the size the designer intended.
Print one test page
Print the page with the gauge square first. Measure the square with a ruler. If it matches the stated size, print the rest.
Print the full pattern
Print the remaining pages in order. Use both sides if you want to save paper, but keep the chart on one side so it stays flat.
Assemble and mark up
Staple or clip the pages together. Write your hook size, yarn weight and start date at the top of page one. Highlight the row you are working on.
Check your gauge before the first row
Work a small swatch in the stitch pattern. Measure it against the pattern's gauge. If your swatch is too small, go up a hook size. If it is too large, go down one.
Ways to change it
Large print version
Increase the PDF zoom to 150 percent and print on A3 paper. Good for readers who find small type hard to see.
Chart only
Print just the chart page and keep the written rows on a screen. Useful for experienced crocheters who read charts faster than text.
Laminated copy
Laminate the chart page and use a dry-erase marker to cross off rows. Wipes clean and lasts for repeated projects.
Digital annotation
Open the PDF on a tablet and mark rows with a stylus. Saves paper but needs a charged device and a way to keep the screen awake.
Pocket-sized version
Print at 70 percent and fold the page into quarters. Fits in a project bag but the chart squares get small, so only use this for simple repeats.
The short version
- Print printable crochet patterns at 100 percent scale so chart squares stay true to size.
- Check the gauge square on the printed page with a ruler before starting the project.
- Keep the symbol key on the same page as the chart to avoid guessing at symbols.
- Read charts from the bottom up and check which way each row runs.
- Write your hook size and yarn weight on page one so you can repeat the project later.
- Use 100 gsm paper if you plan to write on the pattern often.
- A clipboard or binder keeps multi-page patterns in order while you work.
Questions people ask
Should I print a crochet pattern at 100 percent or fit to page?
Print at 100 percent. Fit to page shrinks or stretches the pattern to match your paper, which changes the size of every chart square and throws off your stitch count.
How do I know if my printed pattern is the right size?
Look for a gauge square on the pattern. Print that page, measure the square with a ruler and compare it to the size stated in the pattern. If it matches, the scale is correct.
What paper is best for printable crochet patterns?
80 gsm copy paper works for most patterns. Use 100 gsm if you write on the pages a lot, because it takes pencil and highlighter without bleeding through.
Can I read a crochet chart without the written instructions?
Yes, if you know the symbols and the direction each row runs. Charts show the shape clearly, but the written rows give exact stitch counts, so many crocheters use both.
What do I do if the chart symbols are too small to read?
Print the chart page at 150 percent on larger paper, or print just the chart and keep the written rows on a screen. Do not shrink the page to fit more onto one sheet.
Print your next pattern at 100 percent and check the gauge square before you start.
A printable crochet pattern is only as good as the printout in front of you. Set the scale to 100 percent, check the gauge square, keep the symbol key beside the chart and mark your rows as you go. Do that and the pattern works with you instead of against you.