Easy Crochet Patterns: Design Inspiration for Tiny Amigurumi and Quick Gifts
Pick a tiny pattern, grab a 4 mm hook, and finish your first amigurumi in about two hours.
A single crochet in the round turns a scrap of yarn into a three-inch bear in about two hours.
You do not need a big project to enjoy crochet. Small patterns let you finish something in one sitting, and that finished thing is usually cute enough to give away.
This guide covers the basic shapes behind most beginner amigurumi, the yarn and hook sizes that work, and the small mistakes that make a project look lumpy.
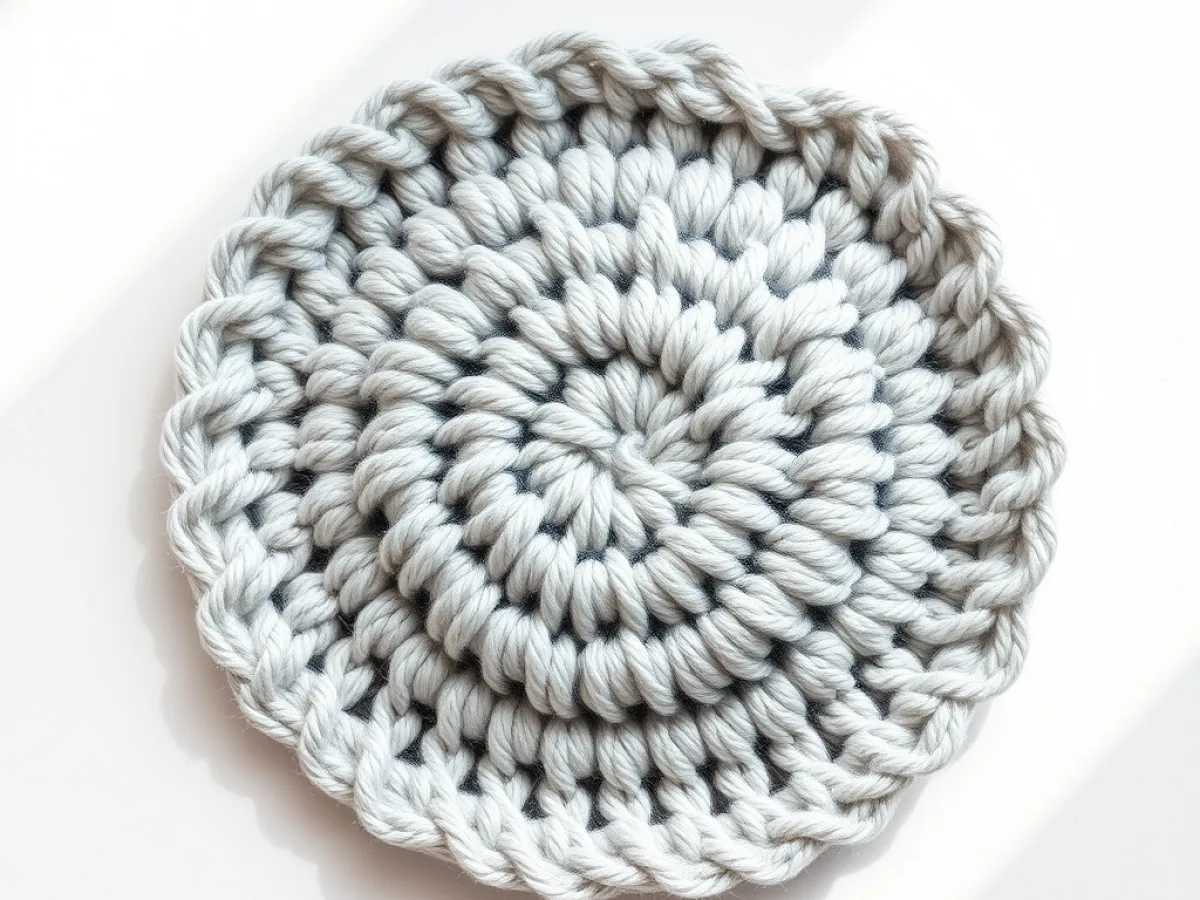
Easy crochet patterns for design inspiration usually start with a magic ring, six single crochet stitches, and increases to shape a small ball. From that one shape you can make animals, keychains, and gifts without learning more than three stitches.
What you need
Worsted weight yarn
One skein of each color. Acrylic is cheap and soft. Cotton holds shape better.
3.5 mm to 4 mm crochet hook
Smaller than the yarn label suggests. Use 3.5 mm for tight, even stitches.
Polyester fiberfill
A small handful is enough for several mini projects. Add it in tiny pinches.
Yarn needle
A blunt-tipped needle with an eye big enough for worsted yarn.
Stitch marker
A safety pin or a scrap of contrasting yarn works. Place it in the first stitch of each round.
Safety eyes or black embroidery floss
Safety eyes need washers. For baby gifts, embroider the eyes instead.
Start with one shape: the magic ring and six single crochet
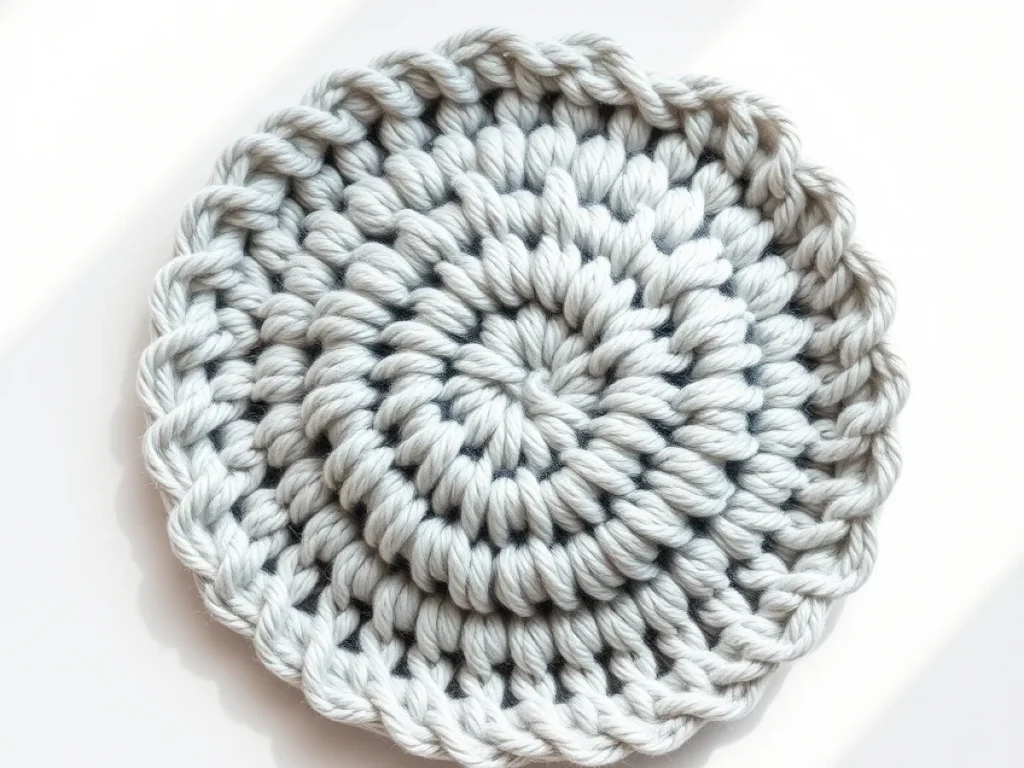
Almost every easy amigurumi pattern begins the same way. You make a magic ring, work six single crochet stitches into it, and pull the tail tight. That closed circle becomes the top of a head or the bottom of a body.
From there, you increase by working two stitches into one. Six becomes twelve, twelve becomes eighteen. The shape grows into a flat circle or a dome depending on how many rounds you work evenly between increases.
A common mistake is losing count. If your round has eleven stitches instead of twelve, the next round will be off and the ball will lean. Count out loud or use a stitch marker in the first stitch of each round.
If the magic ring feels fiddly, chain two and work your first six stitches into the second chain from the hook. It leaves a tiny hole, but it is much easier for stiff fingers.
Yarn and hook sizes that keep small projects neat
For a plushie about three inches tall, use worsted weight yarn, sometimes called aran or medium, and a 3.5 mm to 4 mm hook. That hook is smaller than the yarn label suggests, and that is on purpose. Tight stitches stop the stuffing from showing through.
A gauge of about 5 single crochet stitches per inch works well for most small animals. If your stitches are looser, go down one hook size. If the fabric feels stiff as cardboard, go up half a size.
Cotton yarn gives crisp edges and holds shape. Acrylic is softer and cheaper, and it comes in more colors. Both work. Cotton shows fewer fuzzies on dark colors, acrylic stretches a little more when stuffed.
Buy one skein of each color you need, not a whole pack. A three-inch bear uses less than ten yards of the main color.
Stuffing, closing, and the finishing steps that make it look handmade
Stuff small pieces with polyester fiberfill, added in tiny pinches. If you push in one big clump, the shape goes lumpy and the stitches stretch. Add just enough so the piece holds its form but still feels soft when you squeeze it.
When you finish the last round, you decrease until six stitches remain, then close the hole. Thread the tail onto a yarn needle, run it through the front loop of each remaining stitch, and pull tight. Weave the end into the body instead of knotting it.
Embroider the face with black yarn or safety eyes. Safety eyes need a washer pushed on from the inside, and they should be attached before you close the piece. For gifts for babies, embroidered eyes are safer than plastic ones.
If the neck looks too wide, work one round of single crochet decreases right below the head. That pinches the shape and gives the animal a clearer silhouette.
Design inspiration: small patterns you can finish today
The same basic ball turns into a bee with two stripes, a chick with a tiny beak, or a pumpkin with ridges made by front post stitches. Change the colors and the ears, and you have a new animal.
Keychains and charms are the fastest projects. Work a small ball, add a loop of chain at the top, and attach a split ring. A set of six takes about an hour once you know the shape.
For gifts, pair a small plushie with a handmade tag or a short note. A set of three mini animals in different colors makes a nice baby shower gift, and each one uses less than a quarter skein.
- Mini bear: one ball for the head, one smaller ball for the body, two tiny circles for ears.
- Bee: a yellow ball with two black stripes worked in a contrasting round.
- Chick: a yellow ball, a small orange triangle beak, and two black dot eyes.
- Pumpkin: a ball with front post stitches every few rounds to make ridges.
- Keychain charm: a ball about one inch wide with a chain loop at the top.
Common mistakes and how to fix them
If your piece looks like a cone instead of a ball, you increased too many times without working even rounds in between. Rip back to the last round that looked round and work one round of single crochet with no increases.
If you can see the stuffing through the stitches, your hook is too big or your tension is loose. Switch to a smaller hook and try again. A 3.5 mm hook with worsted weight usually solves it.
If the piece is lopsided, you may have missed a decrease or added an extra stitch. Count the stitches at the end of each round. The number should match the pattern exactly.
Take a photo of your work after every few rounds. It is easier to spot a mistake in a photo than in your hands.
Step
Make a magic ring
Wrap the yarn around your fingers, work six single crochet into the ring, and pull the tail tight. The hole should close completely.
Increase to shape the ball
Work two single crochet into each stitch around to make twelve. Next round, alternate one single crochet and one increase to make eighteen. Work one round even. The piece should lie flat without curling.
Work even rounds for the middle
Single crochet in each stitch around for three or four rounds. The ball grows taller. Stop when the piece is about as tall as it is wide.
Decrease to close
Work one single crochet, then a decrease, around. Next round, decrease in every stitch until six remain. Stuff the piece before the hole gets too small.
Close and finish
Thread the tail onto a yarn needle, run it through the front loop of each remaining stitch, and pull tight. Weave the end into the body. Add eyes and any small details.
Ways to change it
Change the size
Use bulky yarn and a 5 mm hook for a plushie about five inches tall. Use sock yarn and a 2.5 mm hook for a one-inch charm.
Change the animal
Add ears, a beak, or a tail to the basic ball. The shape stays the same. Only the small parts change.
Make it a keychain
Work a chain of six at the top and slip stitch back into the piece. Add a split ring.
Use cotton instead of acrylic
Cotton gives sharper edges and less fuzz. It is firmer to work with and shows stitch definition better.
Add stripes
Change color every two or three rounds. Carry the unused color up the inside to avoid extra ends.
Skip the plastic eyes
Embroider the eyes with black yarn. This is safer for babies and small children.
The short version
- Most easy amigurumi starts with a magic ring and six single crochet stitches.
- A 3.5 mm hook with worsted weight yarn gives tight stitches that hide the stuffing.
- A three-inch plushie uses less than ten yards of yarn and takes about two hours.
- Stuff small pieces in tiny pinches to keep the shape smooth.
- If the piece looks lumpy, your hook is probably too big or your tension is too loose.
- Embroidered eyes are safer than plastic safety eyes for baby gifts.
Questions people ask
What is the easiest crochet pattern for a beginner?
A small ball or a simple keychain charm. You only need single crochet, increase, and decrease. You can finish one in about two hours.
How do I keep my amigurumi from looking lumpy?
Use a hook one or two sizes smaller than the yarn label suggests, and stuff the piece in small pinches. If it still looks lumpy, go down another half size.
Can I use any yarn for easy crochet patterns?
Yes, but the size changes. Worsted weight with a 3.5 mm hook makes a three-inch plushie. Bulky yarn makes a bigger one. Sock yarn makes a tiny charm.
How do I close the hole at the end of a small crochet piece?
Thread the tail onto a yarn needle and run it through the front loop of each remaining stitch. Pull tight and weave the end into the body. Do not knot it.
What can I make with leftover yarn?
Mini animals, keychains, and small charms. Each one uses less than ten yards. You can also make a set of three in different colors for a gift.
Pick one small pattern and make it today
Start with a single ball and a 3.5 mm hook. Once you can make that shape evenly, every small animal, keychain, and gift becomes a color change and a few extra details.