Cute Traffic Cones: A Crochet Amigurumi Pattern Guide
Make a soft cone with a face that stands about 12 cm tall and is safe to hand to a baby.
A crochet traffic cone is just a cone with a face, and the whole thing takes about two hours once you know where the increases go.
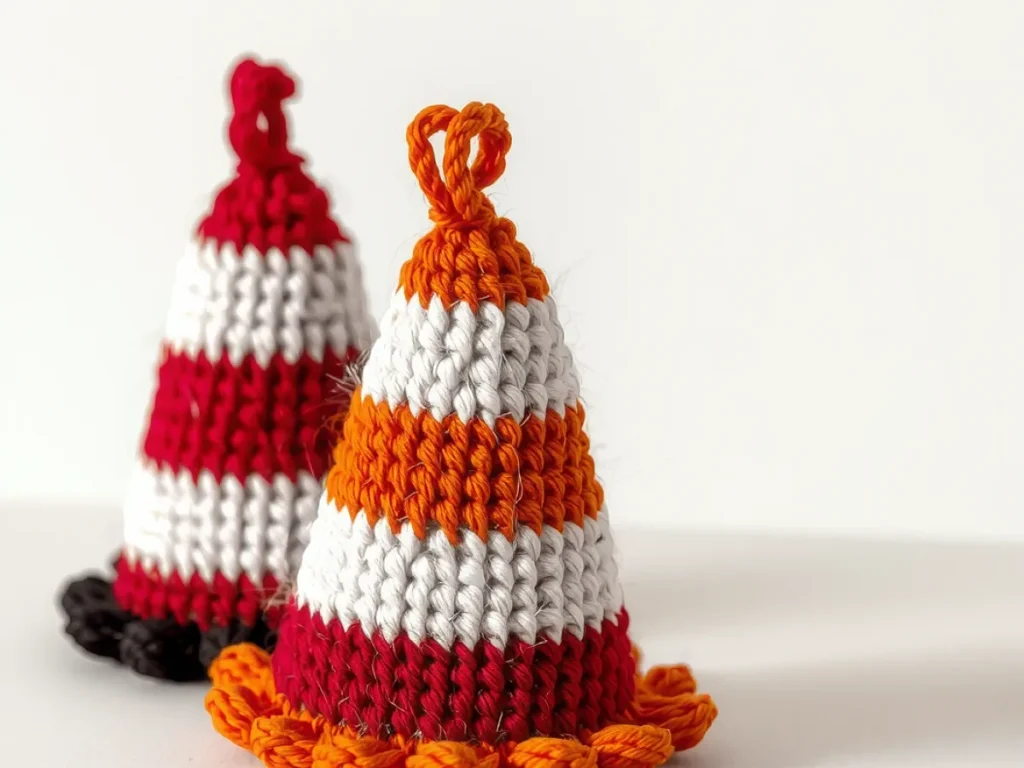
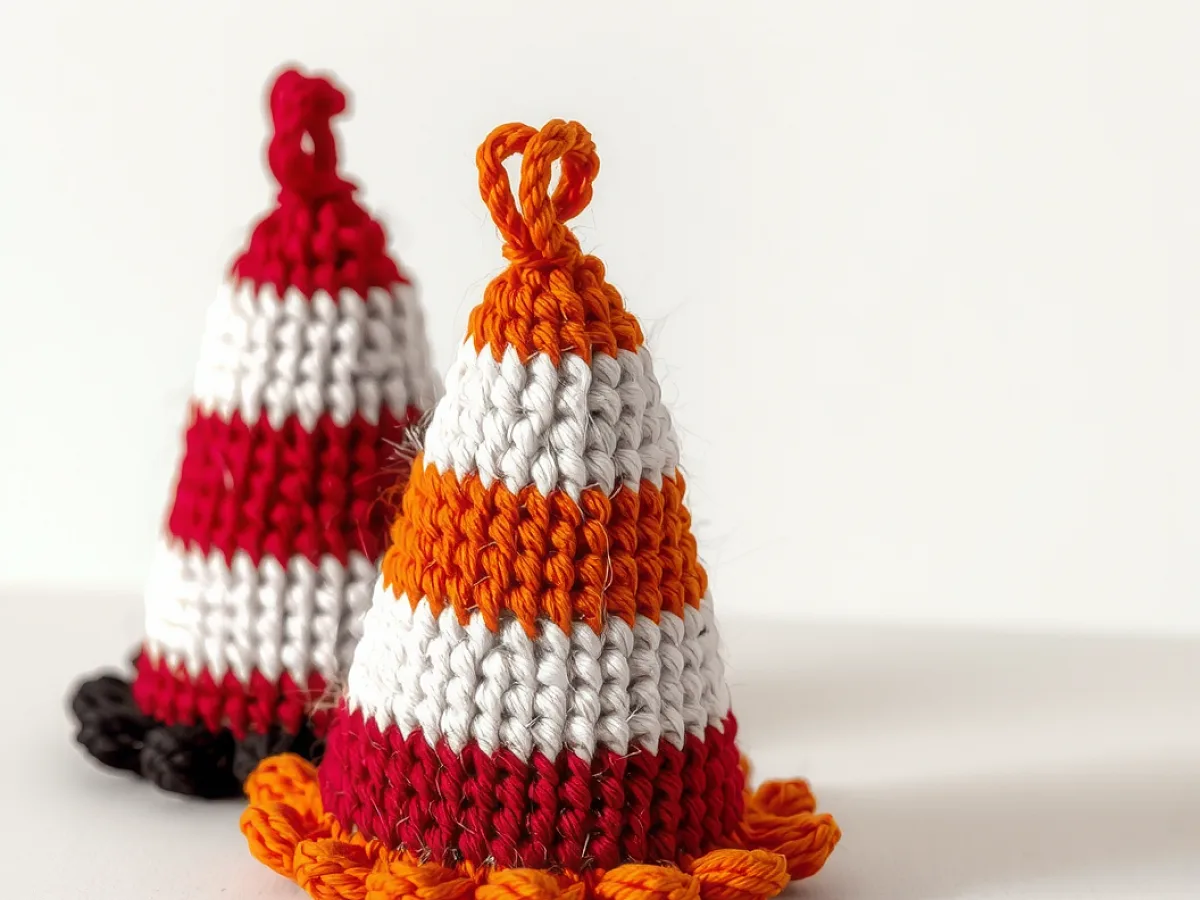
A crochet traffic cone looks like a party hat that grew a face. The shape is simple. The charm is in the face and the colours.
This guide walks you through the whole thing in order. You will get the yarn weights, the hook size, the stitch counts and the places where most people go wrong.
You work a flat circle for the base, stop increasing and grow the sides straight up, then close the top and add a face. Use baby-safe yarn and embroider the eyes if the toy is for a child under three.
What you need
Soft chenille yarn
About 30 g per cone. Hobbii Baby Snuggle, Toucan or Honey Bunny all work. DK cotton is easier for beginners.
Crochet hook
2.5 mm to 3 mm for chenille yarn, 3 mm to 3.5 mm for DK cotton. Go one size smaller than the yarn label says.
Toy stuffing
A small handful per cone. Polyester toy filling is fine. Do not use rice or beans if the toy is for a child.
Safety eyes or black yarn
6 mm to 8 mm safety eyes for older children. Embroidered eyes for babies under three.
Blunt tapestry needle
For sewing in ends and adding the stripe. A sharp needle splits chenille yarn.
What makes a crochet cone look cute instead of plain
The cone shape alone is just a triangle. What makes people smile is the face, the stripe and the colour choice.
Put the eyes about two-thirds of the way up the cone. Any lower and the face looks sad. Any higher and it crowds the tip.
A single white stripe around the middle breaks up the orange and gives the eye somewhere to rest. One stripe is enough. Two starts to look busy.
Hold the cone at arm's length and squint. If the face still reads as a face, the placement is right.
Yarn, hook and the numbers that matter
The original cones use Hobbii Baby Snuggle, Toucan and Honey Bunny yarns. Those are all soft, chenille-style yarns. They are lovely to touch and a bit tricky to see your stitches in.
If you are new to amigurumi, start with a smooth DK cotton instead. You will see every stitch clearly and your first cone will be neater.
Use a 2.5 mm to 3 mm hook with chenille yarn. Use a 3 mm to 3.5 mm hook with DK cotton. The hook should be one size smaller than the yarn label suggests. That keeps the fabric tight so the stuffing does not show through.
Gauge matters here. If your first six rounds measure wider than 4 cm across, go down a hook size. Loose stitches let the stuffing peek out and the cone will not hold its shape.
- Baby Snuggle, Toucan or Honey Bunny yarn, about 30 g per cone
- 2.5 mm to 3 mm hook for chenille yarn
- Toy stuffing, a small handful per cone
- Safety eyes, 6 mm to 8 mm, or black yarn for embroidered eyes
- A blunt tapestry needle for sewing in ends
If you only have worsted weight yarn, use a 3.5 mm hook and expect a cone about 15 cm tall instead of 12 cm.
Abbreviations used in this pattern
These are the standard UK and US terms. Check which one your pattern uses before you start, because a UK dc is a US sc.
This guide uses US terms throughout.
- ch – chain
- sc – single crochet
- inc – two single crochet in the same stitch
- dec – single crochet two stitches together
- sl st – slip stitch
- st – stitch
- FO – fasten off
Write the abbreviations on a sticky note and keep it next to you. It saves a lot of squinting.
How to crochet the cone step by step
Work in continuous rounds. Do not join at the end of each round. Use a stitch marker to keep track of where each round starts.
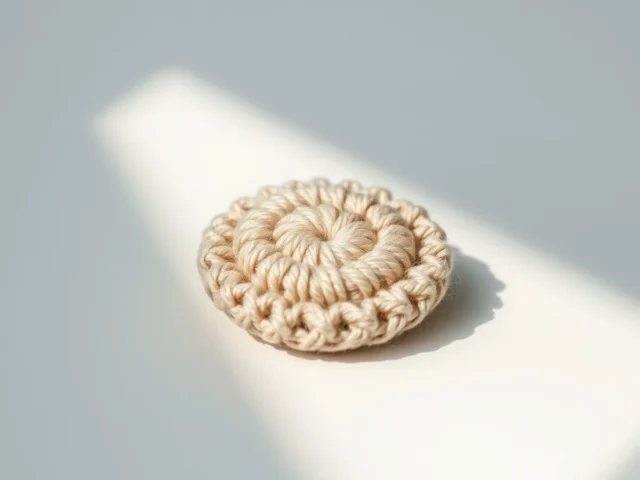
The base is a flat circle. Once you stop increasing, the sides grow straight up and the cone shape appears on its own.
Count your stitches at the end of every round. If you are one stitch short, the whole cone leans.
If your circle ruffles, you have too many increases. If it cups upward, you have too few.
Adding the face and finishing
Safety eyes need a washer pushed on from the inside. Once that washer clicks on, it does not come off. That is why they are not safe for toys given to babies.
For a toy for a baby or a toddler, embroider the eyes with black yarn instead. Use a few back stitches and pull them snug.
Sew the stripe on last with a contrasting yarn and a blunt needle. Go around the cone once, keeping the stitches the same height all the way.
Push the stuffing in small pieces, not one big lump. Small pieces fill the tip evenly and stop lumps forming.
Step
Make a magic ring
Work 6 sc into a magic ring and pull the tail tight. You should have 6 stitches and a hole that closes completely.
Round 2: increase all around
Work 1 inc in each stitch. You now have 12 stitches. The circle should sit flat on the table.
Rounds 3 to 4: keep increasing
Round 3: 1 sc, 1 inc, repeat 6 times. Round 4: 2 sc, 1 inc, repeat 6 times. You have 24 stitches and a flat disc about 4 cm across.
Rounds 5 to 14: work straight
Work 1 sc in each stitch around with no increases. The sides will start to pull upward into a cone. Stop when the cone is about 10 cm tall.
Round 15: decrease the top
Work 1 dec, then 1 sc, and repeat around. Stuff the cone firmly before the opening gets too small.
Close the top
Work decreases until 6 stitches remain. Cut the yarn, thread it through the last 6 stitches and pull tight. Weave the end inside.
Add the face
Place the eyes two-thirds of the way up the cone and about 3 cm apart. Push the washers on from inside, or embroider the eyes with black yarn.
Sew the stripe
Take a length of white yarn and sew a single horizontal line around the middle of the cone. Keep the stitches the same height all the way around.
Ways to change it
Mini keyring cones
Use 4-ply cotton and a 2 mm hook. The cone comes out about 6 cm tall and works as a bag charm.
Jumbo floor cone
Use super chunky yarn and a 6 mm hook. It stands about 25 cm tall and makes a good doorstop or nursery prop.
Pastel baby version
Skip the orange and use mint, lemon and baby pink. Embroider the eyes so the toy is safe from birth.
Glow-in-the-dark stripe
Swap the white yarn for glow-in-the-dark yarn on the middle stripe. It looks good on a shelf at night.
Cone with a hat
Add a small crocheted beanie on top of the cone. It hides the closing stitches and adds a bit of character.
The short version
- A crochet traffic cone is a flat circle with straight sides, not a shaped triangle.
- Use a hook one size smaller than the yarn label suggests so the stuffing does not show.
- Place the eyes two-thirds of the way up the cone for the friendliest face.
- Safety eyes are not safe for babies under three. Embroider the eyes instead.
- Stuff in small pieces so the tip fills evenly.
- One white stripe is enough. Two makes the face harder to read.
- A finished cone measures about 12 cm tall with chenille yarn and a 2.5 mm hook.
Questions people ask
How much yarn does one crochet traffic cone use?
About 30 g of chenille yarn for a 12 cm cone. If you use DK cotton, 20 g is usually enough. Buy one extra ball if you want to match the stripe colour.
Can I give a crochet traffic cone to a baby?
Yes, if you embroider the eyes with yarn and sew every part on firmly. Safety eyes have a plastic washer that can come loose, so they are not safe for children under three.
Why is my crochet cone leaning to one side?
You are probably losing or adding a stitch at the start of each round. Count your stitches at the end of every round and use a stitch marker so you always know where the round begins.
What hook size do I use for amigurumi?
Go one size smaller than the yarn label recommends. For chenille yarn that means 2.5 mm to 3 mm. For DK cotton that means 3 mm to 3.5 mm. Tight stitches keep the stuffing hidden.
Do I need to join the rounds?
No. Work in continuous spirals and use a stitch marker to track the start of each round. Joining creates a visible seam line up the side of the cone.
Grab your hook and make your first cone today
Start with one cone in a smooth DK cotton so you can see every stitch. Once the shape makes sense, switch to chenille yarn and add the face. Happy hooking!