How to Crochet an Eye Blanket: A Weird, Fun Bed Throw
Make a cozy blanket covered in crocheted eyes that stare back at you – perfect for a weird bedroom or a fun gift.
You can crochet a blanket that looks like a field of staring eyes – and it takes about 20 hours from first stitch to last.
You’ve seen those blankets with big cartoon eyes staring back at you. They’re weird, they’re cozy, and they’re surprisingly easy to make yourself. All you need is some yarn, a hook, and the patience to crochet a bunch of eye squares.
In this guide, you’ll learn how to crochet an eye motif, how to join them into a blanket, and how to adjust the size and look. No fancy stitches – just chains, double crochet, and a little sewing.
A crocheted eye blanket is a fun, slightly spooky throw made by crocheting eye motifs and joining them together. You can make one with basic crochet skills, using worsted weight yarn and a 5.5 mm hook. The whole project takes roughly 20 hours, perfect for a weekend binge-watching session.
What you need
Worsted weight yarn
Acrylic is best for washability. You'll need about 1,500 yards of main color and 600 yards of contrast for a lap throw.
5.5 mm (I/9) crochet hook
Matches worsted weight yarn. If you crochet tightly, go up a hook size.
Yarn needle
For weaving in ends and sewing squares together. A bent-tip needle is easier.
Scissors
Any sharp pair works.
What You Need to Make an Eye Blanket
The best part about this project is that you probably already have most of the supplies. You’ll need worsted weight yarn in at least two colors: a main color for the background and a contrasting color for the iris. Black yarn for the pupil is a must.
Choose a soft acrylic yarn that’s easy to wash – you’ll be using it a lot. A 5.5 mm (I/9) hook works well for worsted weight. You’ll also need a yarn needle for weaving in ends and sewing squares together, plus scissors.
If you want a bigger blanket, you’ll need more yarn. For a lap throw (about 40 by 50 inches), plan on about 1,500 yards of main color and 600 yards of contrast. That’s roughly 5 skeins of main and 2 of contrast.
Use a light-colored yarn for the background so the eyes pop. Dark backgrounds hide the details.
The Basic Eye Motif (Square)
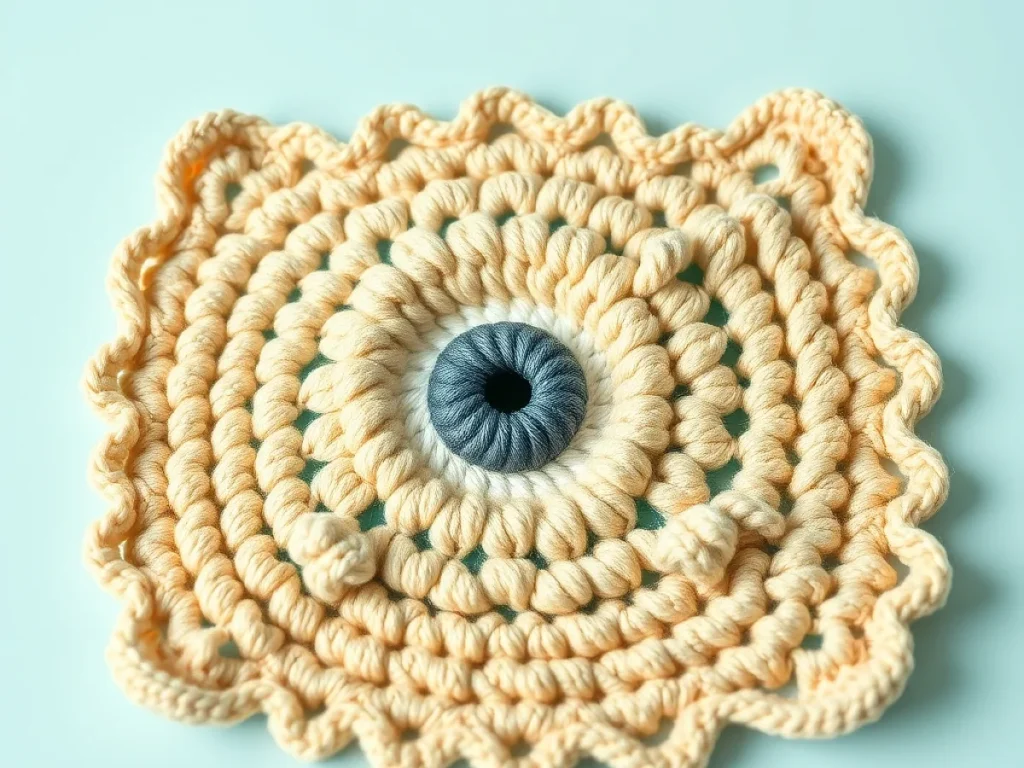
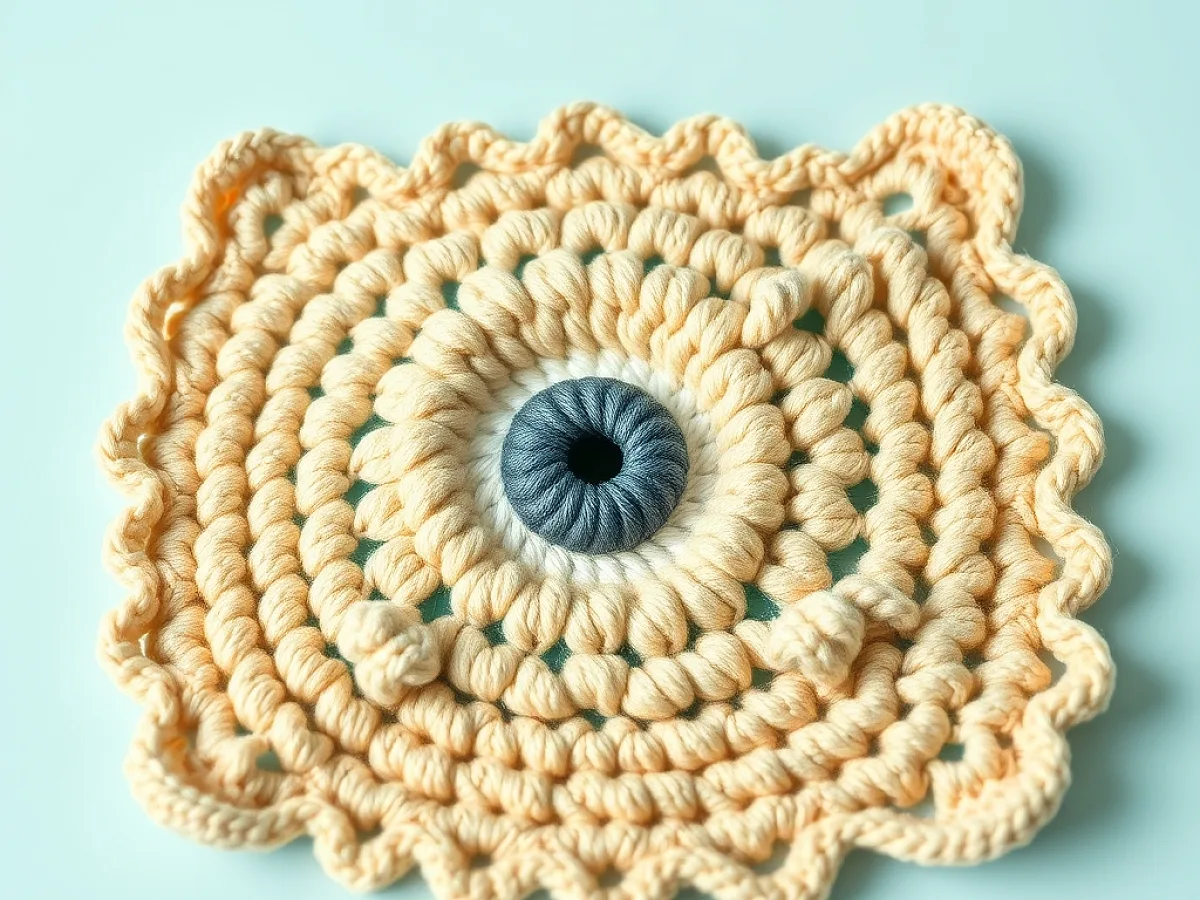
The eye square is a simple granny square with a twist. You’ll start with a magic ring, work the iris and pupil in the center, then build the white (or background) around it.
Here’s the basic pattern for a 6-inch square:
Round 1: With black, make a magic ring, chain 3 (counts as dc), 11 dc into ring. Slip stitch to join. Fasten off black.
Round 2: Join iris color in any stitch. Chain 3, dc in same stitch, 2 dc in each stitch around. Slip stitch to join. Fasten off.
Round 3: Join main color in any stitch. Chain 3, 2 dc in same stitch, dc in next 2 stitches, 2 dc in next stitch. Repeat around, slip stitch to join.
Round 4: Chain 3, dc in next 2 stitches, 2 dc in next, dc in next 3, 2 dc in next. Repeat, slip stitch to join. Fasten off.
That gives you a circle that you’ll square off in the next round. For a true square, you need corners – work 3 dc in each corner stitch and dc in between.
If your circle looks wobbly, check your stitch count. You should have 24 stitches after round 2.
How Many Squares Do You Need?
The number of squares depends on how big you want the blanket. For a baby blanket, use 6 squares by 6 squares (36 squares). For a twin bed, aim for 8 by 10 (80 squares).
Each square is about 6 inches. If you want a larger blanket without crocheting a million squares, you can make bigger squares – just add more rounds to the granny square.
A good rule: measure your bed or the person you’re making it for. Multiply the number of squares across by the size of each square to get the width. Do the same for length.
Lay out your squares on the floor before sewing. That way you can arrange the eyes in a pattern – all facing one way, or scattered for a wild look.
Joining the Squares
Once you have all your squares, it’s time to join them. The easiest method is the whip stitch – just sew the squares together with a yarn needle and matching yarn.
Place two squares right sides together and whip stitch through the back loops only. That creates a flat seam. Continue until you have rows, then join the rows.
For a more decorative join, you can use single crochet on the right side. That adds a raised ridge that looks like a border between squares. It’s slower but adds texture.
Weave in ends as you go, not at the end. You’ll thank yourself later.
Finishing Touches
After the blanket is assembled, add a border to clean up the edges. A simple single crochet border in the main color works well. Work 3 single crochet in each corner to keep it flat.
For a fun detail, you can add a row of reverse single crochet (crab stitch) for a twisted rope look.
Finally, block your blanket. Wet it, gently squeeze out excess water, and lay it flat to dry. This evens out the stitches and makes the blanket lie flat.
If the edges curl, add an extra round of double crochet – that usually fixes it.
Step
Crochet the eye squares
Follow the pattern above to make as many squares as you need. Count your stitches each round to keep the circle flat.
Arrange the squares
Lay them on the floor or a bed to decide the eye pattern. Move them around until you like the look.
Sew the squares together
Whip stitch the squares in rows, then join the rows. Use the main color yarn for invisible seams.
Add a border
Single crochet around the entire blanket, putting 3 stitches in each corner. This keeps the edges straight.
Block the blanket
Wet it, press out excess water, and lay flat to dry. This makes the stitches even and the blanket lie flat.
Ways to change it
Bigger eyes
Crochet the iris and pupil larger by adding an extra round before the background color. Makes the eyes look cartoonish.
Different colors
Use bright iris colors like blue, green, or purple for a rainbow eye blanket. Or stick to black and white for a spooky look.
Baby blanket
Use softer yarn and make smaller squares (4 inches). You'll need about 36 squares for a 24×36 inch blanket.
Pillow cover
Make a single large eye square (12 inches) and sew it into a pillow cover. Great for a quick project.
C2C technique
Instead of individual squares, you can crochet the eye pattern using corner-to-corner (C2C) method. That makes a continuous blanket with no seams.
The short version
- An eye blanket is made from crocheted eye squares joined together.
- Each eye square is a granny square variant with a pupil and iris.
- A lap throw needs about 36 squares, each 6 inches.
- Whip stitching squares together creates a flat, invisible seam.
- Blocking the finished blanket keeps it flat and neat.
- You can easily adjust the size by changing the number of squares.
- Use acrylic yarn for easy washing and durability.
Questions people ask
How long does it take to crochet an eye blanket?
For a lap throw of about 36 squares, expect around 20 hours. Each square takes about 30 minutes if you're experienced, longer if you're new.
What yarn is best for a crocheted eye blanket?
Worsted weight acrylic yarn is ideal because it's soft, washable, and affordable. Choose a light color for the background to make the eyes stand out.
Can I make a no-sew eye blanket?
Yes, you can crochet the eye pattern using the corner-to-corner (C2C) technique or join squares as you go with the join-as-you-go method. That eliminates sewing.
How do I care for a crocheted eye blanket?
Most acrylic yarns can be machine washed on gentle and dried on low. Always check the yarn label. Blocking after washing helps maintain shape.
Start your eye blanket tonight
Now you know how to make a crocheted eye blanket that’s equal parts cozy and creepy. Grab your yarn, pick your colors, and start on your first square. Before you know it, you’ll have a bed full of watching eyes. Keep it quick and cute!