
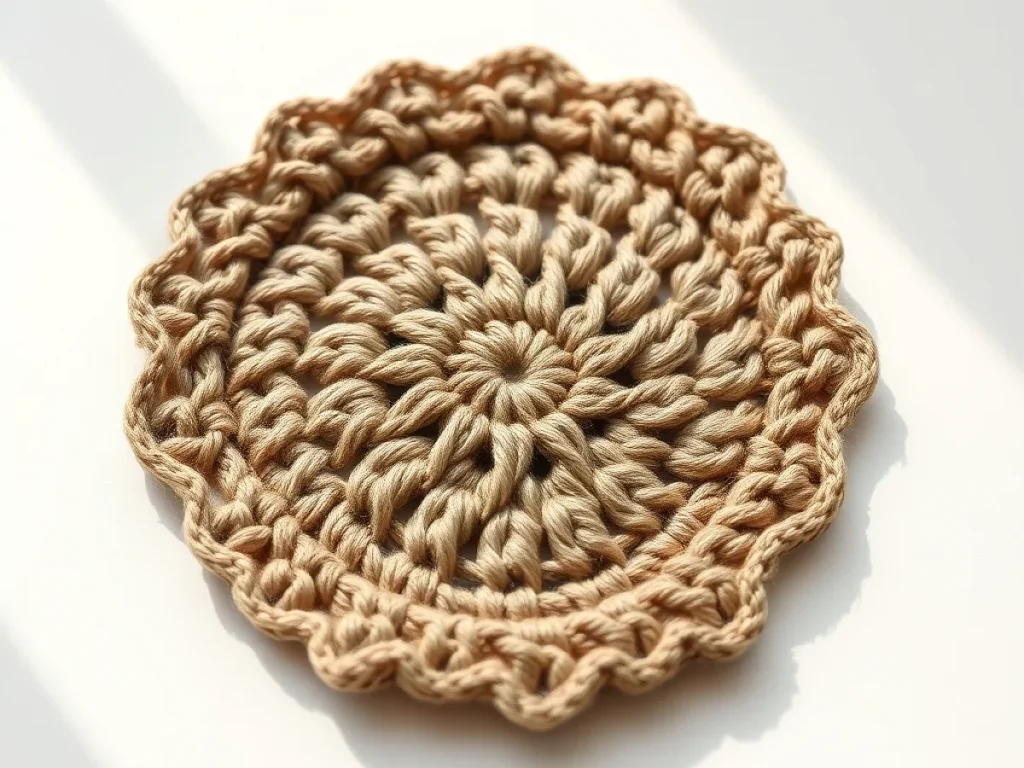
Ergonomic Crochet Illustration: Drawing Hook and Yarn Without the Ache
Learn to draw crochet hooks, yarn, and hands in comfortable positions that show the craft without straining your own wrist.
Drawing a crochet hook and yarn looks simple until you try to show the hand holding it without making your own wrist ache.
The key is to start with the hook as a simple cylinder with a curved end. Most beginners draw the hook too thin or the handle too straight, which makes the hand look cramped.
You don't need fancy art supplies. A pencil, eraser, and paper are enough. If you want to add color, colored pencils or watercolor work well.
An ergonomic crochet illustration focuses on the hand, hook, and yarn in a relaxed, neutral position. You'll learn to sketch the basic shapes, add realistic yarn texture, and place the hand so it looks natural and comfortable.
What you need
Pencil
A standard HB pencil is fine. A mechanical pencil with 0.5mm lead gives finer lines for details.
Eraser
A kneaded eraser is best because it lifts graphite without smudging. A regular eraser works too.
Paper
Smooth paper, like printer paper or bristol board, is easiest for clean lines. Heavier paper if you plan to paint.
Ruler or straight edge
Optional, but helpful for drawing the hook handle perfectly straight.
Colored pencils or watercolors
Only if you want to add color. Watercolor pencils give a soft effect, regular colored pencils give more control.
What Makes a Crochet Illustration Ergonomic?
In real crochet, ergonomics means holding the hook so your wrist stays straight and your hand is relaxed. In an illustration, you show that same ease. The hand should look open, not clenched, and the hook should rest between the thumb and first finger.
A common mistake is drawing the hand as a fist. That looks tense and wrong. Instead, think of the hand as a curved shape with the fingers gently wrapped. The hook sits at an angle, about forty-five degrees, pointing toward the yarn.
The yarn should flow from a ball or skein in a loose curve. It should not look like a straight line or a tight spring. A relaxed curve suggests the yarn is moving easily through the fingers.
Look at your own hand as you pretend to hold a hook. Notice how the thumb rests on the flat part of the handle. That simple observation will make your drawing look real.
Sketching the Hook and Yarn
Start with a light pencil line for the hook. Draw a long, slightly tapered rectangle for the handle. At the top, add a small flat oval for the thumb rest, then a narrow neck, and finally a curved tip that ends in a small hook shape.
For the yarn, draw a loose spiral or a wavy line coming from the ball. To show texture, add short curved strokes along the line. Do not press hard; you want the yarn to look soft.
Check the proportions. The handle should be about as long as the distance from the wrist to the first knuckle. The hook part is about one-third of the total length.
If the hook looks too thick, compare it to the yarn. The hook is usually about twice the diameter of the yarn strand.
Drawing the Hand in a Natural Position
The hand is the hardest part. Start with a simple oval for the palm. Then add a cylinder for the thumb and four smaller cylinders for the fingers. Position the thumb so it overlaps the hook handle, and the first finger rests on top of the hook.
Keep the wrist straight and in line with the forearm. A bent wrist looks painful and is the opposite of ergonomic. Draw a gentle curve from the arm to the hand, with no sharp angle.
Erase any lines that show through. Then add soft shading under the fingers and around the hook to create depth. Use a tissue or your finger to blend the pencil marks.
Practice drawing your own hand in a mirror. It sounds odd, but it is the quickest way to learn the shapes.
Adding Yarn Texture and Movement
Yarn is not a solid tube. It has twists and plies. To show that, draw short diagonal lines along the strand. For a single-ply yarn, use long, smooth curves. For a plied yarn, draw small V shapes that repeat.
To show movement, make the yarn curve in an S shape as it comes from the hook. If the yarn is being held taut, draw a few straight lines with slight bends. If it is loose, let it wave.
Add a small loop around the hook to show the working stitch. That loop should be open, not a tight circle.
Use a reference photo of real yarn if you are unsure. Look at how the light catches the fibers and where the shadows fall.
Choosing Colors and Finishing Touches
If you use color, pick a yarn color that contrasts with the hook. A bright yellow or pink hook against a deep blue yarn looks clear. For a softer look, use pastels.
Shade the hook with a light source from the upper left. Add a highlight on the top of the handle and a darker shadow on the bottom. The yarn can have a subtle glow where the light hits.
Finally, step back and check the overall balance. The hand should not dominate the picture unless that is your focus. The hook and yarn should be the main subjects.
Scan or photograph your drawing to see it with fresh eyes. You will often spot a line that needs adjusting.
Step
Draw the hook shape
Lightly sketch a long, tapered rectangle for the handle. Add a small thumb rest, a narrow neck, and a curved hook at the top. Check that the hook is smooth and not too thick.
Add the yarn line
Draw a loose curve or spiral coming from the hook. Make sure the yarn is thicker than the hook neck but thinner than the handle. Add a small loop around the hook.
Sketch the hand
Draw an oval for the palm, then add the thumb and fingers as simple cylinders. Position the thumb and first finger so they hold the hook comfortably. Keep the wrist straight.
Refine and erase
Go over your lines with a darker pencil, adding curves and details. Erase any extra guide lines. Make the hand look relaxed by softening the finger joints.
Shade and finish
Add shading under the hook and around the fingers to create depth. If you are using color, fill in the yarn and hook with your chosen palette. Blend with a tissue for a smooth look.
Ways to change it
Hand position
Draw the hand from the side or from above. The side view is easier for beginners, the top view shows more detail but is trickier.
Yarn type
Show a smooth cotton yarn with simple lines, or a fluffy wool yarn with many short strokes to suggest fuzz.
Hook style
Draw an ergonomic hook with a thick, curved handle, or a traditional straight aluminum hook. The ergonomic handle gives you more to shade.
Add a project
Include a small piece of crochet fabric, like a granny square, to show what the yarn is becoming. This adds context and interest.
Color palette
Use warm colors like orange and brown for a cozy feel, or cool blues and greens for a calm, modern look.
The short version
- Start with a simple hook shape: a tapered handle and a curved head.
- Keep the hand open and relaxed, with the wrist straight.
- Use loose, flowing lines for the yarn to suggest movement.
- Shade to give depth and make the drawing look three-dimensional.
- Practice sketching your own hand to get the proportions right.
- Choose colors that contrast so the hook and yarn stand out.
Questions people ask
What is the best way to draw a crochet hook?
Draw a long, slightly tapered rectangle for the handle, then add a small thumb rest and a curved hook at the top. Keep the lines smooth and avoid sharp angles.
How do I draw realistic yarn?
Yarn is not a solid tube. Use short diagonal lines or small V shapes to suggest the twist. For a loose yarn, draw gentle waves; for a taut yarn, use straighter lines with slight bends.
How can I make the hand look natural?
Start with simple shapes: an oval for the palm and cylinders for fingers. Position the thumb and first finger so they gently hold the hook. Keep the wrist straight and avoid clenching the fingers.
Pick up your pencil and sketch a comfortable crochet scene.
Ergonomic crochet illustration is about showing ease, not just a tool. Take your time, observe your own hand, and let the lines stay soft. The more you practice, the more natural it will feel. Stitch with ease.



