
How to Read a Crochet Pattern: A Step-by-Step Walkthrough
Learn to decode any crochet pattern, from abbreviations to repeats, so you can start any project with confidence.
The first time I tried to follow a crochet pattern, I had to read the same line eight times before I realized 'sc in next 2 sts' meant something I already knew how to do.
Crochet patterns look like a secret code at first. Letters like 'sc' and 'dc', asterisks, brackets, and parentheses fill the page. But the code is simple once you break it down.
This walkthrough teaches you the building blocks of any pattern. You will learn the most common abbreviations, how to read repeats, and how to check your work as you go. By the end, you will be able to start a project from a written pattern without guessing.
Reading a crochet pattern is about learning the abbreviations, understanding the repeats, and knowing how to count your stitches. This guide walks you through each part, so you can pick up any pattern and start crocheting.
What you need
Crochet pattern
Any pattern you want to follow. Start with a simple one that uses basic stitches and clear instructions.
Yarn
The yarn recommended in the pattern, or any yarn you have that matches the gauge. The pattern will specify the weight and amount.
Crochet hook
The hook size recommended for your yarn. Check the yarn label for the suggested hook size.
Stitch markers
Small plastic or metal clips that mark the beginning of a round or a repeat. You can also use a scrap of contrasting yarn.
Scissors
For cutting yarn when you finish or need to rip out.
Tape measure or ruler
To check gauge and measure your work against the pattern's dimensions.
What do the abbreviations mean?
Every crochet pattern uses abbreviations for the stitches. The most common ones are 'ch' for chain, 'sc' for single crochet, 'dc' for double crochet, and 'sl st' for slip stitch. These are the ones you will see in almost every pattern.
Less common stitches have longer abbreviations, like 'hdc' for half double crochet or 'tr' for treble crochet. Most patterns include a key at the top or bottom that explains every abbreviation used. If not, a quick online search for 'crochet abbreviations' will give you a full list.
When you read a pattern, keep the key nearby. After a few projects, you will know the common ones by heart.
Print the pattern and highlight each abbreviation the first time you use it. That way you have a visual reminder of what you have already done.
How do repeats work?
Patterns use asterisks (*), brackets [], and parentheses () to tell you which parts to repeat. An asterisk means you repeat everything after it until the pattern says 'repeat from *' or gives a specific number of times.
For example, '*sc in next 2 sts, 2 sc in next st; repeat from * around' means you do those three steps over and over until you reach the end of the round.
Brackets and parentheses are used to group stitches that are worked together, like '[sc, dc] in next st' means you do both stitches in the same stitch. They can also show a set of stitches that you repeat, such as '(sc, ch 1, sc) in next ch-1 space'.
When you start a repeat, place a stitch marker at the beginning. That makes it easy to count how many times you have done it.
How do you count stitches and rows?
Counting is the part that trips up most beginners. The pattern will tell you how many stitches you should have at the end of each row or round. For example, 'Row 1: 10 sc' means you should have 10 single crochet stitches.
To count your stitches, look at the top of your work. Each V-shaped loop is one stitch. The chain at the beginning of a row does not count unless the pattern says it does.
Rounds are trickier because you work in a spiral. Mark the first stitch of each round with a marker, and move the marker up as you go. That way you know where the round starts and ends.
If your stitch count is off by one, check the first and last stitch of the row. Many times, the mistake is there.
What about special instructions?
Some patterns include special instructions like 'work in back loop only' or 'skip next 2 sts'. These are usually explained in the pattern notes or right before the row where they appear.
When a pattern says 'work even', it means you keep the same stitch count without increasing or decreasing. When it says 'increase', you work two stitches into one stitch. 'Decrease' means you work two stitches together.
If you see a term you do not know, look it up before you start. Most crochet terms have standard meanings, but some designers use their own shorthand. The pattern notes should clarify anything unusual.
Keep a printed list of common crochet terms on your desk. You will consult it often at first, and less as you gain experience.
How do you know if you are doing it right?
The best way to check your work is to lay it flat and look at it. Compare it to the photo in the pattern, if there is one. Check the stitch count at the end of each row. If it matches, you are on track.
If something looks wrong, count back to the last time you were sure you were correct. Rip out the stitches to that point and try again. It is normal to undo work, even for experienced crocheters.
Another check is the shape. If your piece is curling or ruffling when it should be flat, you may have added or missed a stitch. If it is slanting, you might be working into the wrong loop.
Take a photo of your work after each row. Comparing photos side by side helps you spot mistakes you might miss in person.
Steps
Read the pattern all the way through
Skim the whole pattern before you start. Note the abbreviations, the stitch count, and any special instructions. This gives you a map of where you are going.
Check your gauge
Make a small swatch using the recommended hook and yarn. Measure the number of stitches and rows per inch. If it does not match the pattern, change your hook size and try again.
Make a slip knot and foundation chain
Start with the number of chains the pattern says. Count them carefully. The chain should be loose enough to work into easily, but not sloppy.
Work the first row
Follow the instructions for row 1. Pay attention to which chain you work into. Usually you work into the second chain from the hook for single crochet, but the pattern will tell you.
Count your stitches
At the end of the row, count the stitches. If the number matches the pattern, continue. If not, check the ends and fix the mistake before going on.
Continue row by row
Work each row or round, checking your stitch count and the shape as you go. Use stitch markers for repeats and round beginnings.
Finish and weave in ends
When you reach the end, cut the yarn leaving a tail. Pull it through the last loop and tighten. Weave the tail into the work with a yarn needle.
Ways to change it
Video tutorial
If you learn better by watching, find a video that shows the same pattern or the stitches used. Many designers offer video support for their patterns.
Simpler pattern
If the pattern feels overwhelming, choose one with fewer abbreviations and no repeats. A simple scarf or dishcloth is a good starting point.
Chart pattern
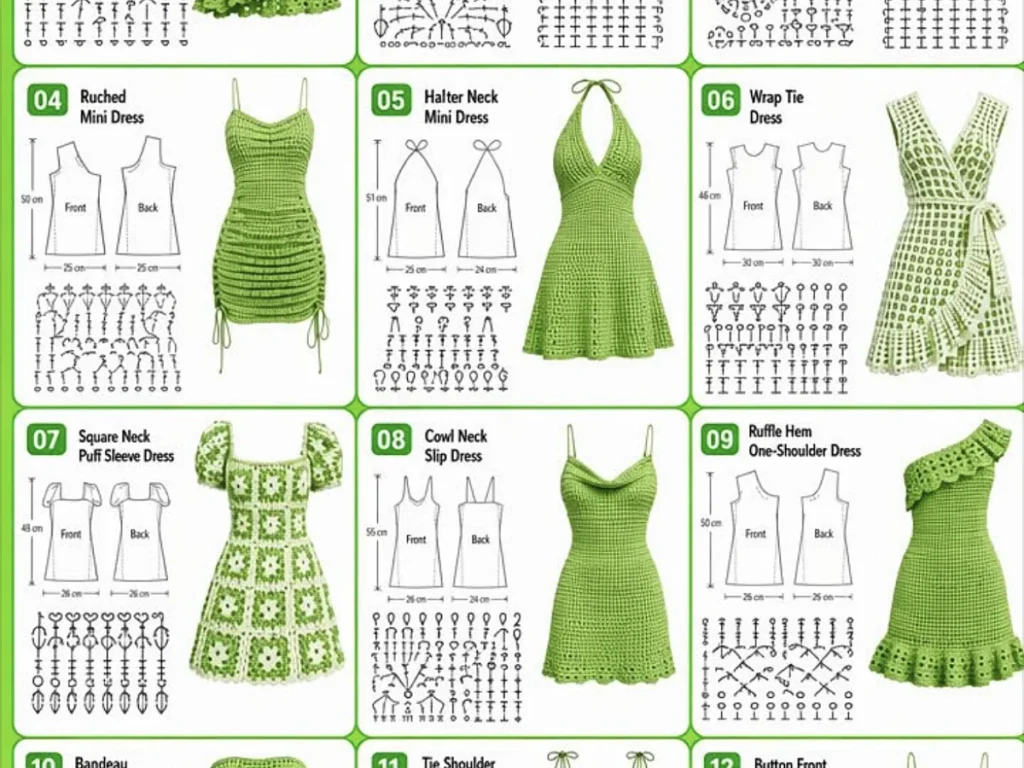
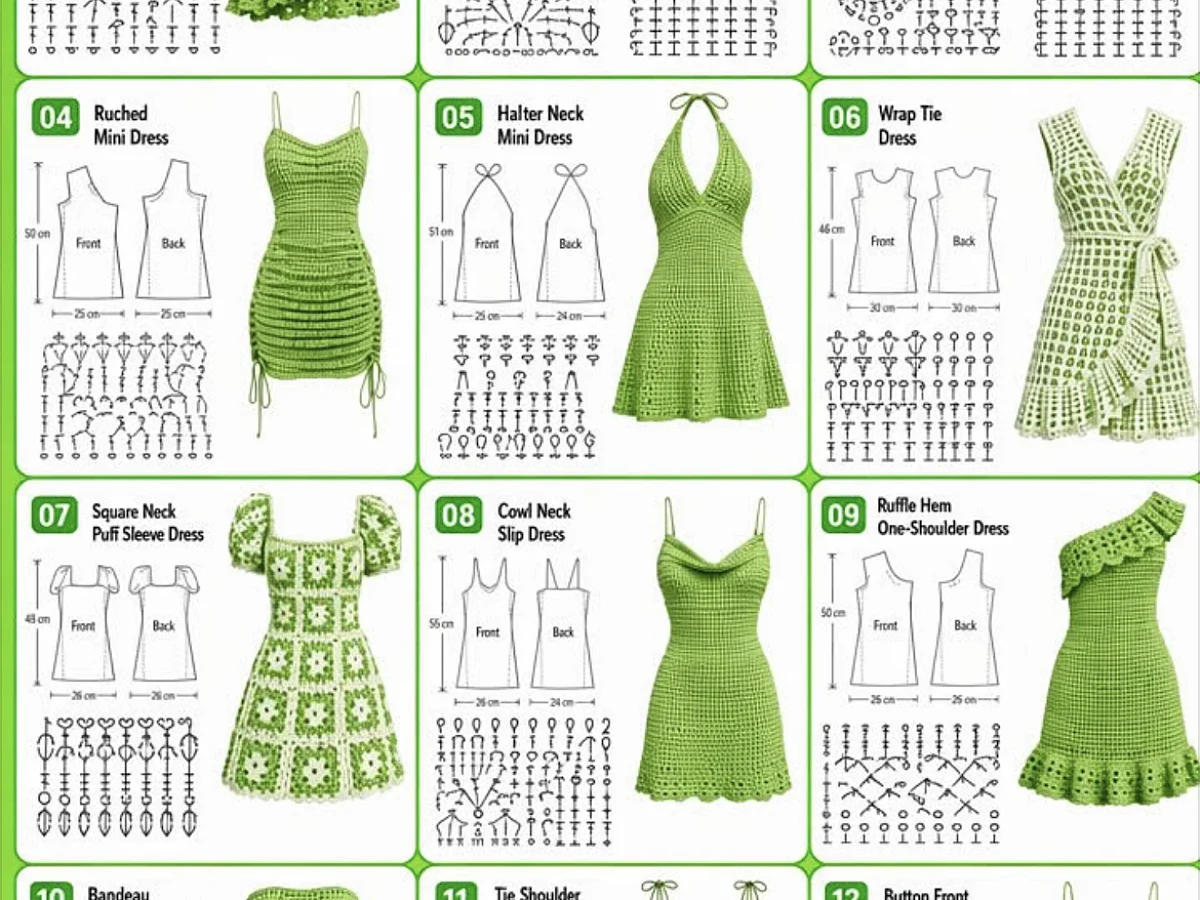
Some patterns use charts with symbols instead of written instructions. Charts are visual and can be easier for some people. Learn the basic symbols and try a chart pattern.
Different yarn
You can use a different yarn weight than the pattern calls for, but your gauge will change. Adjust your hook size and expect a different finished size.
Online pattern library
Websites like Ravelry and LoveCrafts have thousands of patterns with user reviews. You can filter by skill level and see photos of other people's finished projects.
The short version
- Abbreviations are the language of crochet patterns; learn the common ones first.
- Asterisks, brackets, and parentheses tell you what to repeat and how many times.
- Always count your stitches at the end of each row to catch mistakes early.
- Stitch markers are essential for keeping your place in rounds and repeats.
- Check your gauge before starting to ensure your finished piece matches the pattern size.
- If you make a mistake, rip back to the last correct point and try again.
- Reading a pattern gets easier with practice; start with simple projects.
Questions people ask
What does 'sc' mean in a crochet pattern?
'sc' stands for single crochet. It is one of the most basic stitches. You insert your hook into the stitch, yarn over, pull up a loop, yarn over again, and pull through both loops on the hook.
How do I read parentheses in a crochet pattern?
Parentheses group stitches that are worked together in the same stitch or space. For example, '(sc, dc) in next st' means you do a single crochet and a double crochet in the same stitch.
What does 'repeat from *' mean?
It means you go back to the asterisk and do the instructions after it again. The pattern will tell you how many times to repeat, like 'repeat from * 5 times' or 'repeat around'.
How do I know when to increase or decrease?
The pattern will tell you explicitly. An increase is usually written as '2 sc in next st' or 'inc'. A decrease is written as 'sc2tog' (single crochet two together) or 'dec'.
What if my stitch count doesn't match the pattern?
Check the first and last stitches of the row first. You may have missed the first stitch or worked into the turning chain. Count again, and if needed, rip out the row and redo it.
Pick a simple pattern and start reading
Reading a crochet pattern is a skill you build. Start with a small project like a coaster or a scarf. Keep this guide handy, and soon you will follow patterns without thinking about the code.



