Magic Ring Crochet Tutorial: Start Round Projects Without a Hole
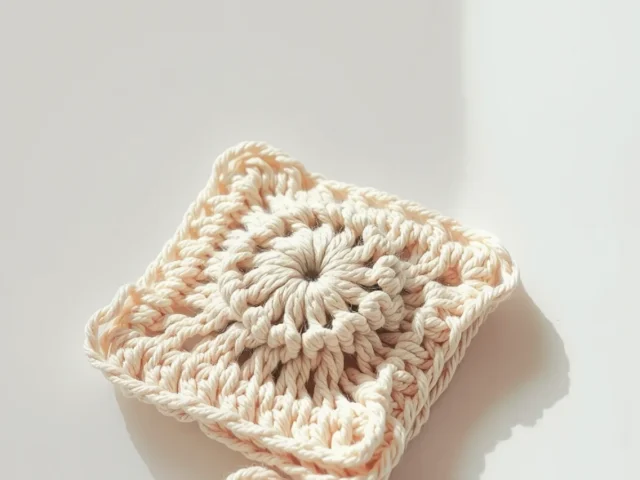
Learn to wrap, work and pull closed a magic ring so your hats, granny squares and amigurumi start with a center you can barely see.
A magic ring is just a loop of yarn you work stitches into before you pull it tight, and it takes about two minutes to learn.
A chain start leaves a small hole in the middle of your work. Sometimes that is fine. On a hat crown or an amigurumi head, it looks like a mistake.
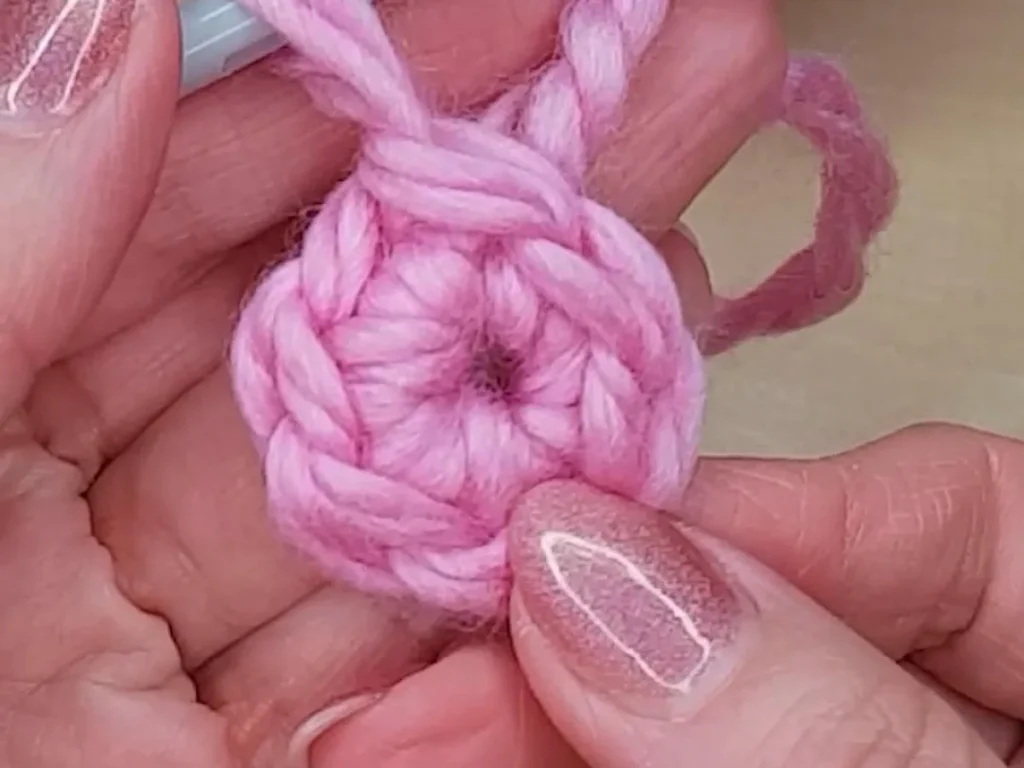
A magic ring fixes that. You make an adjustable loop, work your stitches into it, and pull it shut at the end. The center closes almost completely, and you get to decide how tight it sits.
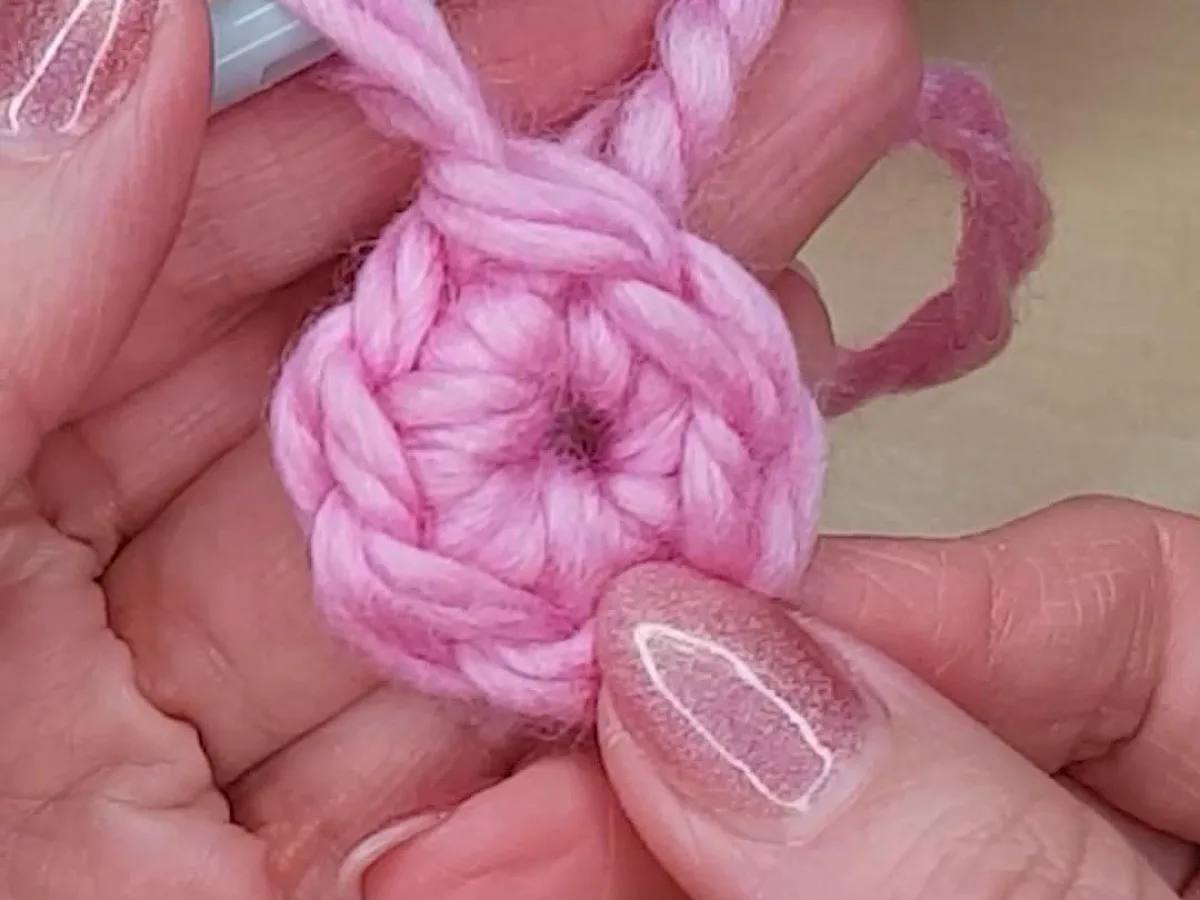
You wrap yarn into a loop, work your first round of stitches into that loop instead of into a chain, then pull the tail to close the center. The result is a round start with no gap in the middle. Most projects use six to eight single crochet stitches in the ring.
What you need
Worsted weight yarn
About 12 inches is enough to practice. Smooth yarn in a light color shows the loop best.
5.0 mm crochet hook
Matches worsted weight. Use the size your pattern lists if you are following one.
Stitch marker
Only needed if you work in continuous rounds and cannot see where the round began.
Scissors
For trimming the tail after you weave it in.
Why the loop closes and a chain does not
When you chain two and work into the first chain, those stitches sit around a fixed circle. That circle keeps its size. Yarn has no way to shrink it later.
A magic ring is different because the loop is not a stitch. It is just yarn crossing itself. Nothing locks it until you pull the tail, so the whole circle can slide closed around your stitches.
This is why the ring feels loose and wobbly while you work it. That looseness is the point. If it feels firm, you have pulled the tail too early.
Work the first round a little loosely. A tight ring is hard to get your hook into, and you will fight it the whole way around.
What you need before you start
Any yarn works, but smooth yarn shows the technique best. Fuzzy yarn hides the loop and makes the pull harder to judge.
A hook that matches your yarn label is fine. For practice, use worsted weight yarn with a 5.0 mm hook. That pair is easy to see and easy to undo.
- Worsted weight yarn, about 12 inches for practice
- 5.0 mm hook for worsted, or the size your pattern lists
- A stitch marker if you plan to work in continuous rounds
- Scissors for trimming the tail
The magic ring, step by step
Read through once before you pick up the hook. The movements are small, and the order matters more than speed.
If the ring falls apart on your first try, that is normal. Yarn does not hold the loop on its own. Your fingers do, until the stitches take over.
How to tell it worked
Before you pull the tail, the center should look like a small open circle with your stitches sitting around it. After you pull, the circle should nearly vanish.
If a hole remains, the tail was not pulled hard enough. If the round puckers and cups upward, you pulled too hard or you used too few stitches.
Count your stitches at this point. Most patterns want six single crochet in the ring. If you have five or seven, the round will not sit flat.
Stitch counts and finished size
The number of stitches in your ring sets the shape of everything above it. Six single crochet gives a flat circle when you increase by six each round. Eight gives a slightly looser center.
For a worsted weight yarn and a 5.0 mm hook, a six-stitch ring closes to a center about the width of a grain of rice. A chain-two start leaves a hole closer to a pencil tip.
Gauge matters here more than in flat work. If your ring closes but the first two rounds ruffle, your stitches are too tall for the increase count. Try a smaller hook before you change the pattern.
Where it goes wrong, and what to do
The loop loosens while you work. Hold the loop between your thumb and middle finger and keep the tail under your ring finger. Do not let go until the last stitch of the round is done.
The tail pulls out instead of closing. That means you worked into the tail end rather than into the loop. Undo the round and start again, keeping the tail pointing away from your hook.
The center closes but twists. You turned the loop over before working into it. Keep the loop flat on your finger and work over the top strand only.
The ring snaps when you pull. You are pulling too fast. Ease the tail in small tugs and let the stitches settle between them.
If you truly cannot get the ring to hold, chain four, join with a slip stitch, and work your first round into that ring. It leaves a slightly larger hole, but it is stable and fine for most projects.
Ways to change it
The technique stays the same. What changes is the yarn, the hook and the stitch you work into the loop.
Finishing the center
Once the first round is closed, pull the tail once more after round two. The stitches have settled by then and the center will tighten a little further.
Weave the tail through the back of the work for about two inches, then trim. Do not knot it. A knot makes a bump that shows through the front of a hat.
If the project will be washed often, weave the tail in two directions so it cannot work its way out.
Step
Wrap the yarn around your fingers
Lay the tail across your palm and wrap the working yarn over it once to make a loop. Hold the crossing point between your thumb and middle finger. The loop should sit loose enough to slide.
Insert the hook into the loop
Slide your hook under the front strand and into the center of the loop. Catch the working yarn and pull it back through. You now have one loop on the hook.
Chain one to secure
Chain one. This does not count as a stitch. It just holds the loop steady while you work the first stitch.
Work your stitches into the loop
Make six single crochet into the loop, going over both strands. Do not work into the chain. Count as you go and stop at six.
Pull the tail to close
Slide your stitches together with your fingers, then pull the tail gently. The center should close to almost nothing. Pull in small tugs, not one hard yank.
Join or continue
Join with a slip stitch to the first single crochet if you are working in joined rounds. If you are working in continuous rounds, place a marker in the first stitch and keep going.
The short version
- A magic ring is an adjustable loop, not a stitch, so it can close after the work is done.
- Six single crochet in the ring is the most common start for flat circles and amigurumi.
- Pull the tail after round two as well, once the stitches have settled.
- If the loop will not hold, chain two and work into the first chain instead.
- Weave the tail in two directions instead of tying a knot.
Questions people ask
How many stitches go into a magic ring?
Six single crochet is the standard start for a flat circle. Use eight half double crochet or twelve double crochet if you are working taller stitches. The count matters because each round increases by that same number.
Why does my magic ring keep coming undone?
You are likely working into the tail end instead of the loop. Keep the tail pointing away from your hook and work over the loop strand only. Once the first round is joined, the ring cannot loosen on its own.
Can I use a magic ring for amigurumi?
Yes, it is the usual start for amigurumi. The closed center keeps stuffing from showing through. Work in continuous rounds with a stitch marker so you do not lose your place.
What if I cannot learn the magic ring?
Chain two and work your first round into the first chain. It leaves a small hole, but it is stable and works for most projects. You can also chain four, join with a slip stitch, and work into that ring.
Do I count the chain one as a stitch?
No. The chain one just secures the loop. Your stitch count starts with the first single crochet you work into the ring.
Try one ring with scrap yarn before you start your project
Practice the ring three times with scrap yarn. By the third try your fingers will know the pull, and your next hat or amigurumi will start with a center you can barely see. Stitch with ease.