Magic Ring Tutorial for Crochet
Learn to make a magic ring that closes tightly, with step-by-step photos and tips for amigurumi.
The magic ring is the trickiest part of amigurumi for most beginners, but once you get it, you'll never go back to chaining and joining.
If you've ever crocheted a stuffed animal, you know the struggle: you chain two or three, work your stitches into the first chain, join with a slip stitch, and then you have a tiny hole in the middle. That hole is where the stuffing pokes out, and it's hard to fix later.
The magic ring solves that. You make a loop, crochet your first round into it, and then pull the tail to tighten the loop until the center closes completely. It sounds fiddly, but with a little practice it becomes second nature. Here's how I was taught, and it's the method I still use for every amigurumi project.
A magic ring is a loop of yarn that you crochet into, then pull tight to close the center hole. It's essential for amigurumi because it leaves no gap. This guide shows you how, step by step, with tips for tension and troubleshooting.
What you need
Yarn
Worsted weight, smooth and light-colored for practice. Acrylic is fine, but cotton holds its shape better.
Crochet hook
Size 5mm for worsted weight yarn. If your yarn is thicker or thinner, adjust accordingly.
Scissors
To cut the yarn when you're done. Any small scissors work.
What You Need
You only need three things: yarn, a crochet hook, and your hands. For practice, use a smooth, light-colored yarn in a worsted weight (like a size 4). Dark or fuzzy yarn makes it hard to see your stitches. A 5mm hook works well with worsted weight.
If you're left-handed, you can either mirror the instructions or just follow along—the technique is the same, just the hand positions change. There's no wrong way, as long as the loop tightens.
Use a yarn that's not too slippery. Cotton or a wool blend holds its shape better than acrylic for practice.
Step-by-Step: How to Make a Magic Ring
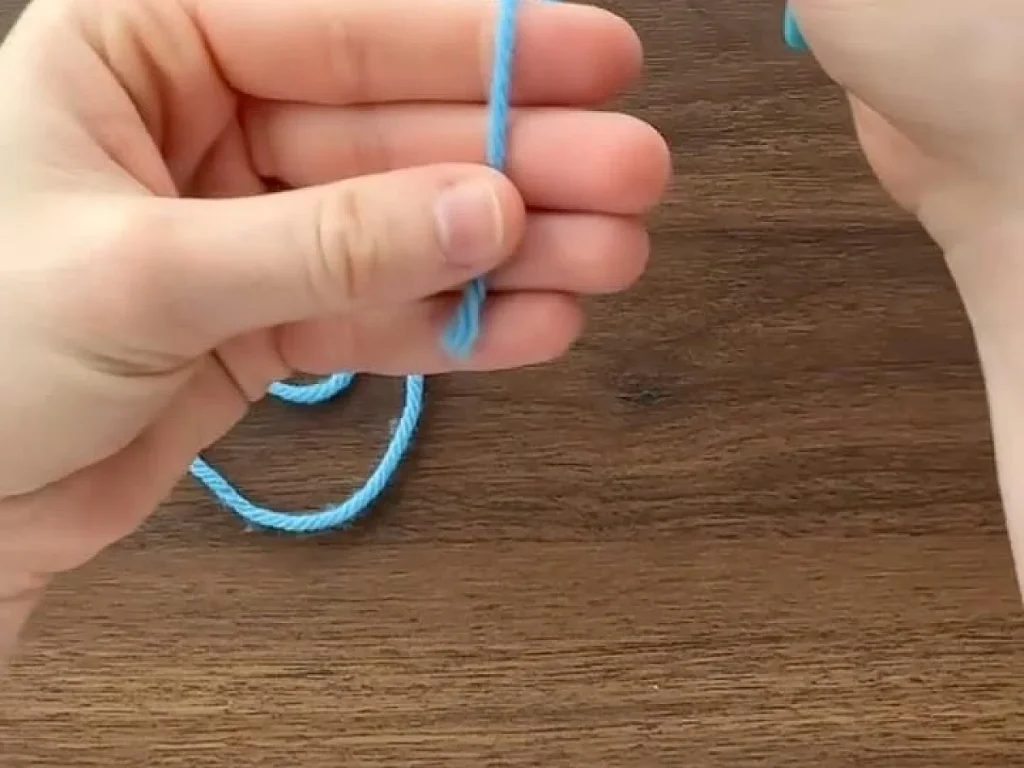
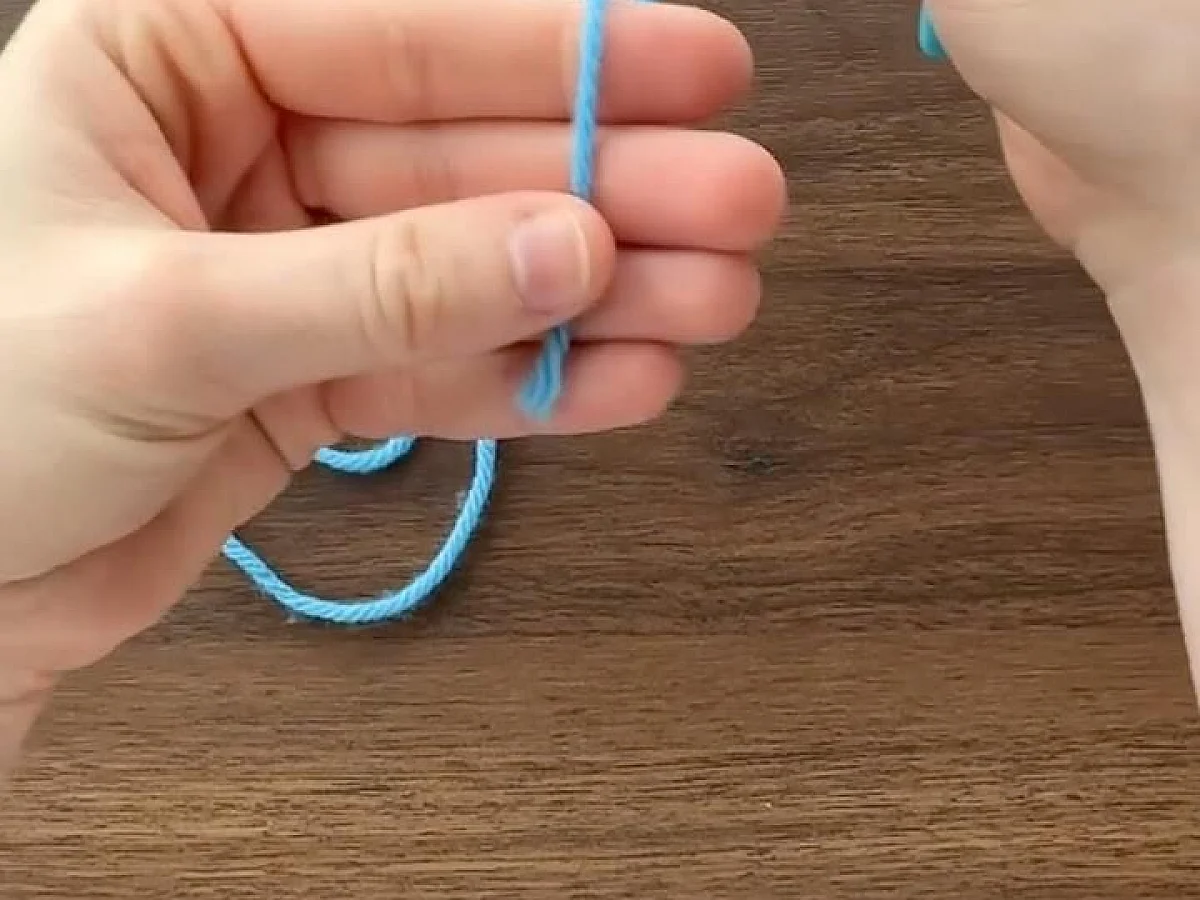
Start by wrapping the yarn around your index and middle fingers, twice. The tail should hang down toward your palm, and the working yarn (the ball end) goes over your fingers. Then, slide the loop off your fingers, keeping the strands parallel, not twisted.
Insert your hook into the loop from front to back. Grab the working yarn and pull it through the loop. You'll have a loop on your hook. Now, yarn over and pull through that loop to make a chain stitch. This chain secures the ring.
Now you crochet your first round of stitches into the ring. For example, if your pattern says '6 sc in magic ring', you work 6 single crochets into the big loop. Once you've done all your stitches, hold the stitches with your fingers and pull the tail end gently but firmly. The ring should close, leaving no hole.
The first stitch of the round is the one that can be tricky—it tends to loosen as you pull. After you tighten, give the tail one more little tug, then weave in the end or leave it for sewing, depending on your pattern.
If the ring doesn't close, you might have twisted the loop. Take it out and start again. It's faster than trying to fix it.
How to Fix Common Problems
The ring won't close: this usually means you pulled the tail before you finished your stitches, or the loop twisted. Check that the tail is the one you pull, not the working yarn. If it still won't close, you may have caught the tail in a stitch.
The ring is too loose: after you close it, the hole might still be there. That's often because your tension was too loose when you made the chain or the stitches. Try pulling the tail tighter, or start with a smaller hook.
The ring is too tight: if you can't get your hook into the ring for the second round, you pulled too hard. Gently ease the tail back a little to loosen it, or use a larger hook for the first round.
Remember: tension is your friend. Practice makes perfect.
Why the Magic Ring Matters for Amigurumi
Amigurumi are crocheted in the round, and the center is the starting point. If you use a chain ring, you get a hole that's hard to close, and stuffing shows through. The magic ring eliminates that hole entirely, giving your work a clean, professional finish.
It also gives you more control over the size of the center. You can close it as tight as you want, which is great for toys that need to hold their shape.
Once you master the magic ring, you'll use it in most amigurumi patterns. It's a skill that pays off.
How to Know It's Done Right
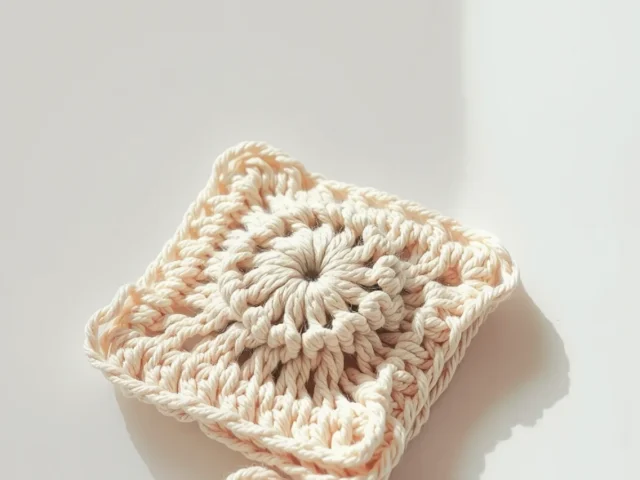
After you pull the tail, the center should be completely closed, with no gap. You should be able to gently tug on the tail and feel it hold. If you can see the stuffing or your finger through the hole, it's not tight enough.
Also, check that your stitches are even around the ring. They should all face the same direction and be roughly the same height. If one looks bigger or smaller, it's okay—blocking will help later.
Take a photo with your phone and zoom in. It's easier to see gaps on a screen than in real life.
Step
Wrap the yarn
Wrap the yarn around your index and middle fingers twice, with the tail on the palm side and the working yarn over your fingers.
Insert hook
Slide the loop off your fingers, keeping the strands parallel. Insert your hook from front to back, grab the working yarn, and pull it through the loop.
Chain one
Yarn over and pull through the loop on your hook to make a chain stitch. This secures the ring.
Work stitches into ring
Work your required number of stitches (e.g., 6 single crochets) into the big loop, not into the chain.
Tighten the ring
Hold the stitches with your fingers and pull the tail end firmly. The ring should close completely, leaving no hole.
Adjust and continue
Give the tail one more gentle tug to make sure it's tight. Then continue with the rest of your pattern.
Ways to change it
Yarn weight
You can use any yarn, but adjust hook size to match. Thicker yarn makes a bigger ring, thinner yarn makes a smaller one.
Left-handed
Mirror the instructions: wrap the yarn the opposite way and work from the other side. The technique is the same.
Double magic ring
Wrap the yarn twice around your fingers for extra security. This is helpful if the ring tends to loosen.
Chain ring alternative
If you're really struggling, you can chain 2 and work into the first chain, then pull the tail to close the hole. It's not as clean, but it works.
The short version
- The magic ring closes completely, leaving no hole in the center of your work.
- Wrap the yarn twice for a sturdier ring that's less likely to come undone.
- Pull the tail, not the working yarn, to tighten the ring.
- If the ring won't close, check for twisted loops or that you haven't caught the tail in a stitch.
- Use a smooth, light-colored yarn to practice so you can see your stitches clearly.
- Tension is key: too loose and the hole stays, too tight and you can't work into the ring.
- Once you master it, the magic ring becomes second nature for amigurumi.
Questions people ask
Why is my magic ring not closing?
You might be pulling the working yarn instead of the tail. Check that you're pulling the tail end. Also, make sure the loop isn't twisted before you start.
Can I use a magic ring with any yarn?
Yes, you can use any yarn. Just choose a hook size that matches the yarn weight. Thicker yarn will make a larger ring, thinner yarn a smaller one.
What is the magic ring used for?
It's mainly used in amigurumi and other crochet projects worked in the round, to create a tight, hole-free center.
How do I make a magic ring bigger?
You can't make the ring itself bigger, but you can work more stitches into it for the first round. The ring size is determined by the yarn and hook, not the number of stitches.
Practice your magic ring
The magic ring takes a few tries to get the hang of, but once you do, you'll wonder how you ever crocheted without it. Keep practicing with smooth yarn, and soon you'll be closing up amigurumi like a pro. Stitch with ease.