Printable Crochet Patterns: How to Read, Print, and Use Them
Learn to pick, print, and follow printable crochet patterns with confidence.
A printed crochet pattern is just a piece of paper, but it can save you hours of squinting at a screen.
You found a pattern you love, but it's on your phone and the screen keeps turning off. You could print it, but you're not sure how to get the best result. This happens to everyone.
Printable crochet patterns are just PDFs you can download and print at home. They are handy because you can write on them, cross off rows, and keep them in a binder. Here's how to make them work for you.
Printable crochet patterns are digital files you download and print. They let you work from paper, mark your place, and keep your hands free. This guide shows you how to choose a good one, print it right, and read it without getting lost.
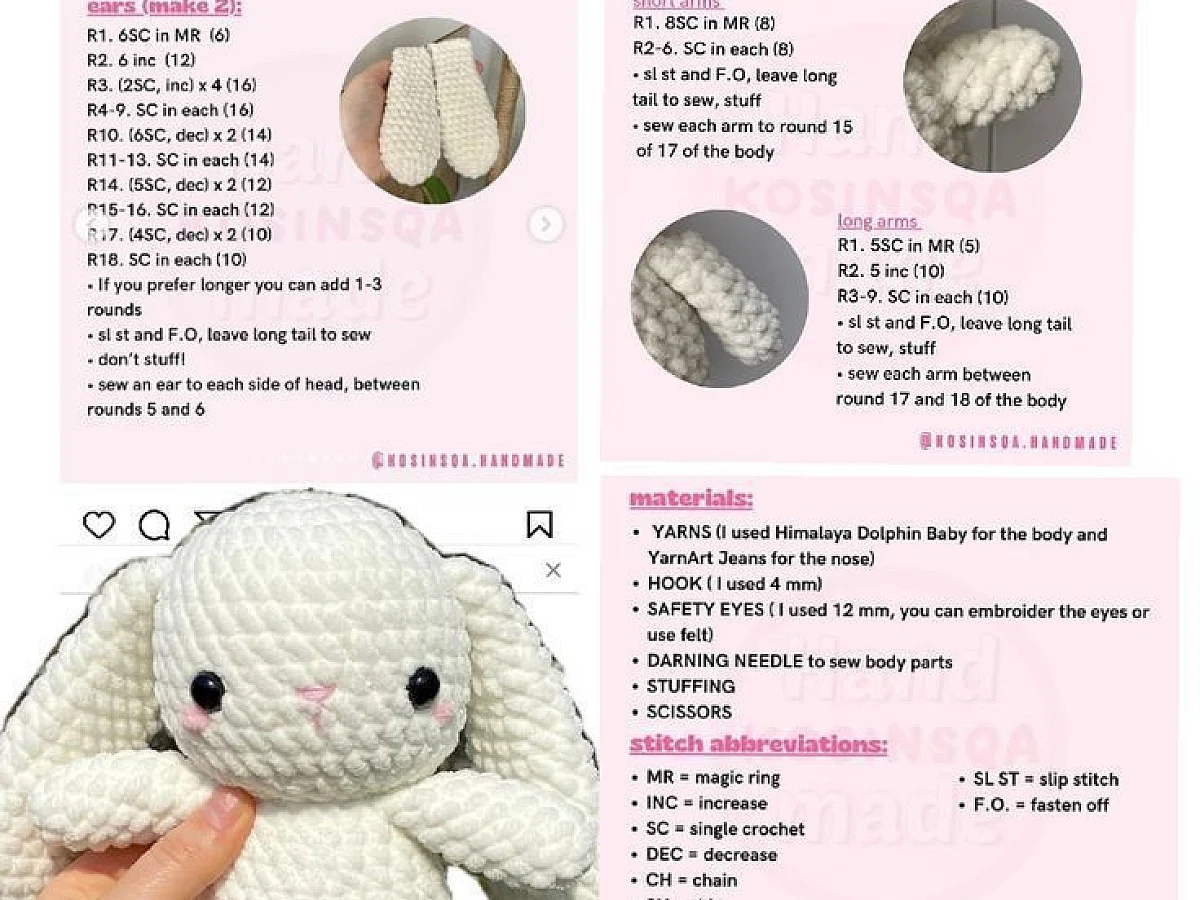
What you need
Printer
Any inkjet or laser printer works. If you don't have one, you can print at a library or copy shop for about 10 to 20 cents a page.
Paper
Standard 8.5 x 11 inch printer paper is fine. Use a heavier paper if you plan to keep the pattern for years.
Pencil
A regular pencil is best for marking rows. Erasable pens work too, but pencil is easiest to fix.
Binder or clipboard
A clipboard keeps the pattern flat while you work. A binder stores multiple patterns.
Stitch markers
Small plastic or metal clips that mark your place in the work. You can also use a scrap of yarn.
What to Look for in a Printable Crochet Pattern
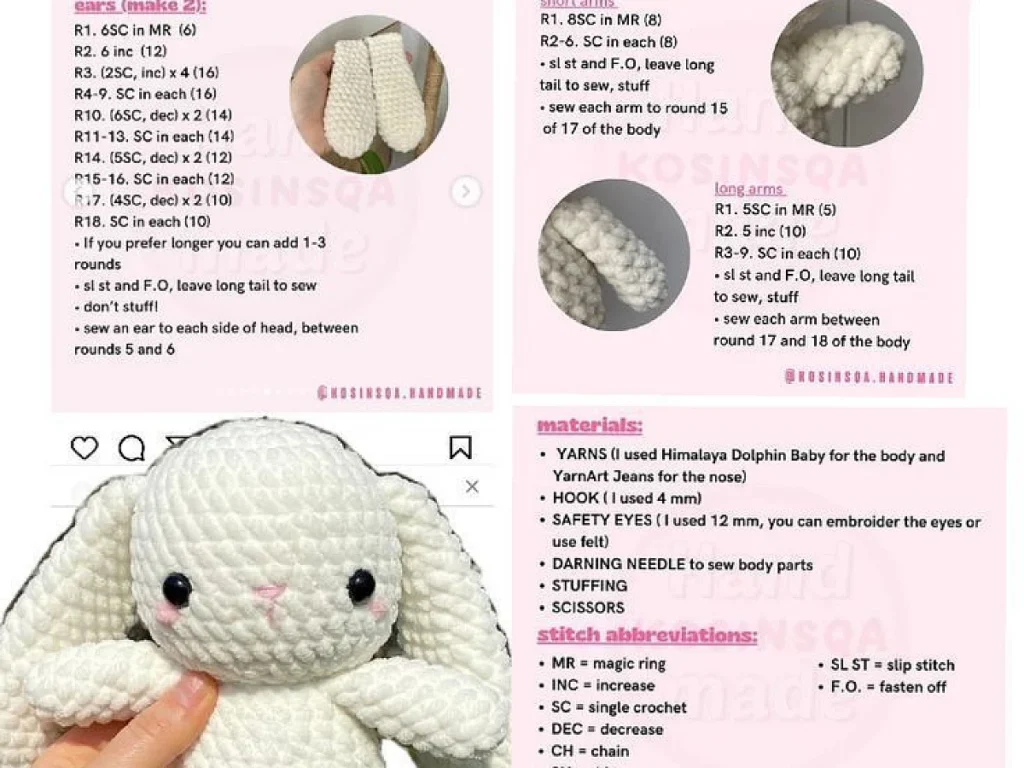
Before you print, check that the pattern includes a few key things. It should list the yarn weight, hook size, gauge, and finished size. It should also have a list of abbreviations and clear instructions.
If the pattern has a photo, look at it closely. Does it show the front and back? Does it show a detail of the stitch? Good photos help you know if you're on track.
- A clear list of materials with exact yarn weight and yardage.
- Stitch gauge, like 4 inches = 16 stitches and 20 rows.
- Abbreviations explained, like sc for single crochet and dc for double crochet.
- Step-by-step rows or rounds, numbered so you can keep your place.
If a pattern doesn't list gauge, you can still use it for a scarf or blanket where exact size doesn't matter. For a sweater or hat, skip it.
How to Print a Crochet Pattern So It's Easy to Read
Open the PDF on your computer or phone. Look for a print button or use Ctrl+P (Cmd+P on a Mac). Before you hit print, check the settings.
Choose 'Fit to Page' so the pattern isn't cut off. Pick a size that's easy to read, like 100% if it's already large, or 125% if the font is small. Print on one side of the paper so you can turn pages easily.
- Print on white paper for best contrast.
- Use a binder or clipboard to hold the pages flat.
- Keep a pencil nearby to mark your row.
If you have a tablet, you can also save the PDF and use a stylus to mark it. That works too, but paper never runs out of battery.
Reading a Crochet Pattern: The Basics
Most patterns start with a list of supplies. Then they give gauge, then the instructions. The instructions use abbreviations to save space. For example, 'ch' means chain, 'sc' means single crochet, 'dc' means double crochet.
Patterns are written in rows or rounds. Rows go back and forth. Rounds go in a circle. Each line tells you what to do and how many stitches you should have at the end, like 'Row 3: sc in each stitch across, turn. (20 stitches)'.
If a number in parentheses doesn't match your count, you made a mistake earlier. Go back a row and check your stitches.
Common Mistakes and How to Fix Them
The most common mistake is losing your place. That's why you mark your row with a pencil or a stitch marker. Another is crocheting too tightly or too loosely, which changes the size.
If your work is curling, you might be skipping the turning chain. If it's wavy, you might have added extra stitches. Count your stitches often, especially at the end of each row.
- Use a stitch marker to mark the first stitch of a round.
- Count stitches out loud: 1, 2, 3…
- If you drop a stitch, use a crochet hook to pick it back up.
If you have to rip out rows, don't be sad. It happens to everyone. Use a lifeline: thread a piece of yarn through the row you want to keep, so you can rip back to it safely.
How to Store Your Printed Patterns
Printing a pattern is only half the fun. You need a place to keep it so it doesn't get lost. A three-ring binder with plastic sleeves works great. You can also use a file folder for each project.
If you want to reuse a pattern, put it in a clear page protector and write on the protector with a dry-erase marker. That way the original stays clean.
Keep a small notebook with the pattern name, yarn used, hook size, and date. That helps you remember what you made and what you'd do differently.
Step
Choose a pattern you trust
Pick a pattern from a known designer or a reputable site. Check the comments and photos from other makers. If it has a lot of positive feedback, it's more likely to be correct.
Download the PDF
Click the download button and save the file to your computer or phone. Make sure you know where it is, like your Downloads folder.
Open and check the pattern
Open the PDF and scroll through. Make sure all pages are there and readable. If something looks cut off, try a different PDF viewer.
Print a test page
Print just the first page first. Check that the text is sharp and the margins are okay. If it's too small, increase the scale in the print settings.
Print the whole pattern
Once the test page looks good, print all pages. Choose 'Fit to Page' if needed. Let the ink dry before stacking.
Mark your starting point
Read through the pattern once before you start. Underline the materials and gauge. Circle the row you'll begin with. This saves you from mistakes later.
Ways to change it
Digital on tablet
If you prefer not to print, save the PDF to a tablet and use a stylus to mark it. Good for patterns you'll only use once.
Enlarge for vision
Print at 125% or 150% if the font is small. Tape multiple pages together if needed.
Laminated for reuse
Laminate the pattern and use dry-erase markers to mark rows. Wipe clean and reuse for another project.
Project binder
Collect all patterns for one project in a binder with a pocket for notes and swatches.
The short version
- Printable crochet patterns are PDFs you print at home.
- Check for gauge, materials, and abbreviations before starting.
- Print at 100% or fit to page to avoid cut-off text.
- Use a pencil to mark your row and keep your place.
- Count stitches at the end of each row to catch mistakes early.
- Store patterns in a binder with plastic sleeves to keep them safe.
- If a pattern is unclear, look for a video tutorial or ask in a crochet group.
Questions people ask
Where can I find free printable crochet patterns?
Many blogs and yarn companies offer free patterns as PDFs. Search for 'free crochet pattern' on sites like Ravelry, AllFreeCrochet, or your favorite yarn brand's website.
How do I print a crochet pattern without cutting off the sides?
In the print dialog, choose 'Fit to Page' or 'Shrink to Fit'. This scales the pattern to your paper size so nothing gets cut.
What does 'gauge' mean in a crochet pattern?
Gauge tells you how many stitches and rows fit in a 4-inch square. It matters for size, especially in clothing. If your gauge is off, your project will be too big or too small.
Ready to start your next project?
Printing a crochet pattern is easy once you know the tricks. Pick a good one, print it clearly, and keep it safe. Then you can enjoy crocheting without staring at a screen. Happy hooking!