
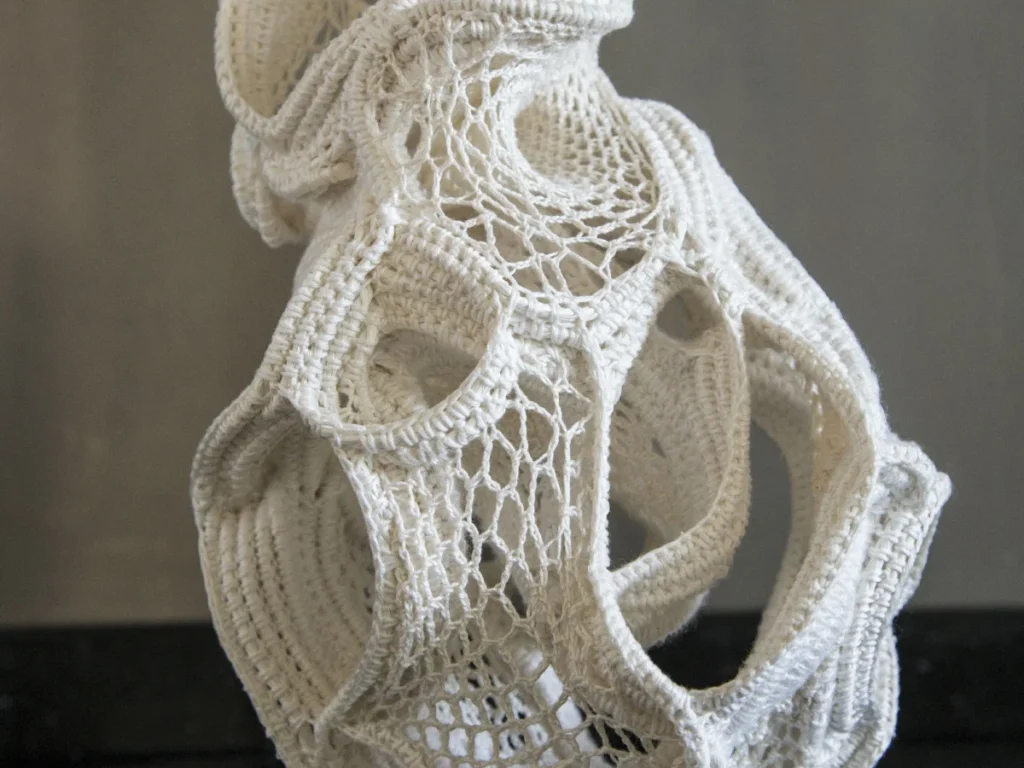
Sculptural Crochet: How to Make 3D Shapes That Hold Their Form
Learn to crochet shapes that stand, curve, and hold their form—no wires needed.
A crocheted sphere that holds its round shape has less to do with magic and more to do with stitch placement and the right yarn.
Sculptural crochet is not a new idea. People have made amigurumi for decades, and wire crochet goes back even further. What is new is how many makers are pushing the technique into art pieces—wall hangings, wearable collars, and small sculptures that sit on a shelf.
The key is understanding that crochet fabric is not flat unless you make it flat. By adding or skipping stitches in the right places, you can make the fabric cup, ripple, or fold. This article walks through the basics of shaping, the yarns that work best, and how to fix the most common mistake: a shape that flops.
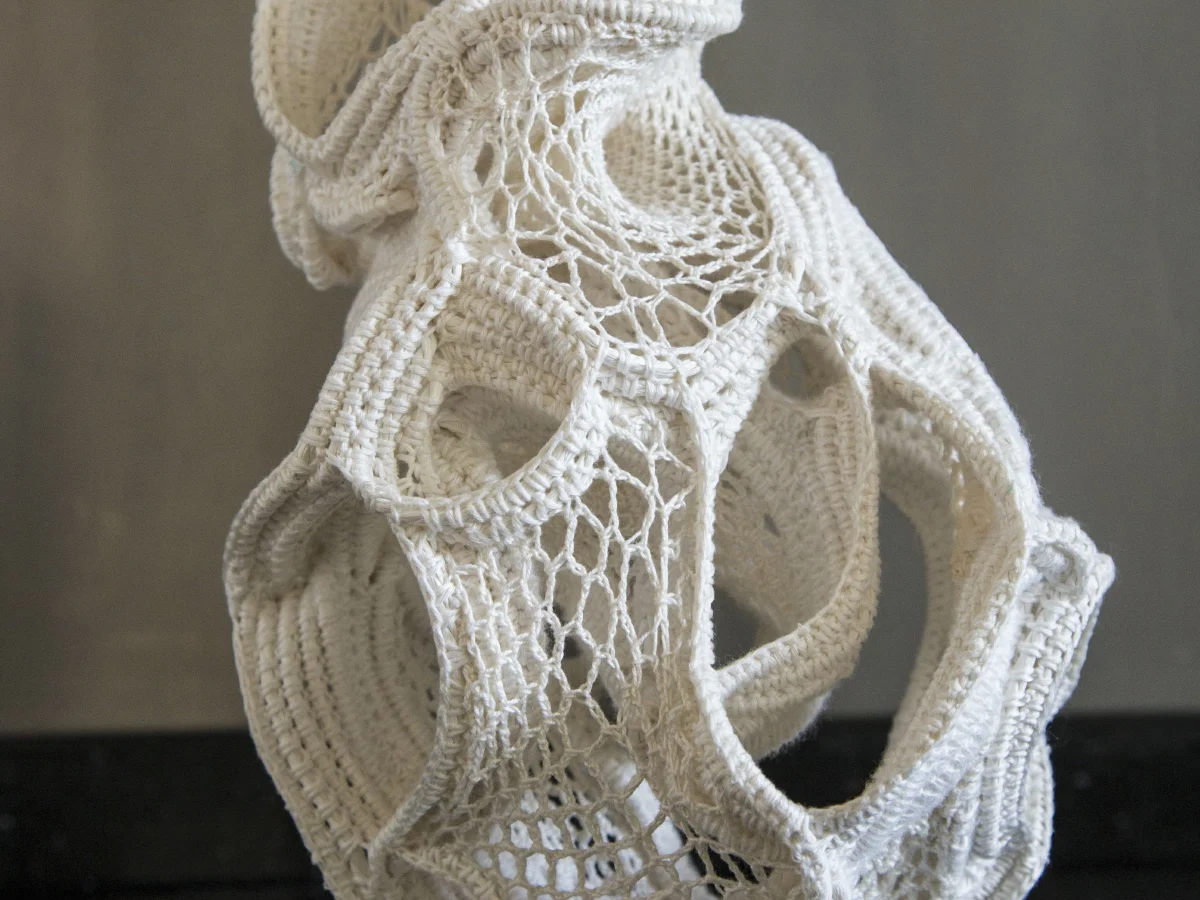
Sculptural crochet is about controlling increases, decreases, and stitch height to make fabric curve, bend, or stand stiff. You can make flowers, animals, or abstract shapes that hold their form by choosing a firm yarn and crocheting tightly.
What you need
Yarn
Worsted or aran weight cotton or cotton-acrylic blend. You need about 50–100 grams for a small sculpture, depending on size.
Hook
One to two sizes smaller than the yarn label suggests. For worsted weight, try 4.5 mm instead of 5.5 mm.
Stitch markers
A few, to mark the start of rounds and short-row turning points.
Stuffing
Polyester fiberfill for soft shapes. Use a firm fill for structure.
Wire or pipe cleaners
Optional, for shapes that need extra support. Use a flexible, rust-proof craft wire.
Fabric stiffener
Optional, for finishing. White glue and water works, or a commercial stiffener.
Why some crochet shapes stand up and others flop
The two things that decide whether a shape holds are stitch tension and yarn stiffness. A loose gauge with soft yarn will drape. A tight gauge with firm yarn will stand.
For most sculptural work, you want a yarn that does not stretch much. Cotton, linen, or a cotton-acrylic blend are good choices. Wool can work, but it needs to be a tightly spun worsted or aran weight. Avoid fluffy or loosely spun yarns—they hide the stitch definition you need for crisp shapes.
The hook size matters just as much. Most yarn labels suggest a hook that makes a drapey fabric. For sculpture, go down one or two sizes. A worsted weight yarn that suggests a 5.5 mm hook will behave differently at 4.5 mm—the fabric gets denser and stiffer.
Test a swatch before you start. Crochet ten stitches and six rows with your chosen yarn and hook. If you can easily bend the fabric in half, go down a hook size.
The basic shapes: sphere, cone, and tube
Most sculptural pieces start from three shapes. A sphere is the base for heads and fruit. A cone makes horns, petals, and tree shapes. A tube makes arms, legs, and snakes.
To make a sphere, you work in the round with increases every few stitches, then a few rows even, then decreases. The trick is spacing the increases evenly. If you put them all in the same place, you get a hexagon instead of a circle.
A cone is simpler: just increase at the same rate every row. A tube is the easiest—no increases at all, just a straight cylinder.
Use a stitch marker to track the start of each round. It is easy to lose count when you are working tight and fast.
How to make a sphere that is actually round
The most common mistake in a crochet sphere is a lumpy, faceted look. That happens when you increase in the same spot each round.
Fix it by staggering the increases. For example, if a round needs six increases, work the first one after two stitches, then every six stitches after that. The next round, start the increases after three stitches. This spreads the shaping out.
Another issue is stuffing. If you stuff too firmly, the fabric stretches and the shape distorts. If you stuff too loosely, it wrinkles. Aim for a fill that is firm but still gives a little when you squeeze. Use polyester fiberfill, not old scraps—scraps make lumps.
When you close the sphere, weave the tail through the front loops of the last round and pull tight. That makes a neat, invisible closure.
Making shapes bend and curve on purpose
Sometimes you want a shape to have a curve, like a petal that folds back or a horn that twists. You can do that without wires by using short rows.
Short rows are rows that do not go all the way across. You turn before the end, leaving stitches unworked. This adds extra fabric on one side, which makes the piece curve.
For a gentle curve, work short rows every few rows. For a sharp bend, work them every row. The more short rows, the tighter the curve.
Mark the turning point with a stitch marker so you do not lose your place. Short rows are easy to confuse with decreases.
The easiest way to stiffen a finished piece
If your shape still flops, you can stiffen it after you finish. A simple method is to mix equal parts white glue and water, then brush it on the surface. Let it dry overnight.
Another option is starch spray, the kind used for collars. Spray it on and shape the piece with your hands while it dries.
For a firmer result, use a commercial fabric stiffener like Stiffen Stuff. It dries clear and holds well. Test on a small swatch first to make sure the color does not change.
Pin the piece to a foam board while the stiffener dries. That keeps the shape from warping.
Wire and pipe cleaners: when you really need support
Sometimes crochet fabric alone cannot hold a pose. For a long neck or a thin branch, you might need wire inside.
Use a flexible wire that will not rust, like craft wire or a pipe cleaner. Crochet around it by holding the wire along the top of the work and crocheting over it. That hides the wire and keeps it in place.
For a removable option, crochet a tube and thread the wire through after. That way you can take the wire out for washing.
Make sure the wire ends are covered. A sharp end can poke through the yarn and scratch someone.
Common mistakes and how to fix them
The biggest mistake is using a hook that is too big. The fabric gets loose and the shape loses its structure. Fix it by going down a size or two.
Another mistake is not counting stitches. If you miss an increase, the shape will not be even. Count after every round until you get the rhythm.
A third mistake is pulling the yarn too tight on the last round. That can pucker the piece. Keep the same tension as the rest of the work.
If you find a mistake a few rows back, do not try to fix it in place. Frog it back to the error—it is faster than trying to patch.
Step
Make a gauge swatch
Crochet a small square with your chosen yarn and hook. Check that the fabric is firm and does not stretch easily.
Start with a magic ring
Work 6 single crochet into a magic ring. Pull the tail to close the hole.
Increase to shape
For a sphere, increase evenly each round until the circle is the width you want. Then work even rounds for the body.
Decrease to close
Decrease evenly to close the shape. Stuff before the hole gets too small.
Finish and weave in ends
Weave in all tails with a yarn needle. Trim close to the work.
Ways to change it
Wire inside
Add a flexible wire to the core for posable limbs or stems.
Different yarn
Try a linen or hemp yarn for a stiffer, more textured finish.
Sculpted petals
Use short rows to make curved petals that fold back naturally.
Miniature version
Use fingering weight yarn and a 2.5 mm hook for tiny sculptures.
Wearable art
Make a sculptural collar or brooch by stiffening the piece after shaping.
The short version
- Use a hook one or two sizes smaller than the yarn label suggests for a firmer fabric.
- Cotton and cotton blends hold shape better than soft wool.
- Stagger your increases to avoid a hexagonal sphere.
- Short rows create curves and bends without wire.
- Stuff firmly but not so tight that the fabric stretches.
- Fabric stiffener can save a floppy piece—test on a swatch first.
- Wire inside gives long, thin shapes the support they need.
Questions people ask
What yarn is best for sculptural crochet?
Cotton or a cotton-acrylic blend in worsted or aran weight works well. It does not stretch much and holds its shape.
How do I make my crochet shape stand up?
Use a smaller hook and a firm yarn. You can also stiffen the finished piece with a fabric stiffener or wire.
Why does my sphere look like a hexagon?
You are probably increasing in the same spot each round. Stagger the increases to spread them out.
Try a small sphere today and see how the techniques change your work
Sculptural crochet is about paying attention to tension and shaping. Start with a small sphere, practice the increases and decreases, and you will see how much control you have. Once you understand that, you can make almost any shape you can imagine. Stitch with ease.



