Digital Crochet Patterns: How to Turn a Poster into a Real Project
Learn to read a crochet poster, turn it into a real pattern, and hook your first project from a picture.
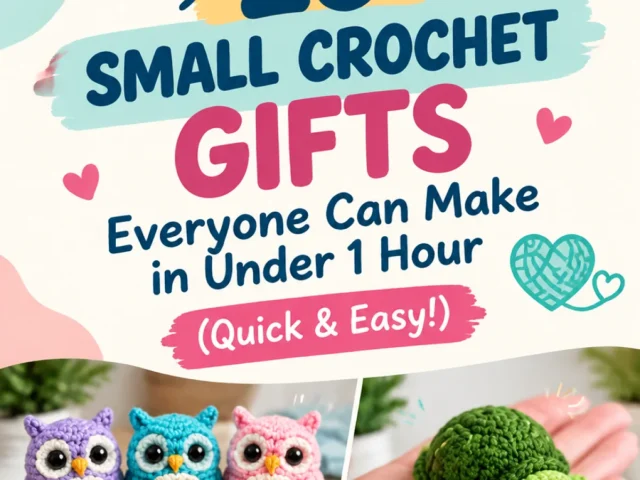
You found a beautiful crochet poster on Pinterest, but it's just a picture, not a pattern.
Digital crochet posters are everywhere on Pinterest. They show a finished piece, a yarn color palette, and sometimes a simple chart. They look great, but they rarely tell you how many chains to start with.
The good news is you can turn any poster into a real project. You just need to read the image like a map. This guide walks you through the whole process, from what to look for to the last finishing touch.
A digital crochet poster is a visual summary of a project, not a full pattern. You can use it as inspiration, then find or create a matching written pattern by breaking down the image into stitches and sections.
What you need
Digital crochet poster
The image you want to create. Save it to your phone or print it out.
Worsted weight yarn
A medium weight yarn in the colors shown on the poster. About 200-400 yards for a scarf.
5 mm crochet hook
A good default size for worsted weight yarn. Adjust if your gauge is off.
Stitch dictionary or app
Helps you identify the stitches in the poster. Many are free online.
Notebook and pencil
For writing down the pattern and noting stitch counts.
Yarn needle and scissors
For weaving in ends and cutting yarn.
What exactly is a digital crochet poster?
A digital crochet poster is a single image that shows a crochet project. It might include the finished item, a yarn color chart, a stitch diagram, or a few written notes. It is not a full pattern with row-by-row instructions.
Think of it as the cover of a book. It gives you the idea, but you still need the story inside. For crochet, that story is the written pattern or a detailed chart you can follow.
Save the poster to your phone so you can zoom in on the details. You will need to see the stitch texture clearly.
What do you need before you start?
Gather a few basics before you try to decode a poster. You will need the poster itself, a notebook, a pencil, and a ruler. A stitch dictionary or a crochet app that shows stitch symbols helps a lot.
If the poster shows a yarn brand, look up the recommended hook size. If not, start with a worsted weight yarn and a 5 mm hook. That is a safe starting point for most projects.
- Poster image: clear and large enough to see stitch details
- Notebook and pencil: for sketching and noting stitch counts
- Stitch dictionary or crochet app: to identify unknown stitches
- Worsted weight yarn and 5 mm hook: a good default combination
Take a screenshot of the poster and crop it to just the main item. That makes it easier to see the stitch pattern.
How to read the poster like a pattern
Start by looking at the overall shape. Is it a square, a rectangle, a circle? That tells you the construction. A blanket is usually worked in rows, a hat in rounds from the top down.
Next, find the closest view of the stitches. Zoom in on the photo. Count the stitches in one repeat. For example, if you see a shell stitch, count how many stitches make up one shell and how many chains are between shells.
Write down what you see. Draw a small diagram of one repeat. That becomes your pattern. If you can identify the stitch name, search for a written version online or in a stitch dictionary.
Look for a repeat that appears twice in the photo. That means it is the pattern repeat, and you can work it over and over.
Turning the image into a written pattern
Once you know the stitch repeat, you need to figure out the starting chain. Count the stitches in the first row of the photo. If you cannot count them, estimate based on the width and your gauge.
Make a small swatch with your yarn and hook. Work the repeat for a few rows. Measure how wide it is. Then divide the desired width by the swatch width to get the number of repeats you need.
Write the pattern in your own words. Start with the foundation chain, then write each row. Use standard abbreviations like ch for chain and sc for single crochet. That way you can follow it later without thinking.
Work a swatch at least 10 cm square. It helps you see how the stitch behaves and gives you a real gauge to measure.
What to do when the poster is just a picture
Sometimes a poster has no written pattern at all. That is fine. You can still use it as a starting point. Decide on the size and shape you want, then adapt a similar free pattern you already know.
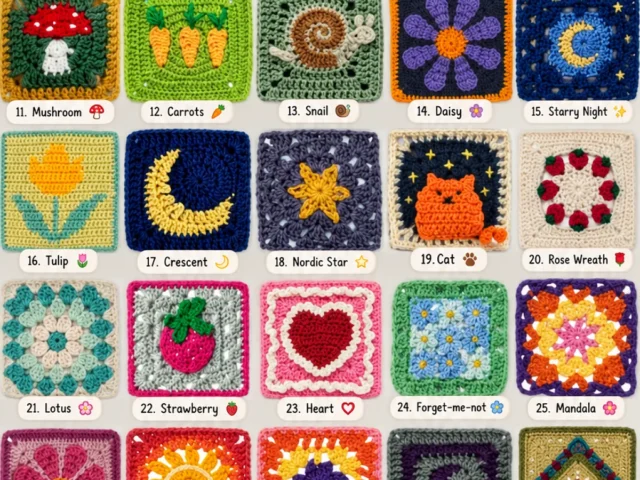
For example, if the poster shows a granny square blanket, you can use any basic granny square pattern. Just match the colors from the poster. The poster becomes your color guide, not a strict instruction.
If the stitch is too hard to identify, look for a video tutorial that shows the same texture. Search for terms like 'shell stitch blanket' or 'bobble stitch scarf' and compare the look.
Do not get stuck on matching the poster exactly. The goal is to get a similar look, not a carbon copy.
Common mistakes when working from a poster
The biggest mistake is guessing the yarn weight. A poster can make a chunky yarn look thin. Check the yarn label if you have it, or compare the hook size in the photo to a known object.
Another mistake is skipping the gauge swatch. Without it, your blanket might turn out half the size you wanted. Always swatch, even for a simple scarf.
Counting rows wrong is easy when you work from a photo. Mark every ten rows with a stitch marker. That way you can keep track without counting from the start.
If your project is too small, it is usually because your gauge is tighter than the poster's. Go up a hook size and try again.
How to finish and block your project
When you reach the last row, cut the yarn leaving a 15 cm tail. Pull it through the last loop and weave in the ends with a yarn needle. Do not skip this step, or your work will unravel.
Blocking is the secret to a professional look. Wet block most natural fibers, or steam block acrylic. Pin the piece to the shape you want and let it dry completely.
Blocking evens out stitches and makes the pattern pop. It is especially important if your edges curl or your stitches look uneven.
Use a blocking mat and T-pins for best results. If you do not have them, a towel and some safety pins work in a pinch.
Step
Study the poster
Look at the overall shape and the stitch detail. Identify the main stitch repeat and note the colors.
Make a gauge swatch
With your yarn and hook, work a 10 cm square using the repeat you identified. Measure your stitches and rows per 10 cm.
Calculate the foundation chain
Decide on the width you want. Divide it by the width of your swatch, then multiply by the number of chains in your repeat. Add the turning chain.
Write the pattern
Write down each row in your notebook using abbreviations. Include the starting chain and the repeat instructions.
Work the project
Follow your written pattern row by row. Count your stitches at the end of each row to catch mistakes early.
Finish and block
Weave in all ends. Block the piece to the correct size and shape, then let it dry completely.
Ways to change it
Different yarn weight
Use DK weight with a 4 mm hook for a lighter fabric, or chunky with a 6.5 mm hook for a quick project.
Different stitch
If the poster stitch is too hard, substitute a simpler stitch like single crochet or half double crochet.
Different size
Make a baby blanket by reducing the starting chain, or a throw by increasing it.
Scrap yarn version
Use leftover yarn in any colors. The poster is just a starting point.
Beginner version
Choose a poster with a simple repeat like granny squares or stripes. Skip complex stitches.
The short version
- A digital crochet poster is inspiration, not a full pattern.
- Always start with a gauge swatch to get the size right.
- Identify the stitch repeat by zooming into the photo.
- Write down the pattern in your own words before starting.
- Use a stitch dictionary or app to decode unknown stitches.
- Blocking makes a big difference in the final look.
- You can adapt any poster to your skill level and yarn stash.
Questions people ask
Can I sell an item I made from a crochet poster?
Yes, if the poster is just inspiration and you wrote your own pattern. If the poster includes a written pattern, check the designer's terms. Many allow selling finished items but not the pattern itself.
How do I know what yarn weight to use?
Look for the yarn brand on the poster. If it is not listed, start with worsted weight and a 5 mm hook. Adjust after making a swatch.
What if the poster has no stitch diagram?
You can still guess the stitch from the photo. Look at the texture and compare it to pictures in a stitch dictionary. Or choose a similar stitch you already know.
Pick a poster from your Pinterest board and start decoding it today
Turning a poster into a real project takes a little detective work, but it is worth it. You get a one-of-a-kind piece and you learn to read crochet better. Start with a simple poster, make a swatch, and write your own pattern. Happy hooking!