Beginner Crochet Mistakes: Fix Tension, Rows, and Stitch Counting
You’ll spot the most common beginner crochet mistakes fast, then fix tension and row counting before your project gets frustrating.
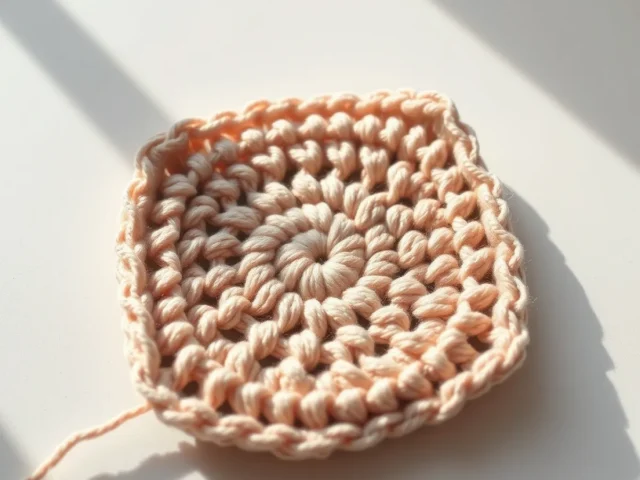
If your crochet fabric looks bumpy or uneven after 10 rows, it’s usually tension or a missed stitch, not your yarn.
If your first crochet pieces keep shrinking, curling, or spreading, pause for 2 minutes and check your basics. Most issues come from small habits, not “wrong” skill.
Once you know what those mistakes look like, you can correct them while the work is still small. Your next rows will feel calmer, too.
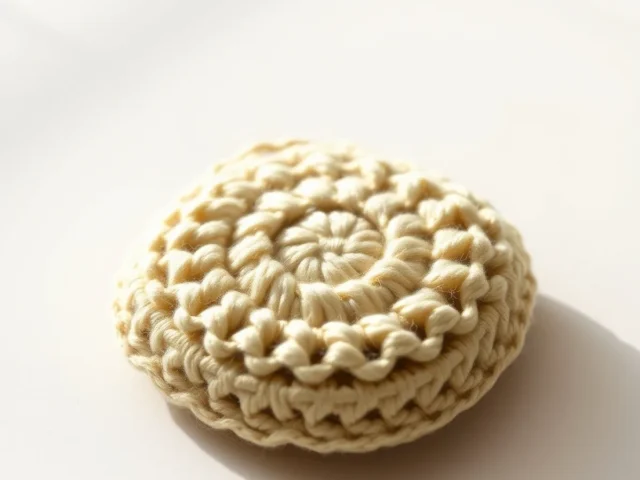
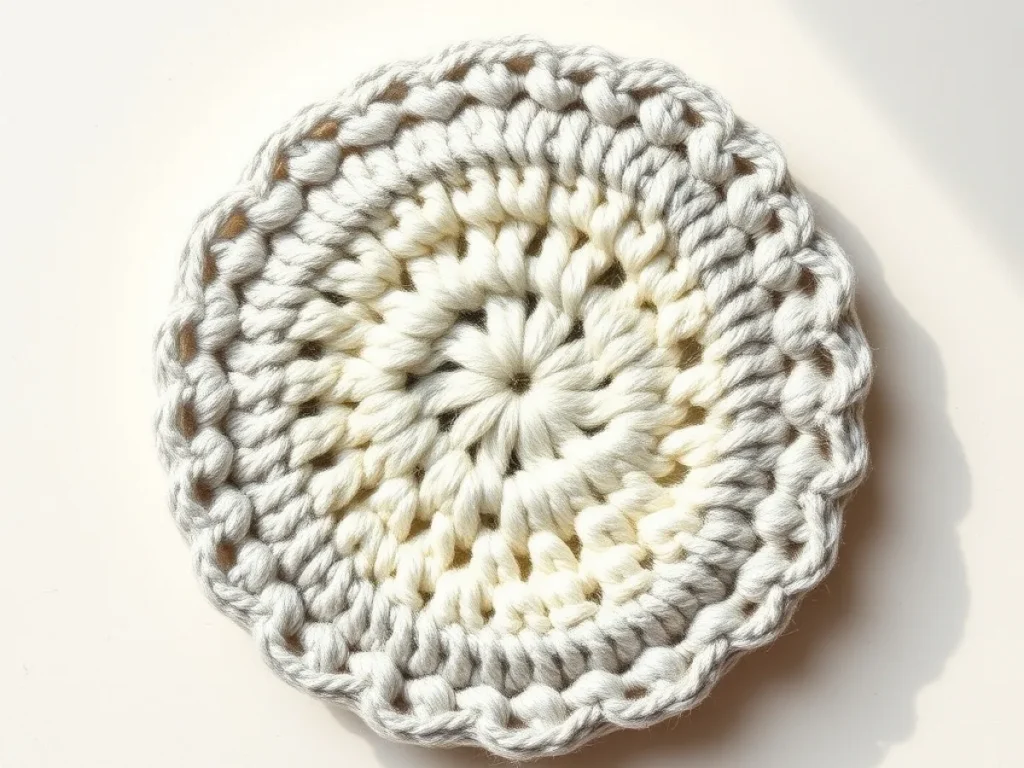
Beginner crochet mistakes mostly come from three spots: tension, stitch counting, and choosing a hard first pattern. Fix those early and your rows will look even, with fewer holes and fewer tangled messes.
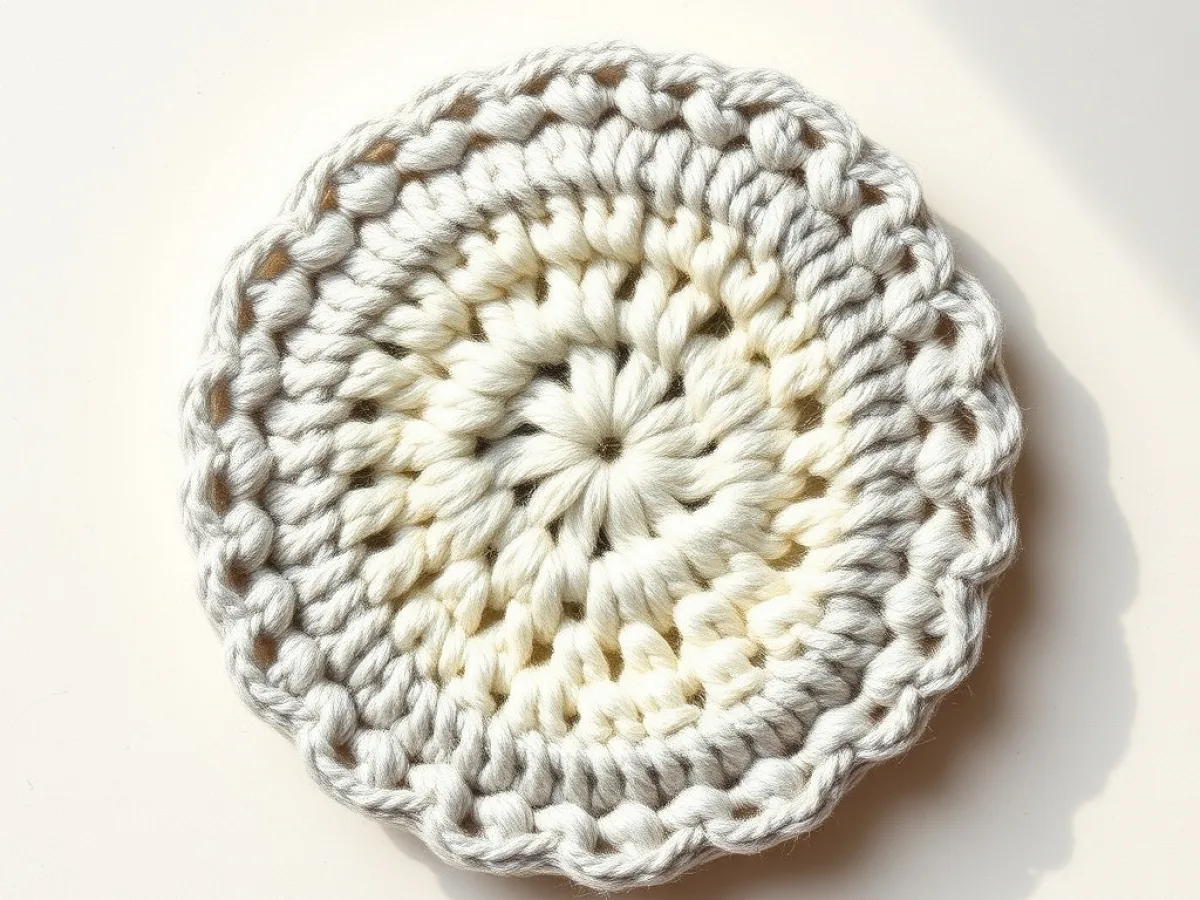
What you need
Yarn (practice weight)
Worsted weight or DK-worsted is a friendly choice. Plan on about 100 to 200 yards (about 100 to 180 meters) for several swatches.
Crochet hook
Start around 4.0 to 5.5 mm for worsted weight. If your stitches look cramped, go up 0.5 to 1.0 mm; if gaps show, go down 0.5 to 1.0 mm.
Scissors
You’ll cut yarn tails for weaving in ends.
Tapestry needle
Use it to weave ends through completed stitches.
Stitch markers (optional)
They help mark the first stitch of a row when you keep losing count.
Why your tension feels “tight” or “loose” and what to change first
Your tension sets how tall each stitch is. If your loops feel too small in your hand, you end up pulling yarn tight and the fabric gets stiff and narrow.
If your loops feel too big, stitches land farther apart. Then your fabric stretches, and row edges start to look wavy.
- Quick test: tug the yarn lightly and crochet 1 row. If stitches shrink a lot as you work, loosen your grip; if they balloon, slow down and keep the same hand pressure.
Try wrapping the yarn around your finger the same way each time. A steady wrap beats chasing tension stitch by stitch.
How to stop losing stitches when the chain gets wonky
A lost stitch is easy to miss when you’re still learning chain counts. One extra chain can make your next rows too long, and one missed chain can make them too short.
Common sign: your row start doesn’t match the height you expected. For example, after a few rows, the side edge looks stepped or slanted even when you keep crocheting straight.
- Row edge check: compare the row’s first stitch height to the next few stitches. If the first part looks taller, you may be using the wrong turning chain height.
- End-of-row scan: count the top loops for each stitch before you turn. Catching it before the next row is much easier.
Use a simple counting habit: after every row, hold the fabric up and count the V’s you see across the top.
Row counting mistakes: the easiest way to keep stitch numbers correct
Row counting errors usually happen during turning. You chain once or twice, then accidentally start into the wrong space.
Another clue is pattern drift. Your stitch count should stay stable for repeated rows unless you’re intentionally increasing or decreasing.
- Stitch count method: count the stitches in the row you just finished, not the chains you started with. Then write the number on scrap paper once.
- Placement check: for the next row, work into the top of each stitch from the previous row. Avoid skipping the first or last stitch on the edge.
If you’re unsure where to put the first stitch, look at the “top” of the last row’s loops. The top is where most beginners should work, not the side string.
Beginners’ hook and yarn mix-ups that make stitches look wrong
A hook that’s too small for your yarn makes tight, hard-to-see loops. A hook that’s too big leaves wide gaps and loose, sloppy structure.
Start with yarn weight that’s easy to see. Worsted weight yarn (often labeled DK-worsted) with a corresponding hook size, like 4.0 to 5.5 mm, usually gives clear stitch shapes for practice.
- Gauge for fit: if your fabric curls or grows fast, your tension is off. If you change hook size, re-check your row height for even edges.
- Substitution note: if you swap yarn brands, the labels can differ. Use the yarn label for hook size first, then adjust if your stitches look stretched or stiff.
Choose smooth acrylic or cotton blends for first practice. Slubby yarn hides loops, and textured yarn makes counting harder.
Finishing without a mess: what to do when edges ruffle or curl
Ruffling happens when you add extra stitches without meaning to. Curling happens when your tension gets tighter as you work, or when the fabric isn’t blocked after you finish.
Even if you don’t have a planned size yet, you can still check dimensions. Measure across 10 stitches on a row and across 10 rows; large differences usually mean tension drift.
- Edge stitch check: make sure you don’t skip the last stitch before turning.
- Blocked look: after finishing, lay flat and let it dry flat. Heat from a dryer can change fiber shape, so avoid that.
Weave in ends right away for small practice swatches. Waiting makes them harder to hide, and beginner tension can loosen around loose ends.
Step
Make a small swatch, about 12 chains
Chain loosely, then crochet 1 row using your normal tension. Count stitches across the row and compare the first edge to the rest.
Check stitch height on the first stitch of every row
At the start of each row, use the correct turning chain height for the stitch you’re practicing. If the first stitch looks taller or shorter than the next ones, fix the turning chain.
Count the top loops across before you turn again
Look at the top V’s on the row you just finished. If you’re off by even 1, correct it immediately on the next row’s placement.
Adjust grip for tension drift after 3 to 4 rows
If your fabric gets tighter as you go, slow down and relax your hold on the yarn. Keep your hook pressure steady, not just your hand grip.
Weave ends and flatten dry to calm the shape
After finishing your swatch, weave in ends and lay it flat to dry. Curling usually reduces once fibers relax.
Ways to change it
Try a smaller swatch faster
Make 10 chains instead of 12 to spot counting issues sooner.
Use thicker yarn for easier visibility
If you struggle to see loops, try bulky weight with a 6.0 to 9.0 mm hook. Your stitches will be larger and simpler to count.
Use stitch markers for first 5 rows
Mark the first stitch each row to stop losing the start point.
Use a different fiber
Cotton drapes differently than acrylic. If your swatch feels stiff, a cotton blend may feel less “snaggy” and easier to handle.
Practice with a basic stitch shape
Single crochet and half double crochet teach tension well. Tall stitches can hide counting problems at first.
The short version
- Tension problems show up as stiff width or stretched gaps within about 10 rows.
- Lost stitches often start at the turning chain or the first edge stitch.
- Row drift usually means you’re skipping or adding 1 stitch over time.
- A hook that’s too small or too big makes stitches look wrong even with good counting.
- Flatten drying after finishing helps fibers relax and reduces curling.
- Weave in ends on small swatches so the fabric stays stable.
Questions people ask
What does “good” crochet tension look like for beginners?
Your stitches should look like the same size across the row. The fabric should lie flat without big waves at the edges. If one side looks taller, you likely changed your grip or the turning chain.
How do I know where to start when my rows look off?
Start by counting the top loops on the previous row. Most stitches are worked into the top of each loop, not the side strand. If your first stitch keeps standing out, re-check your turning chain height.
How can I check my stitch count without ripping everything out?
Count the top V’s across the row you just finished. Then count your stitches again at the end of the row before turning. Fix mistakes immediately while your work is still small.
Can I fix curled or ruffled crochet after I finish?
Often, yes. Weave in ends and lay the piece flat to dry so fibers relax. If it still curls strongly, your tension or hook size may need a small change.
Make a swatch tonight, fix one mistake, and stitch on calmly.
You don’t need perfect crochet on day one. Check tension, count the top loops, and keep your first stitch placement steady. If your swatch looks uneven, adjust your hook and turning chain, then try again on the next row. Take notes in your head, then carry the fix into your next practice.